
What is an Audio Gallery?
An Audio Gallery is a collection of audio files that are placed inside a template. In Cincopa you can create an audio gallery using your audio files.
Once an audio gallery is created, you can embed the gallery in your website using your HTML embed option.
Cincopa offers you the possibility to play the same audio gallery over all website pages.
NOTE: This feature is available only for new responsive gallery skins from Audio Media Type and has to be embedded into the footer of the page.
Let’s see how to first create an audio gallery with an auto play option in all web pages after embedding it to the website.
To get started, users need to access the URL: https://www.cincopa.com and f you are an existing user then login or register if you are a new user. Users can register an account here: https://www.cincopa.com/register.aspx?
Create an Audio Gallery
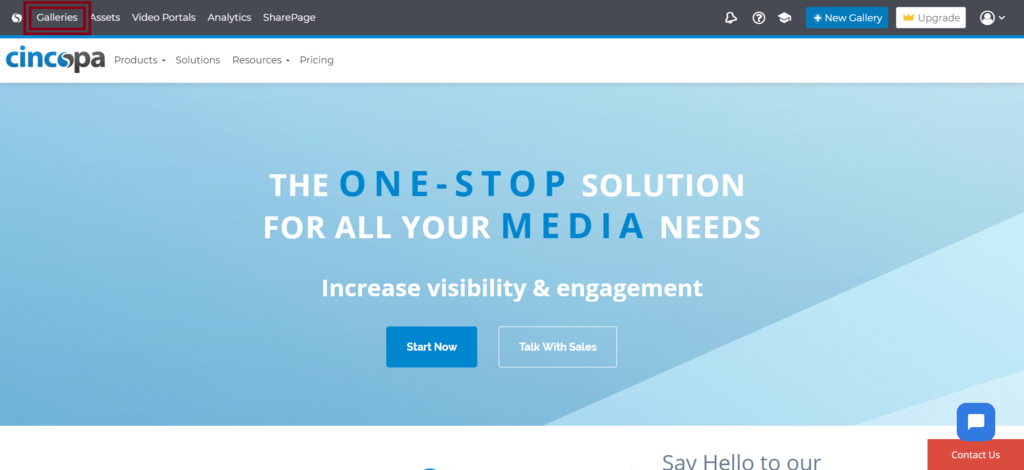
Login to your Cincopa Account and click on Galleries.
Now click on New Gallery to create a new gallery

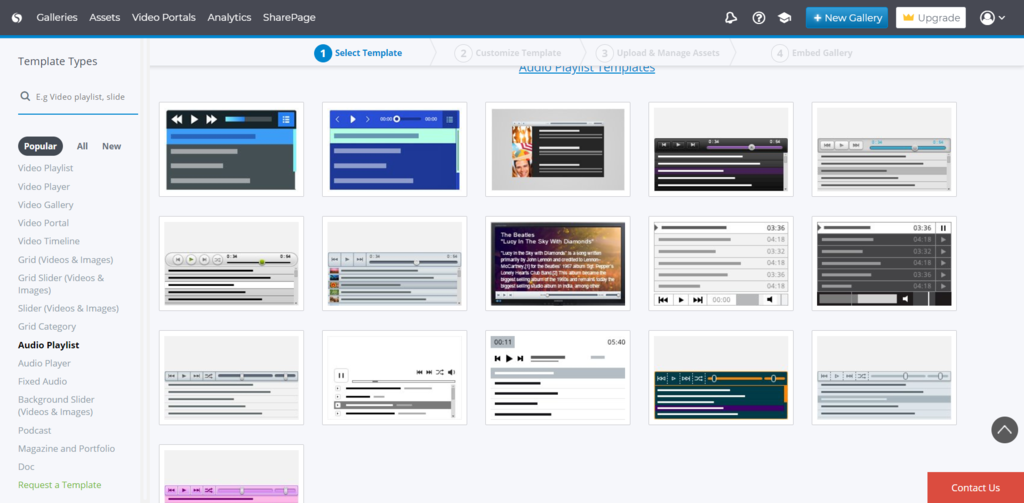
In the next step, to select a template click on Audio Playlist and choose a template that you like. Then click on USE THIS TEMPLATE

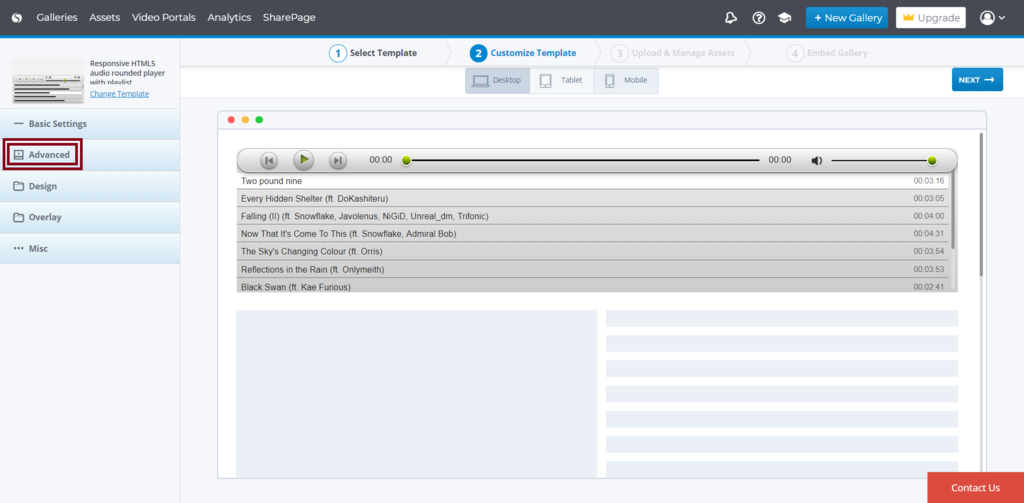
Now click on Advance
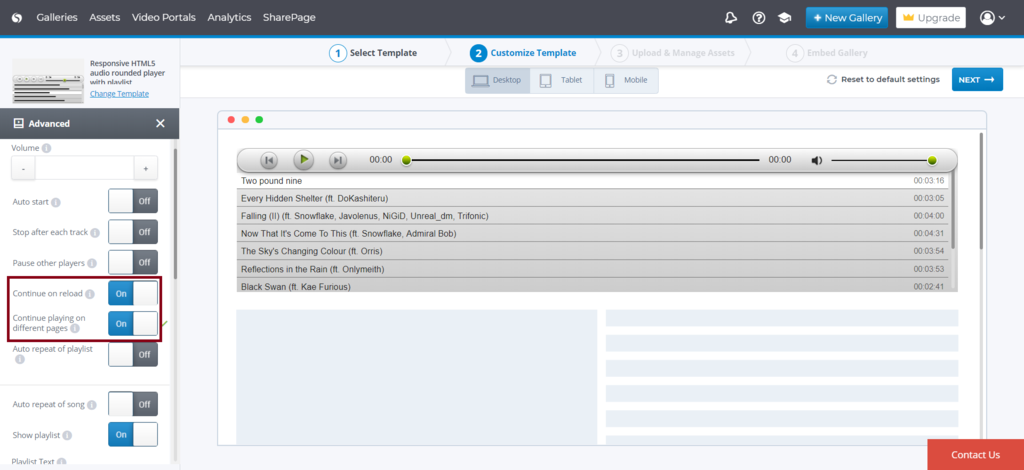
Next, you must enable the following toggle options and hit Next:
Continue on reload:
Continue playback at the current position after page reload
Continue playing on different pages:
Continue playback at the current position after page reload, you can embed gallery for example in the footer and it will play for the whole site
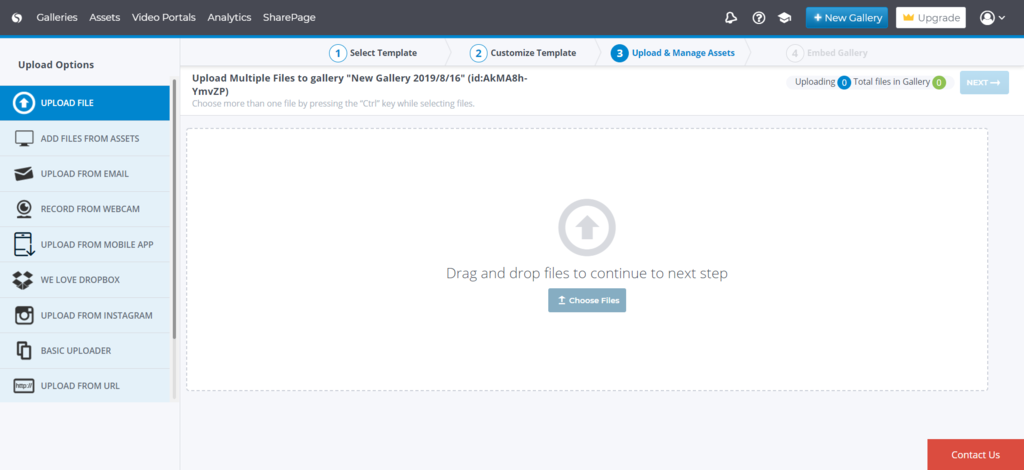
Next click on Choose Files to browse the audio files or Drag and Drop the audio files.
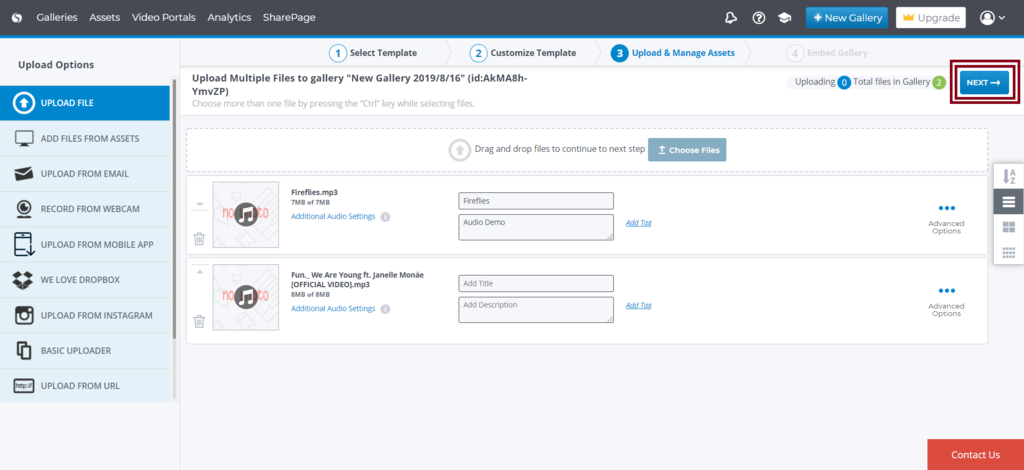
Once the audio files are uploaded, you can give a title and description for the audio files and click on NEXT
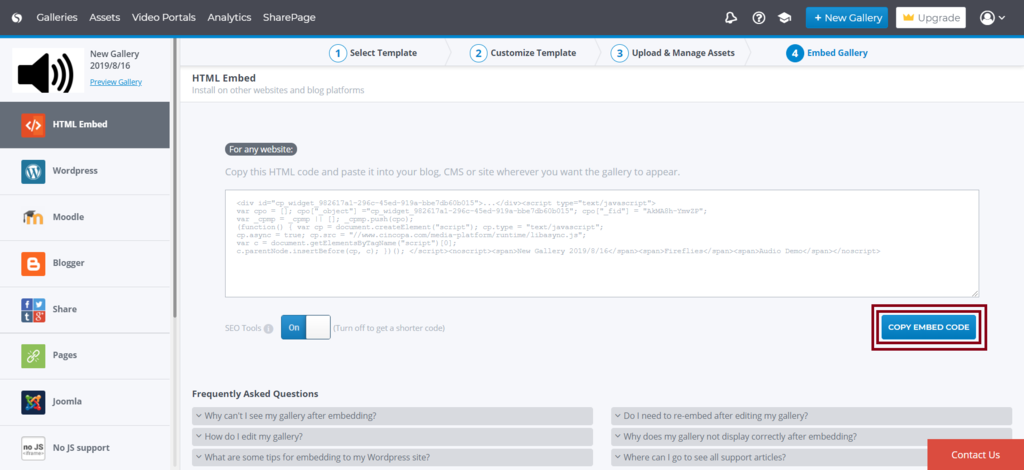
Now click on Copy Embed Code to copy the html code that is generated.
Embed the HTML code to your website
You can embed this HTML code to any website. In this example, we will copy the HTML code to a WordPress website.
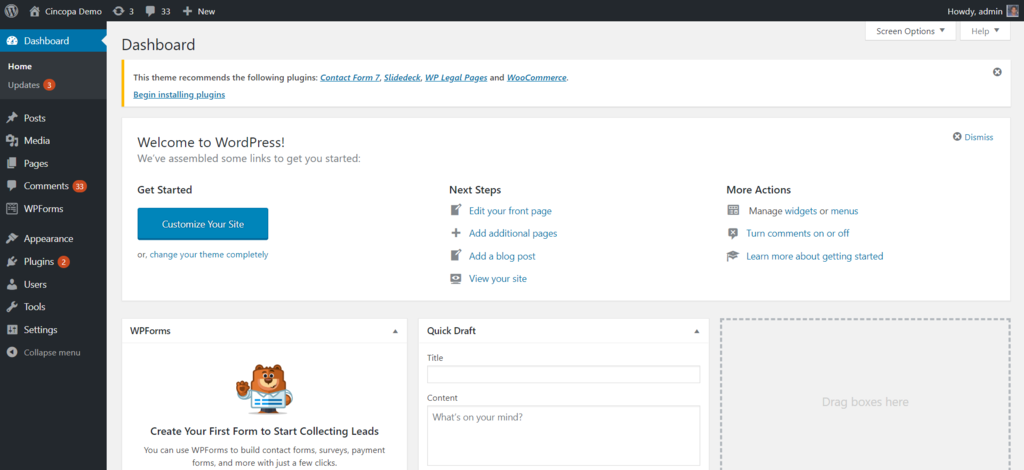
First Login to your WordPress Dashboard
You can add this HTML code anywhere as you wish, but for this example, we will add the HTML code to the footer widget so that we can test the audio continuously.
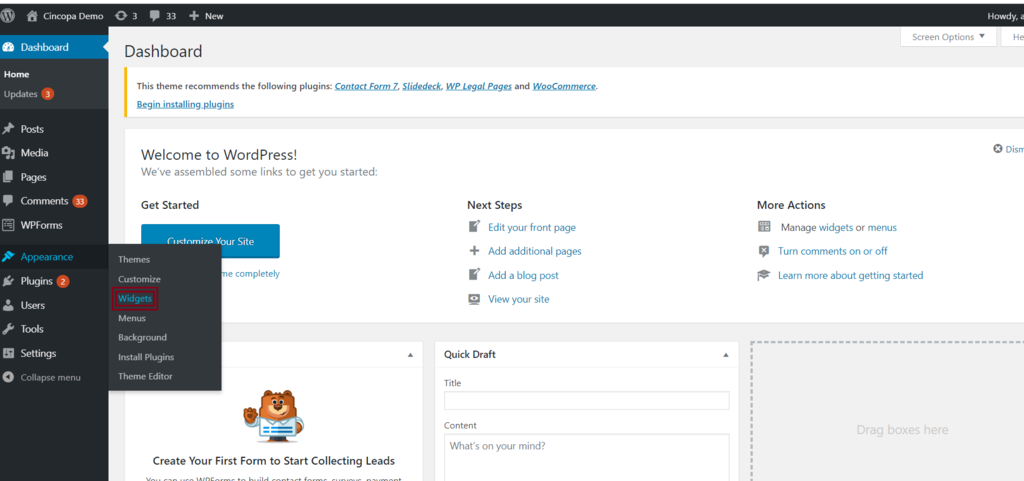
To add the HTML code to the Footer widget, click on Appearance>>Widgets
Next drag and drop the Custom HTML widget to the footer area
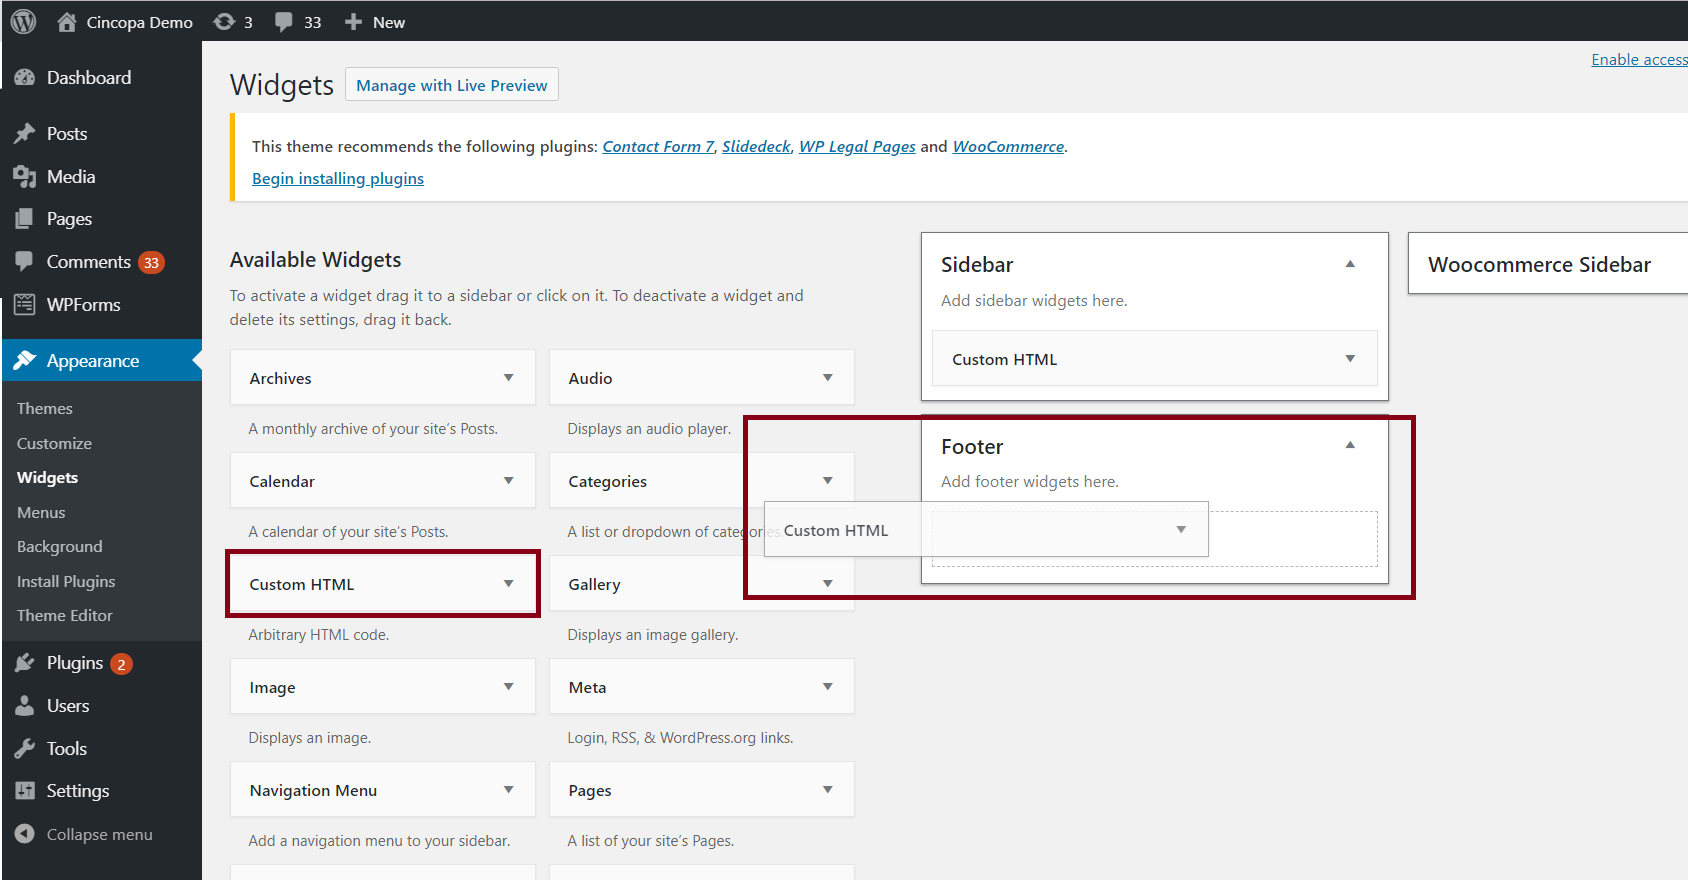
Next paste the copied HTML code to this Custom HTML widget and save the changes.

If you go to your website and see you will find the audio player embedded in the footer area of the website.

To test it, simply click on an audio file in the playlist and try to navigate to another page. You will then see that the audio play is continued even after a page refresh.
Please watch the video below where you can see the audio file is playing on different pages.