
This article explains how you can implement Azure Single Sign-On in Cincopa.
Steps for creating an Enterprise application:
- Go to the Azure portal and sign in using one of the roles listed in the prerequisites.

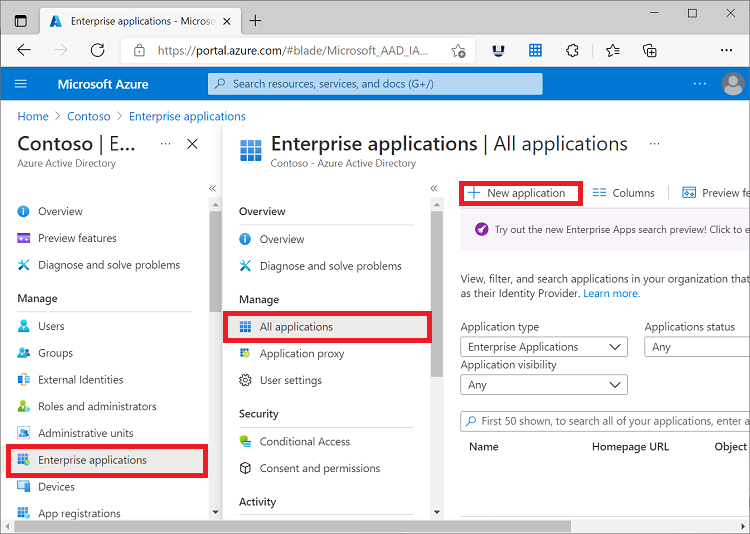
- Browse to Azure Active Directory and select Enterprise applications. The All applications pane opens and displays a list of the applications in your Azure AD tenant.
- In the Enterprise applications pane, select New application.
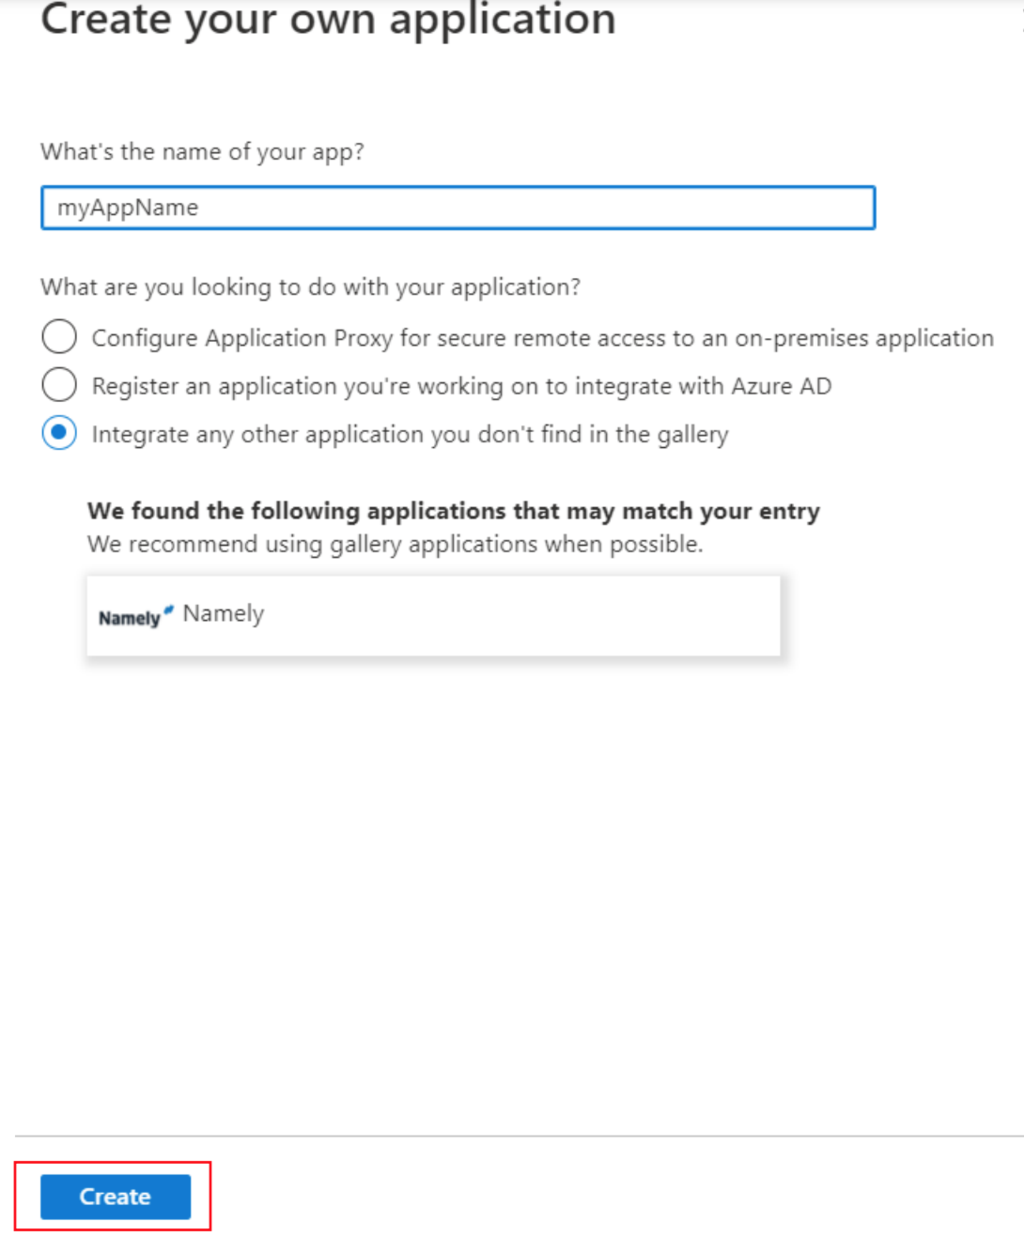
- Enter a name for the app and click on Create.
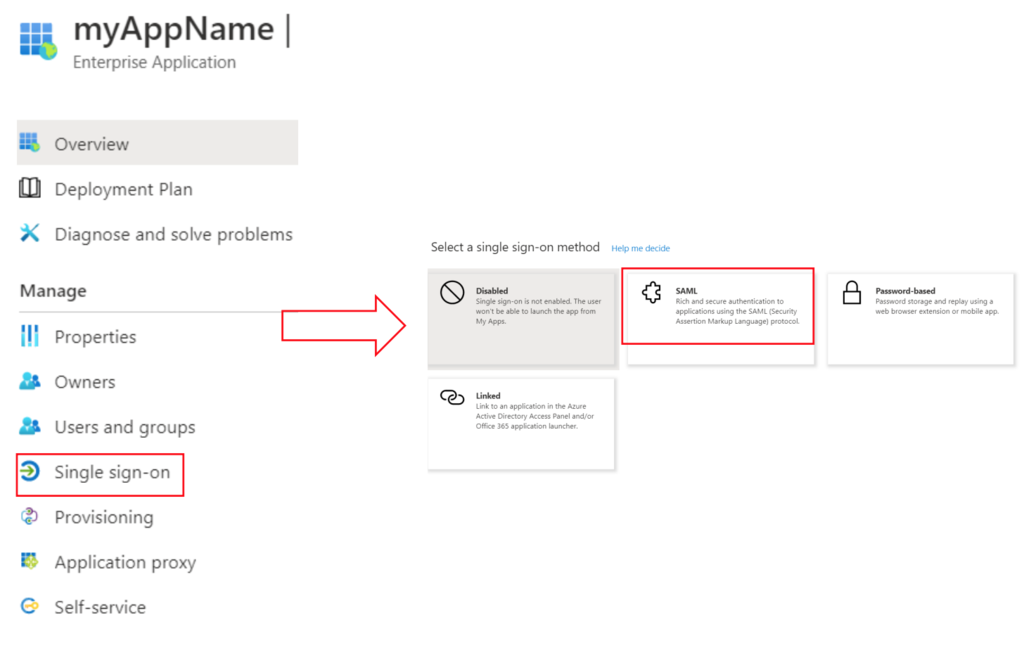
- Click on Single sign-on and then click on SAML.
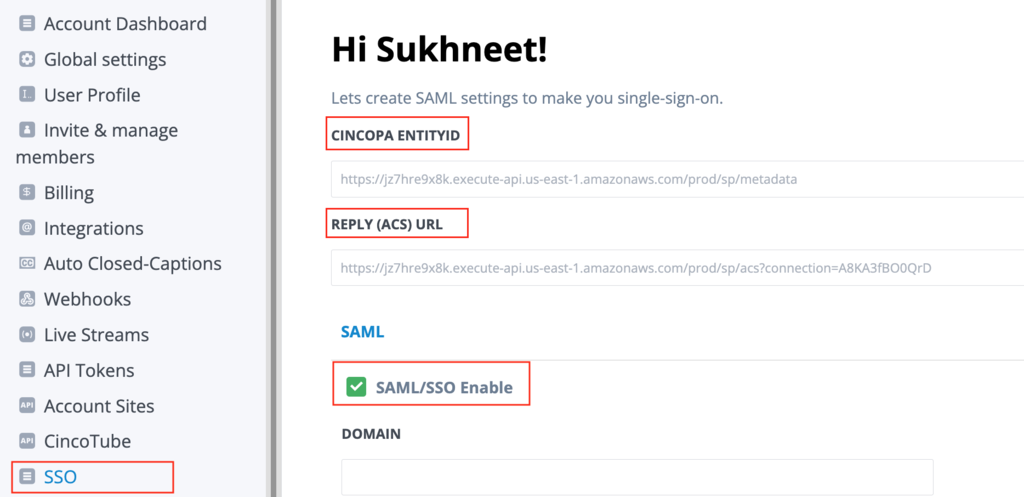
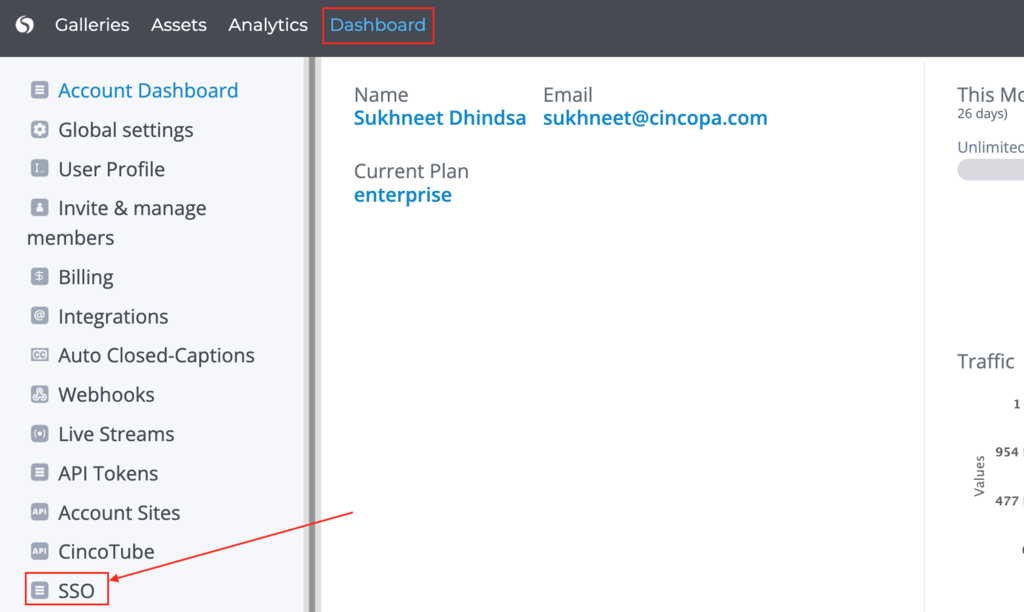
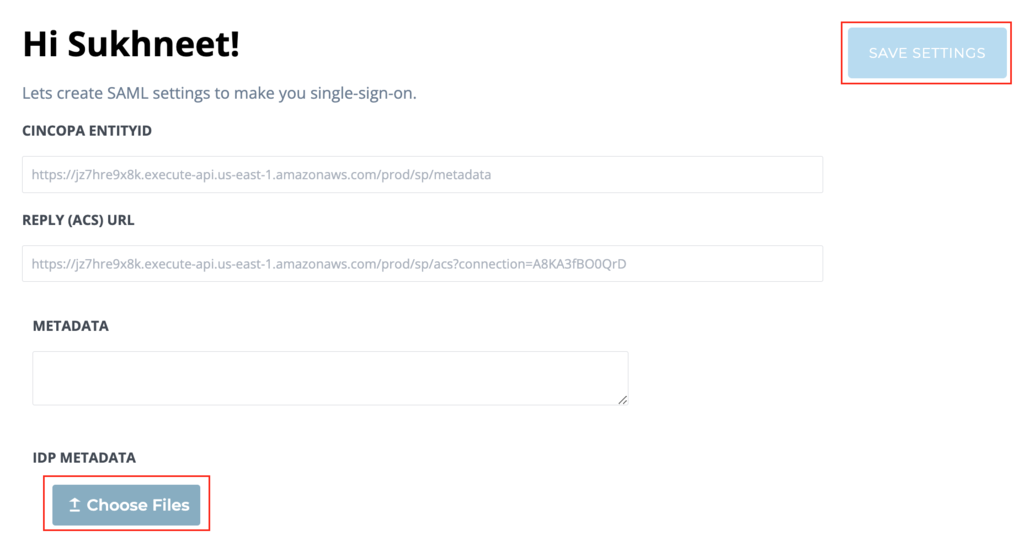
- From the Cincopa Dashboard > SSO page, enable SAML by selecting the SAML/SSO Enable checkbox and copy the ENTITYID and REPLY URL as shown below.
It will look something like :
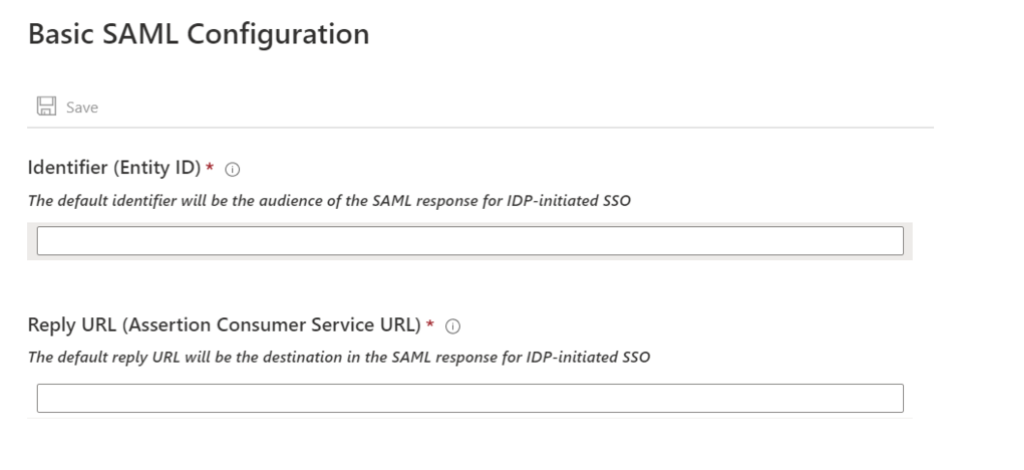
Identifier (Entity ID) = https://jz7hre9x8k.execute-api.us-east1.amazonaws.com/prod/sp/metadata?encrypted=true
Reply URL (Assertion Consumer Service URL) = https://jz7hre9x8k.executeapi.us-east1.amazonaws.com/prod/sp/acs?connection=<your_unique_Cincopa_acco
unt_ID>
Paste it into the fields on the basic SAML configuration window and click Save.
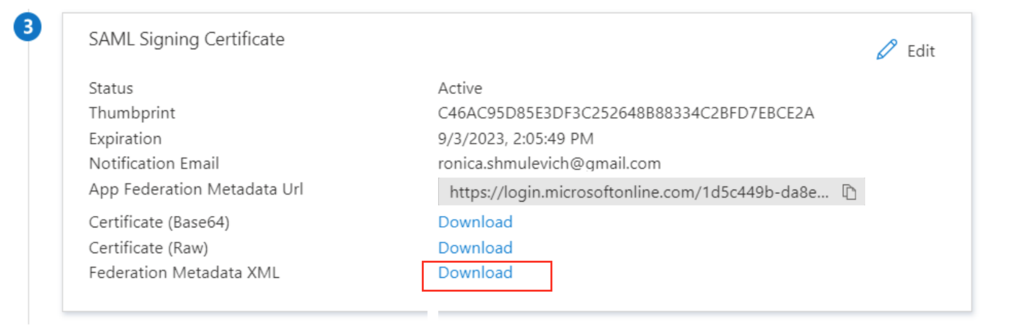
- Scroll up to SAML signing certificate and download the Federation Metadata XML file as shown below.
- In Cincopa, go to Dashboard > SSO and click on Upload file under IDP METADATA.
- Upload the file and click on Save settings.

You should now be use the Azure single sign-on when logging into Cincopa.