Overview – What it is?
Zendesk is the industry’s leading helpdesk platform. No doubt about it.
Cinocopa’s Zendesk integration allows you to embed Videos, Images, and Audio directly onto to helpdesk tickets to streamline your support process with media and track viewers to get actionable video analytics so you can Chapter your videos better and optimize the content.
Overview – Why we built it and how we use it internally
Following our internal use of Zenzesk, we concluded that a plugin which will offer all benefits of Cincopa, embedded into our helpdesk support system could be a wonderful thing for us and help our support team resolve tickets much more efficiently and provide better service. So we built it!
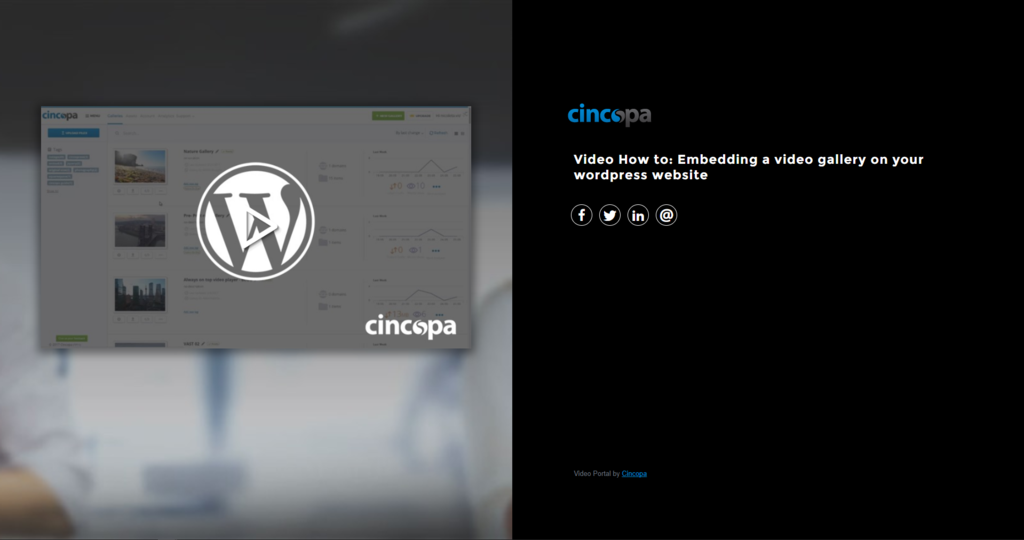
We made a series of How-To videos and Video FAQ on things like how to embed a gallery, How to install and connect integrations, How to add subtitles to videos and so forth…
In this article, we will cover the following topics:
Installing the Cincocpa Zendesk media integration in Zendesk
Using the media integration
Installing the Cincopa plugin in Zendesk
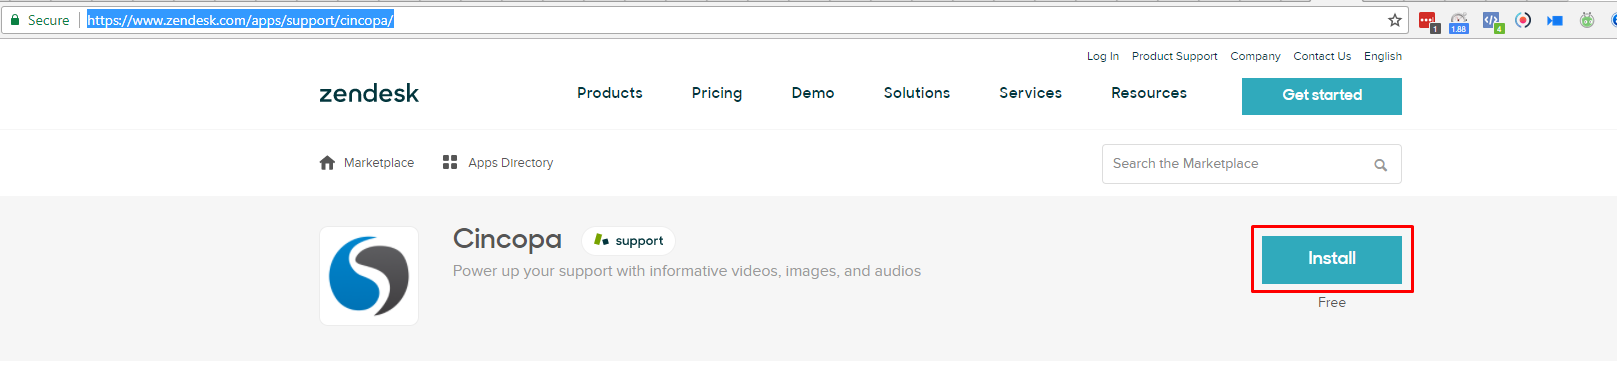
1.Go to Cincopa Zendesk integration in Zendesk app exchange. Click here
2.Click Install.
3.Log in or sign up to Cincopa.
4.Copy your “default” Api Token from Cincopa
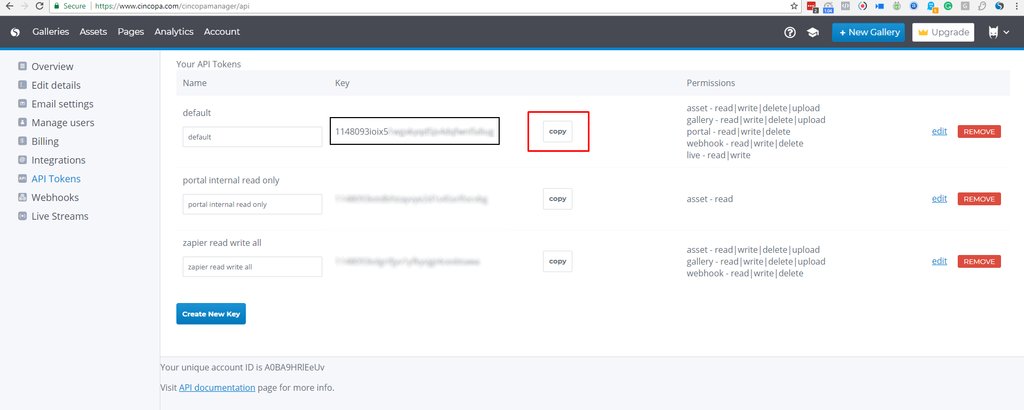
4.Return to the Zendesk Installation page and paste the key on to the “Api Token” field.
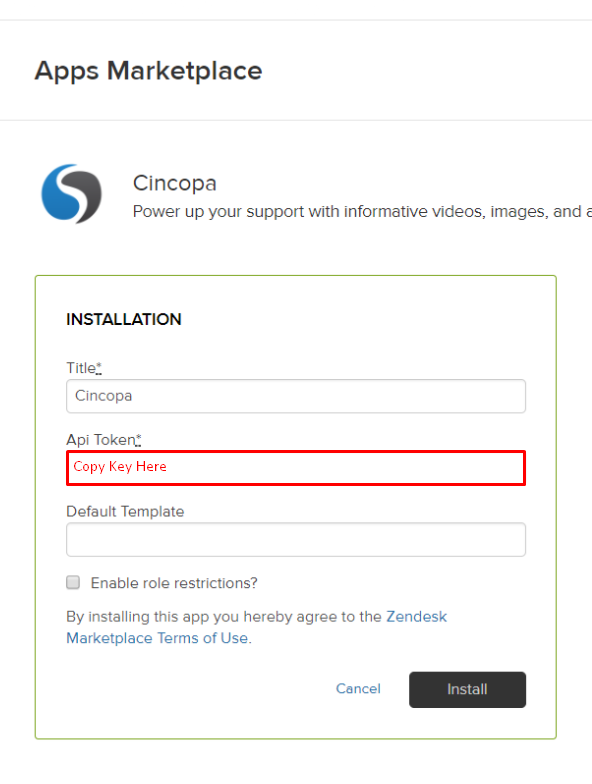
5.Click Install and you are done.
Using the Cincopa Zendesk media integration
The beauty of this plugin is that you can Upload, Manage and Embed media, without ever leaving Zendesk. Using Cincopa just for viewer tracking, video heatmap, and analytics by your support team leader.
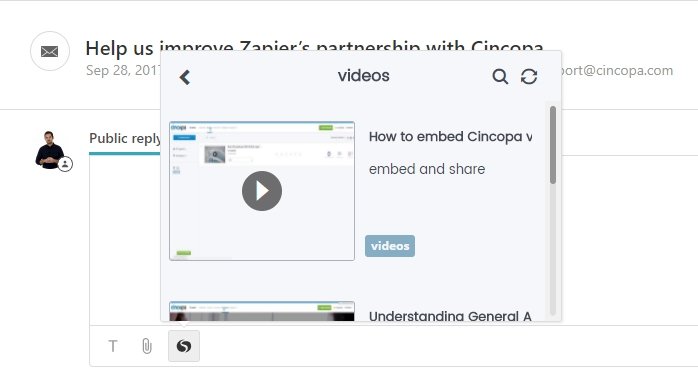
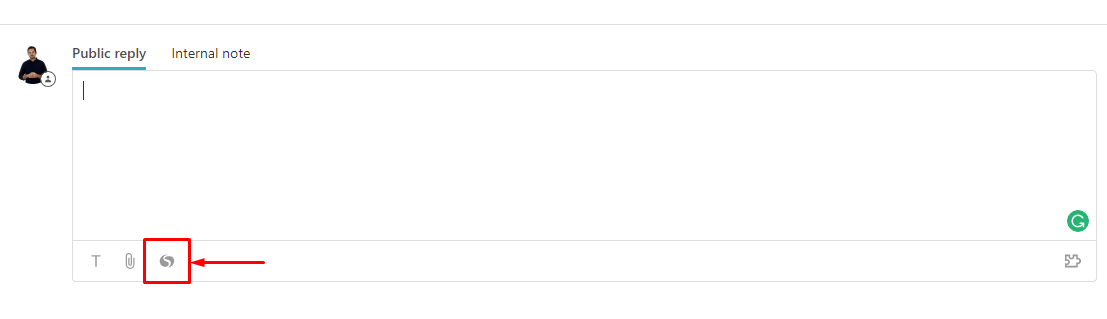
Click on any support ticket and lay your eyes on your new Cincopa widget Icon.
Using it:
1.Upload any type of media content.
We found that Video works best but short Audio recordings are also a great way to interact in a personal way.
2.Assign your uploaded media to tags (which are essentially categories). Using descriptive tags are best. i.e Onboarding Videos, FAQ Videos, Feature Adoption Videos, New Product Announcements.
3.Browse the categories or use the search bar to search by title, tag name or description.
4.Click the item you wish to embed and chose its embedded thumbnail size.
Note: A video link will lead to a Cincopa share page but you can edit it to any URL you’d like. For Example to a blog post or help page article.
If you’d like to have your video to appear in your fancy branded “pages” template such as this one, Contact one of our customer success manager and they will show you how to use the “Pages” video landing page feature to do so.