This article explains how you can view analytics for a specific time period as well as filter analytics data by setting up filters on the media, page, device, domain or geographical region. When you set up a filter, all the corresponding data is updated automatically.

Steps for filtering Analytics data using a data range:
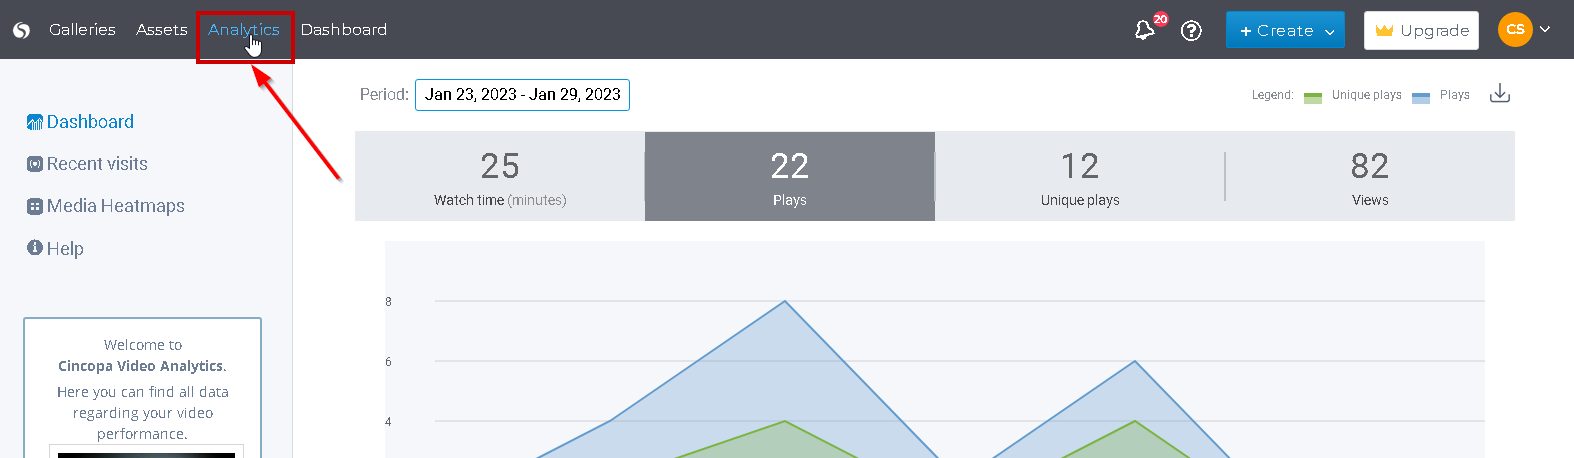
- Click on the Analytics option from the top-left menu once you are logged in to your account.

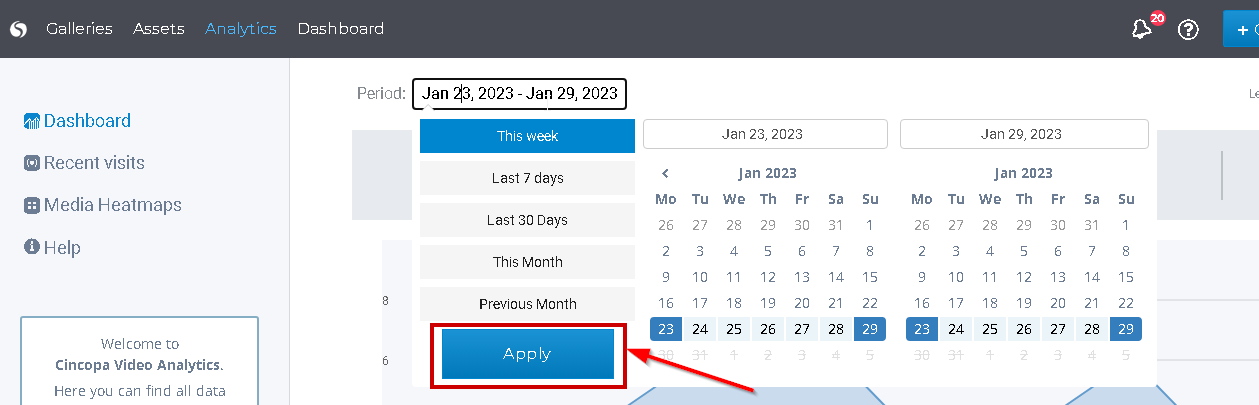
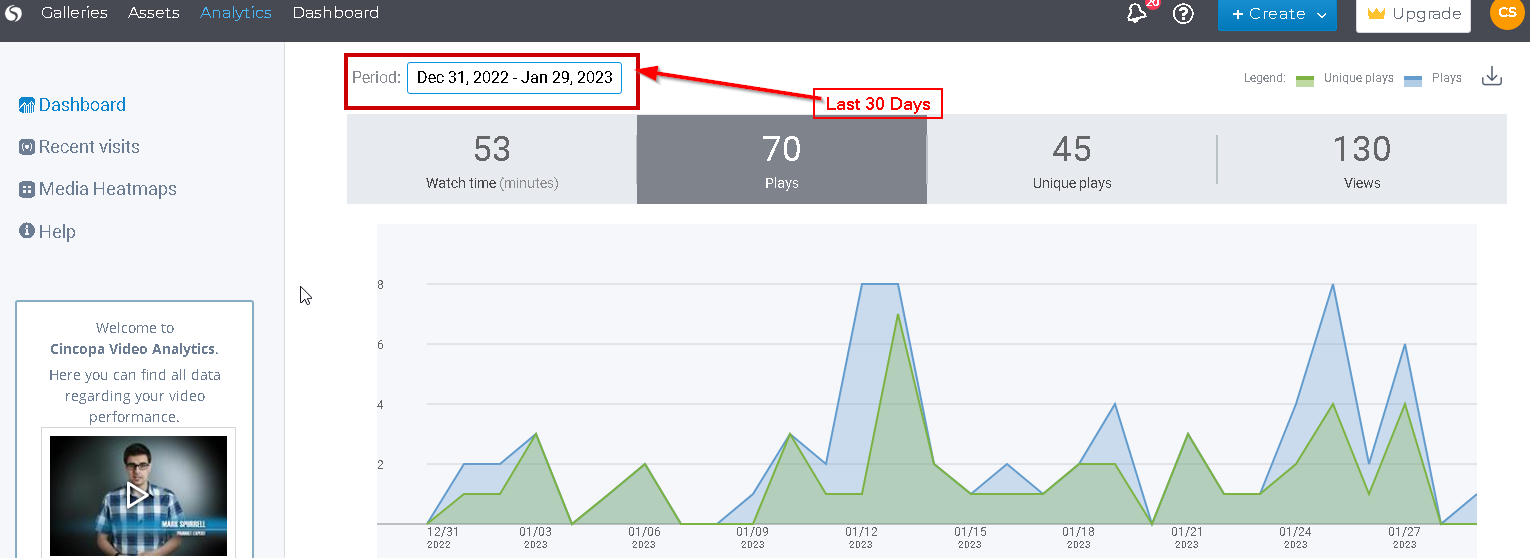
- By default, the time period is set to show analytics data for the current week. To select a different date range, click inside the date field and then select the time period accordingly. Simply click on one of the options Last 7 days, Last 30 days, This month or Previous Month to change the time period that best suits your needs. You can also set up a custom date range by selecting the start date and end date and then click on the Apply button.
The data will be then filtered to match the selected time period.
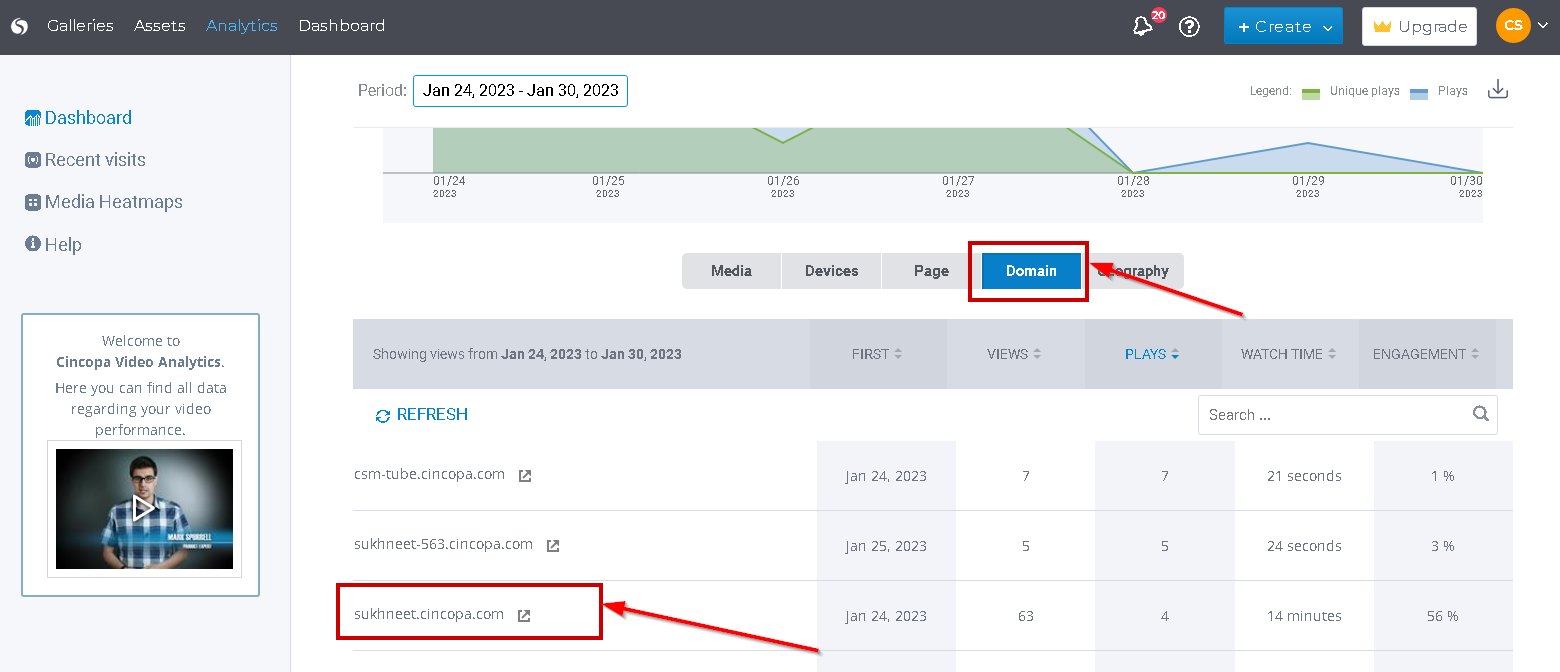
Steps for setting up filters on the Media, Page, Device, Domain or Geographical Region:
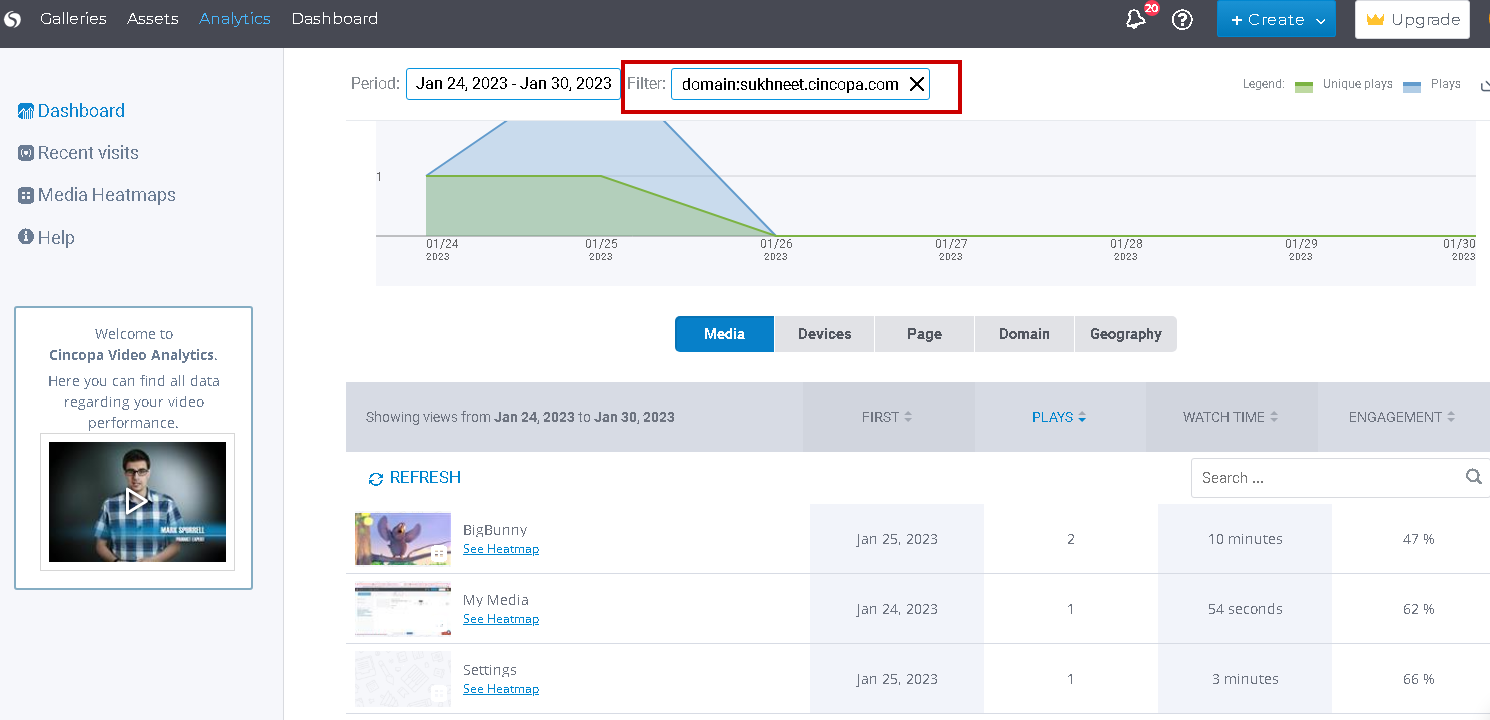
- To set up a filter, simply click on the tab on which you would like to set up the filter. For example, click on the Domain tab and then click on the domain for which you would like to see the analytics.The results in the all the other tabs will get filtered based on the domain name you will select. Using the domain example above, because there is filter set up on the domain, when you click on the media tab you will only see media from the filtered domain. Same thing with devices, pages and geography. It will only be shown for the selected domain. Similarly, if you set up a filter on the page, you will only see media, domain, device, and geography for the page that’s used as the filter.
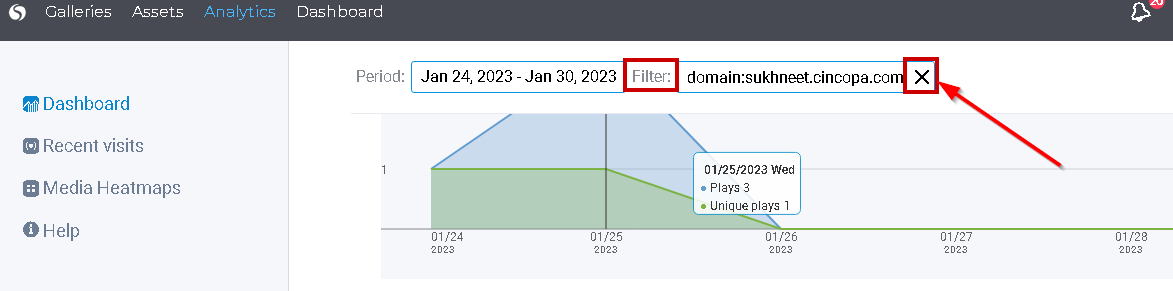
- To clear a filter, simply click on the X next to the Filter field as shown below.