This article explains how you can link Moodle courses to Cincopa Sub-Accounts by using the account API token. This feature is useful when you want to upload assignment submissions to different sub-accounts as opposed to uploading it all into one account. To link a sub-account to the moodle course, the first step would be to create a custom field at the course level to store the Cincopa account API token, then generate and copy the API token from your Cincopa account and lastly insert the token into the custom field in the Course settings.
Steps for creating a custom field to store the Cincopa API token:
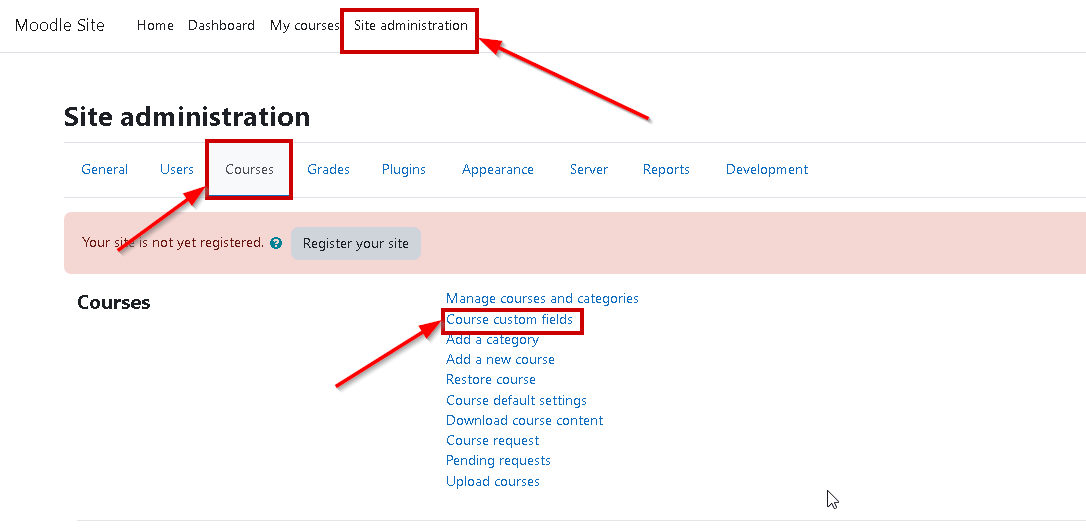
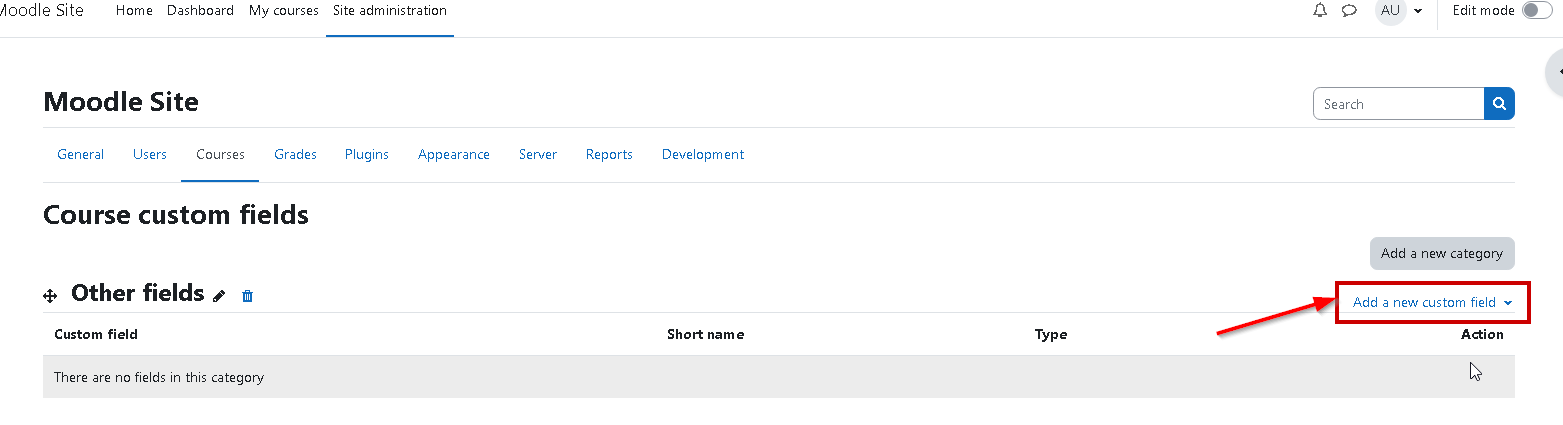
- Login to Moodle as a Site admin and click on Site Administration as shown below. Then click on Courses tab and click on Course custom fields option.

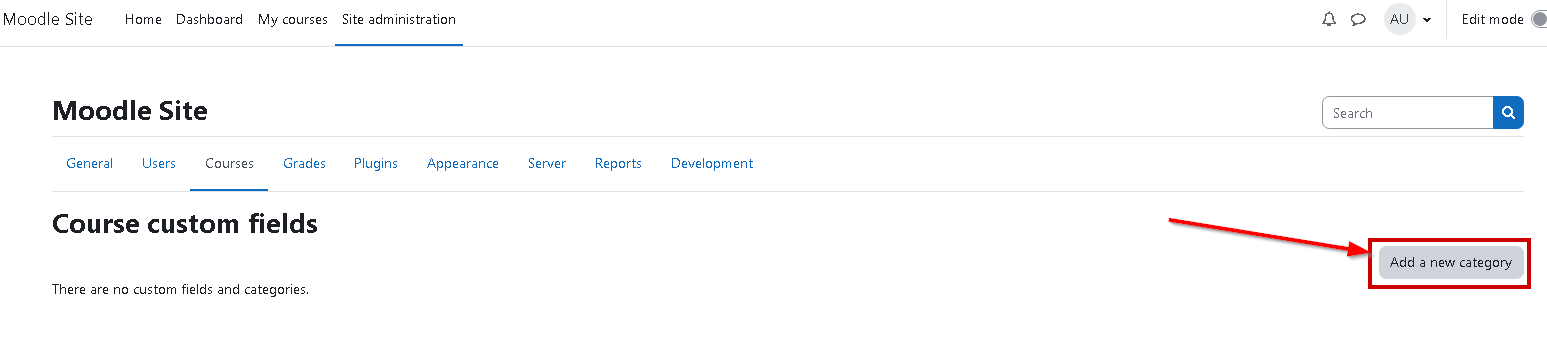
- Click on Add a new category button.
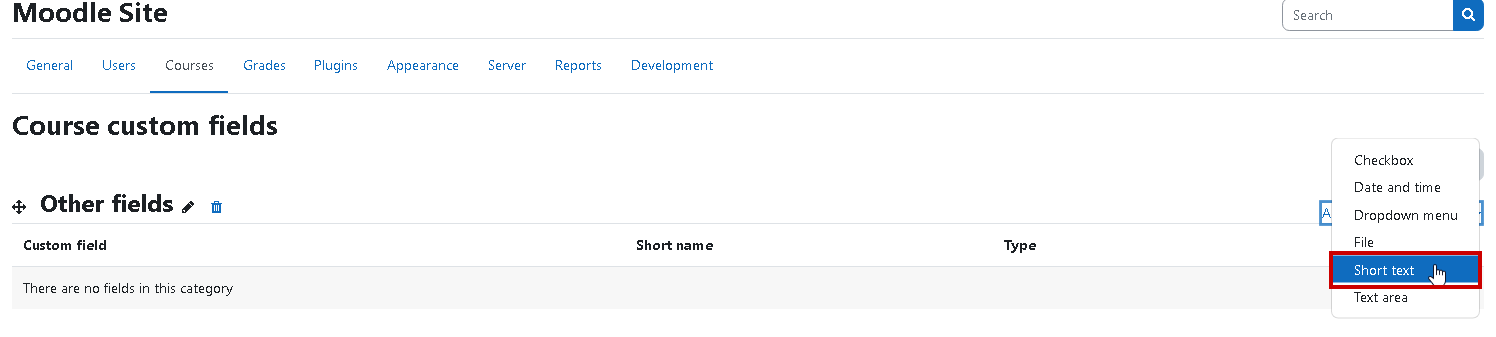
- From the Add a new custom field dropdown, select Short Text.
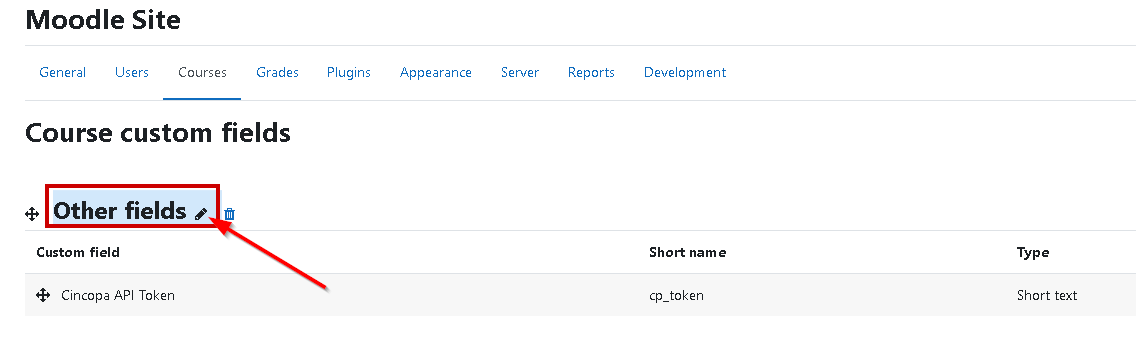
- Enter field Name of your choice e.g. Cincopa API token. Short name must be set as ‘cp_token‘. Save the changes.

Note: You can also change the label ‘Other fields‘ to something else e.g. Sub-Account Details as that is what will be displayed in the course settings unless you plan on using this category for creating other fields that are not tied to your cincopa account.
Steps for generating and copying the API token:
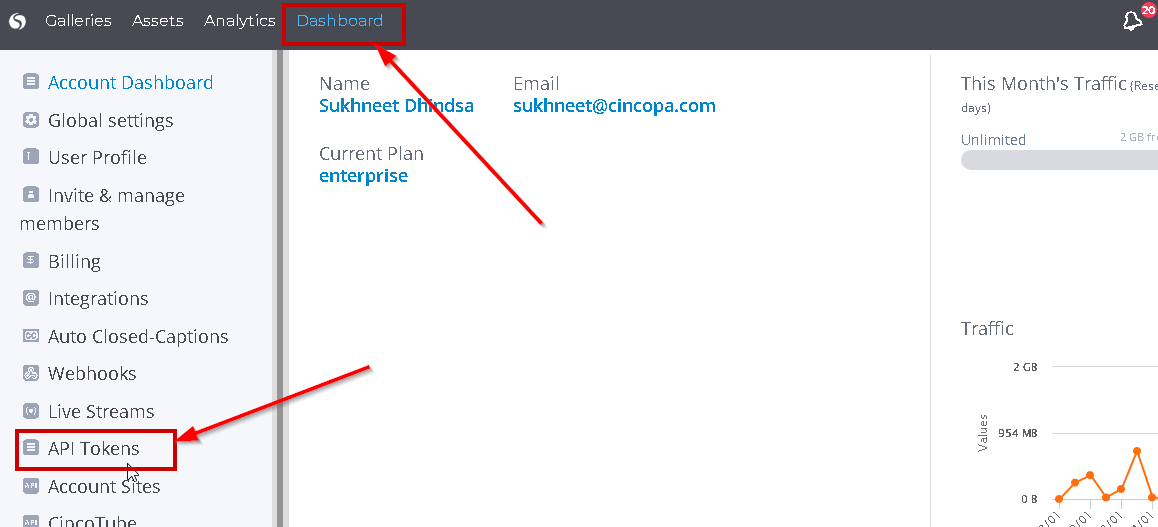
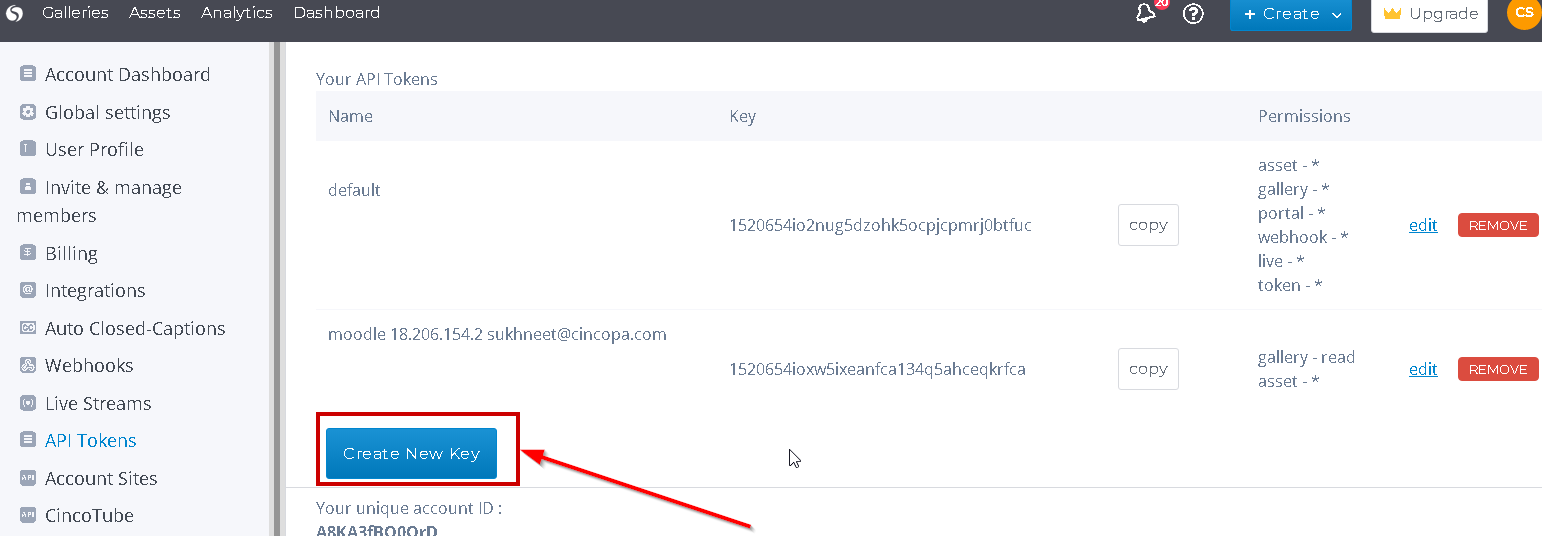
- Login to your Cincopa account and then under Dashboard click on API Tokens.
- Click on Create New Key.
- Enter a name for the API token, select the permissions as per your requirements. For the file submissions, it’s suggested to add permissions for both assets and galleries. Click on Creeate Key button.
- Click on the Copy button to copy the API token.


Steps for linking Course to a Sub-Account using the API token:
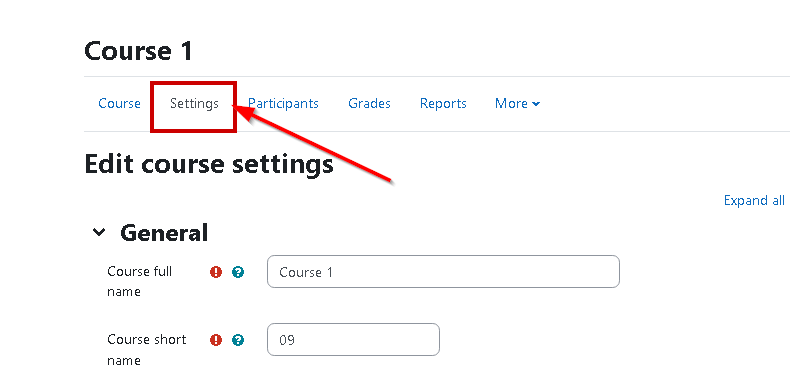
- Open the Course Settings as shown below and then scroll down to the ‘Other fields’ section unless you renamed the category at the time of creating the custom field.
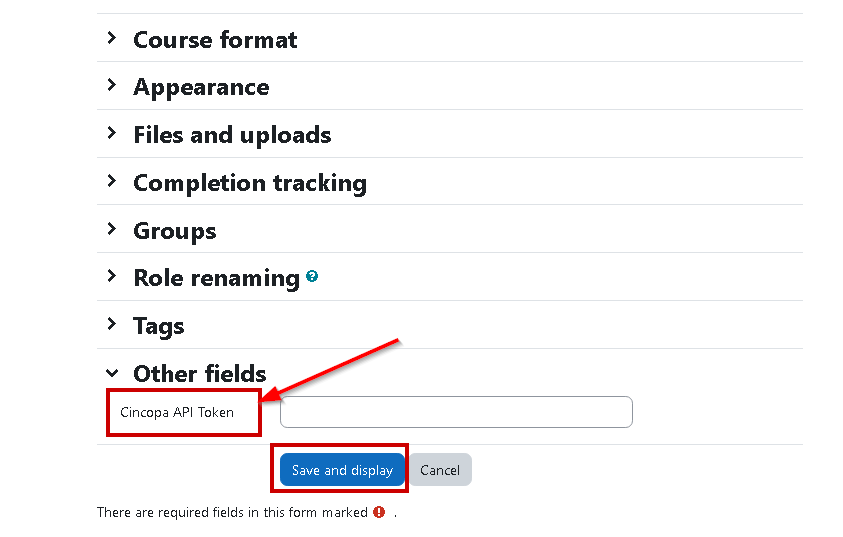
- You will see ‘Other fields‘ as a collapsible panel and upon expanding it will show the custom text field that was created to store the API token.
Paste the API token into the custom text field as shown below and click on Save & Display.