Thumbnails are images that can be added in your assets to understand what content that particular asset contains. With Cincopa’s Thumbnail API you can now set a thumbnail for your Cincopa Assets.
Thumbnail API allows you to upload an image and then assign that image to an asset id, so we can see that image as a thumbnail for the asset id.
Steps to Upload a thumbnail using Cincopa’s Thumbnail API
To start with you will have to upload an image and connect it with an asset id.
Next, we have to use – Start uploading an asset from an input URL: asset.upload_from_url.json
CALL:
https://api.cincopa.com/v2/asset.upload_from_url.json?api_token=1411253ioelwtf5vpvx5xto5z13gzgm55sg&input=https://images.pexels.com/photos/221471/pexels-photo-221471.jpeg&rid=AkHDZoTchUdR&type=thumb
RESPONSE BODY:
{
“success”: true,
“status_id”: “2bb1b34d-3303-4238-bfe8-507e0eb720f9”,
“runtime”: 29
}
In the above mentioned Call URL, you can see we have passed three parameters.
- input
Input URL is where you will insert the URL of an image file. Example: https://images.pexels.com/photos/221471/pexels-photo-221471.jpeg
- rid
This is the resource id of the asset in your Cincopa account where you would want the input image to be a thumbnail of. Example: AkHDZoTchUdR
- type
Type of the attached asset. Example: thumb
Once you call the above API, the Input URL image will be uploaded to the asset id/rid you added with the type.
Using the response from the above call, you will get a status_id which you can use as a parameter in the next call to obtain the rid of the image that we uploaded.
Next, we have to use – Get status during and after the uploading process: asset.upload_from_url_get_status.json
CALL:
https://api.cincopa.com/v2/asset.upload_from_url_get_status.json?api_token=1411253ioelwtf5vpvx5xto5z13gzgm55sg&status_id=2bb1b34d-3303-4238-bfe8-507e0eb720f9
RESPONSE BODY:
{
“status_id”: “2bb1b34d-3303-4238-bfe8-507e0eb720f9”,
“status”: “ready”,
“progress_bytes”: “680843”,
“more”: “success”,
“resid”: “AsJDEpTahcMY”,
“debug”: “2019-08-26T08:09:30.0351976-05:00 authentication ok\r\nfile received ok\r\nreading metadata ok\r\nfile stored ok\r\ncreating resource ok\r\nnew resource id 205136224 AsJDEpTahcMY\r\ndone.\r\n _bytesRecievedTotal=680843 _bytesSendTotal=680843 url=https://media.cincopa.com/post.jpg?uid=1411253&d=AAAAcAQtIWBAAAAAAEJqhoA&hash=x521bdtt1lmc3rau4i4qxx4rj3oqhp4b&addtofid=0&addtorid=205136197:thumb”,
“file_size_bytes”: “680843”,
“progress”: “100”,
“success”: true,
}
In the above mentioned Call URL, you can see we have passed one parameter.
- status_id
Status ID given by asset.upload_from_url. Example: 2bb1b34d-3303-4238-bfe8-507e0eb720f9
Once you make the above mentioned call, you will receive the rid for the uploaded image.
Using the image rid, we make another call to assign the uploaded image as a thumbnail for an asset.
Next, we have to use – Set metadata of an asset: asset.set_meta.json
CALL:
https://api.cincopa.com/v2/asset.set_meta.json?api_token=1411253ioelwtf5vpvx5xto5z13gzgm55sg&rid=AkHDZoTchUdR&thumb_attached_rid=AsJDEpTahcMY
RESPONSE BODY:
{
“success”: true,
“runtime”: 39
}
In the above mentioned Call URL, you can see we have passed two parameters.
- rid
This will be the rid/resource id of the asset to which we want to add a thumbnail.
- thumb_attached_rid
This will be rid of the image which you want to add as a thumbnail to the above-mentioned asset. You receive this by calling – https://api.cincopa.com/v2/asset.upload_from_url_get_status.json?api_token=1411253ioelwtf5vpvx5xto5z13gzgm55sg&status_id=2bb1b34d-3303-4238-bfe8-507e0eb720f9
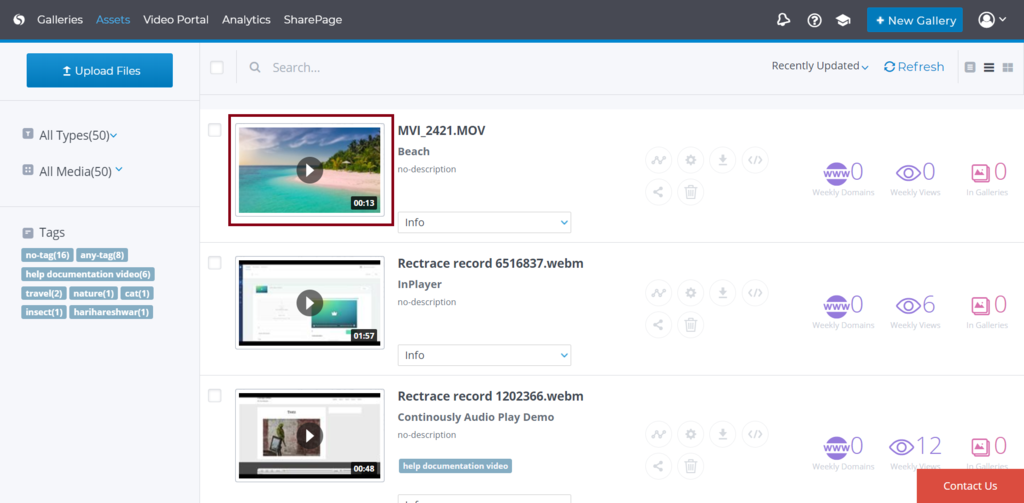
Now if you see your Cincopa account, you will see the new thumbnail been applied to the asset.