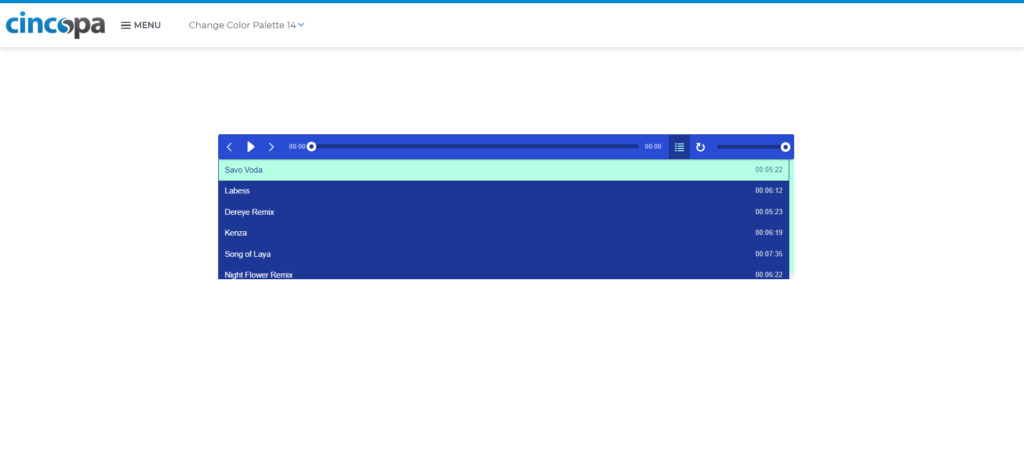
Cincopa allows you to upload your audio/podcasting files to your Cincopa account.
Choose your preferred upload method. Cincopa makes great effort to allow you the most convenient upload methods. You can upload your files in a regular way by dragging your files from PC or you can choose to upload your audios directly from your Instagram account, Dropbox, your own Email, etc.
Please note that you don’t need to resize and convert your audio files. Cincopa platform does that for you. Just upload your files.
- Free account users can upload up to 400MB of files ( up to 100MB for a single file).
- Premium users can increase the amount of storage, upload, and traffic quota using various Cincopa subscription plans
How to upload an audio file into your Cincopa Account?
There are two different scenarios where you can upload your audio file to your Cincopa Account:
1. How to Upload an audio file in your assets library?
2. How to upload an audio file in an audio gallery?
How to Upload an audio file in your assets library?
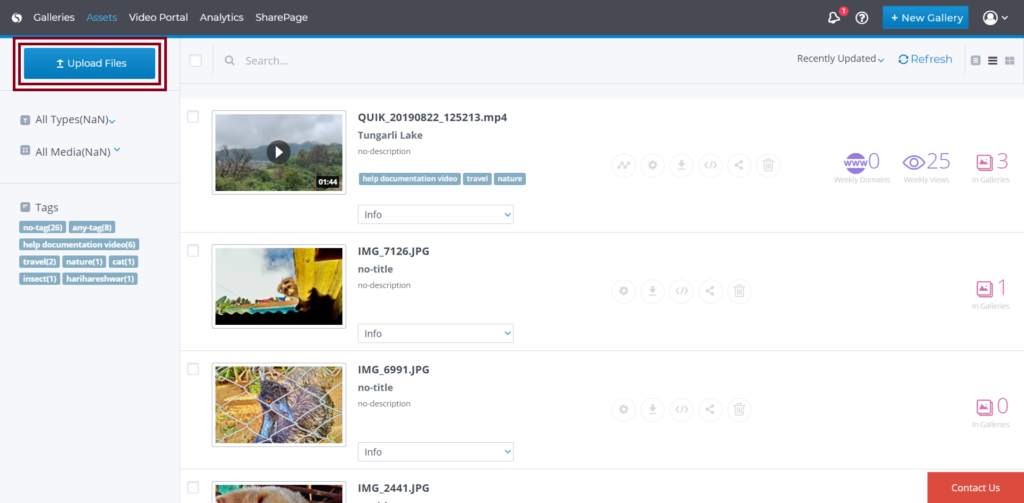
Once you access your Cincopa account click on Assets
Once you are in the Assets page click on Upload Files
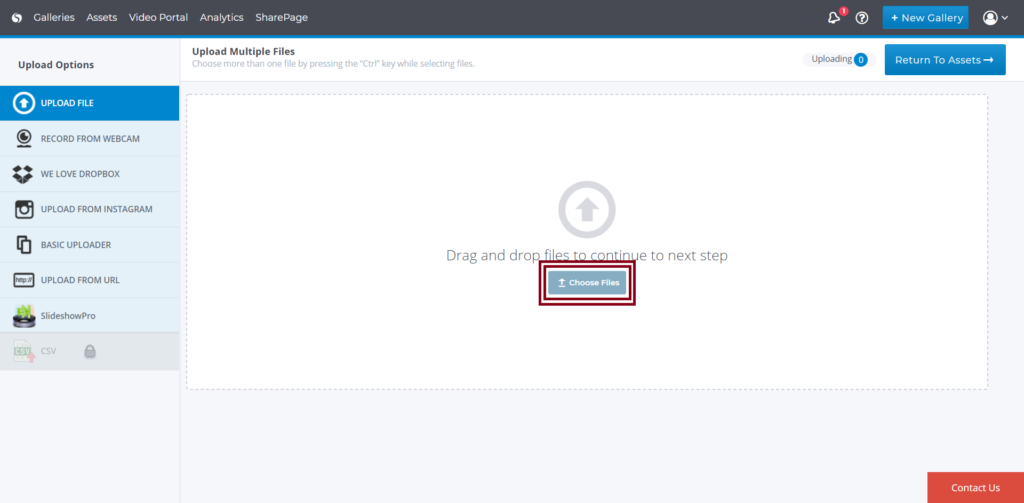
Next, you will be redirected to uploading options:
Multiple Files Uploader
Upload files directly from any browser, there is no need to install anything on your browser or PC.
- Use the “Upload multiple files” options from the menu (this is the default option).
- Click on “Choose file” button
- Mark the files you wish to upload by pressing the “Ctrl” key while choosing multiple files.
- Upload files
Drag and Drop Upload
Drag and drop upload is the easiest way to transfer a file from your computer to your Cincopa cloud-drive. Drag-and-drop upload requires you to mark the files you wish to upload by pressing the “Ctrl” key while choosing multiple files. Drag the files, drop them in the designated area, and you are ready to go.
Next, click on Choose Files and select your audio file from your computer
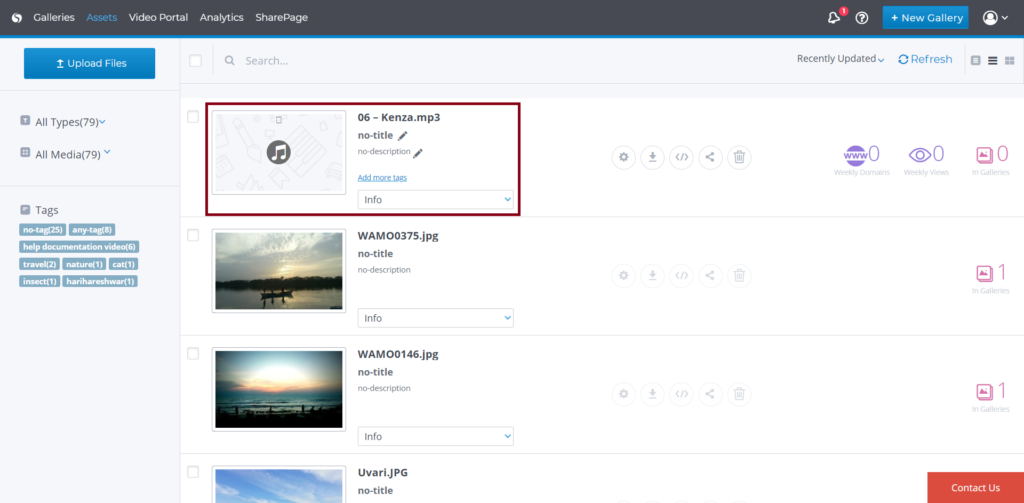
Your audio file will then get uploaded to your Cincopa assets library. Once the upload process is completed click on Return to assets
If you check your Assets Page, you will now see the audio file uploaded to your Assets library.
How to upload an audio file in an audio gallery?
In this example, we will create a new gallery from start and then upload an audio file to that gallery.
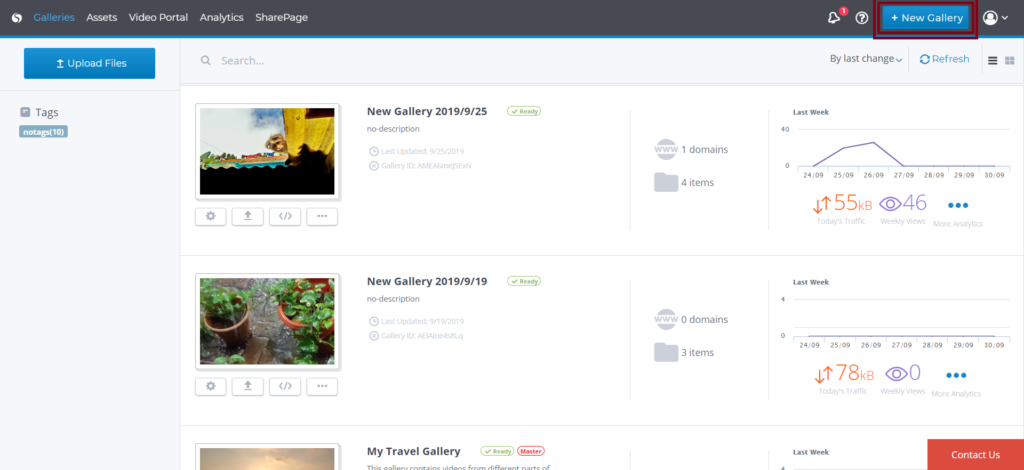
Once you access your Cincopa account click on Galleries
Once you are in the Galleries page click on + New Gallery
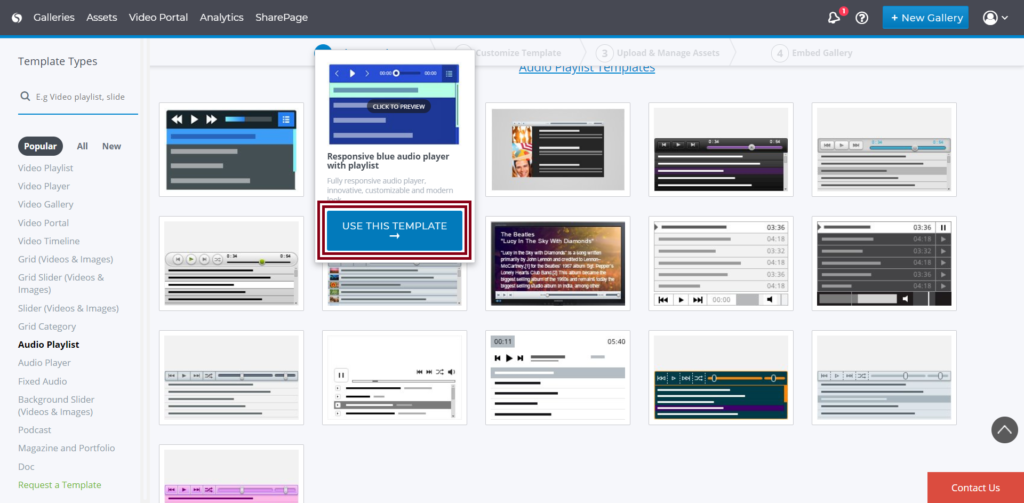
Now choose an audio template for the new gallery where you would like to see the audio files you will upload. So click on USE THIS TEMPLATE after hovering over a template.
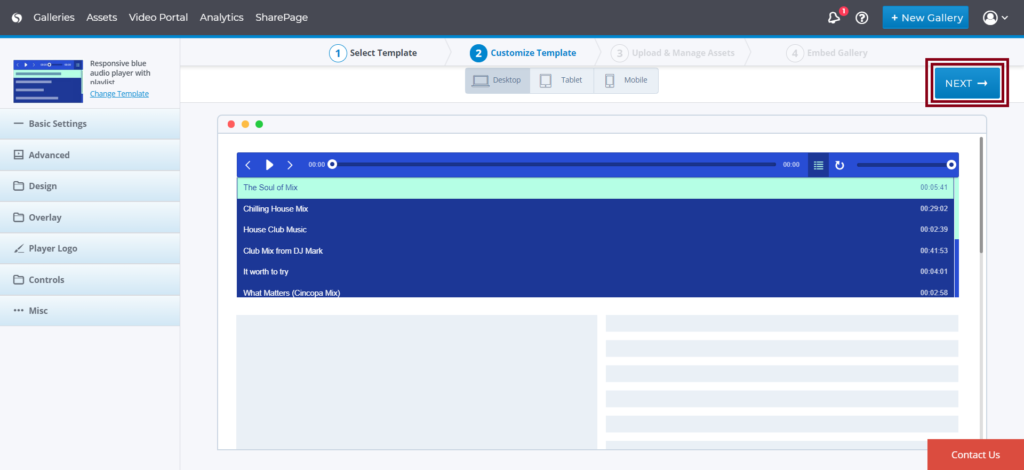
You will then be redirected to the Gallery settings page where you will have many customization options for your gallery and it will show a default audio playlist as we have not yet uploaded any audio files yet.
To continue further, click on Next
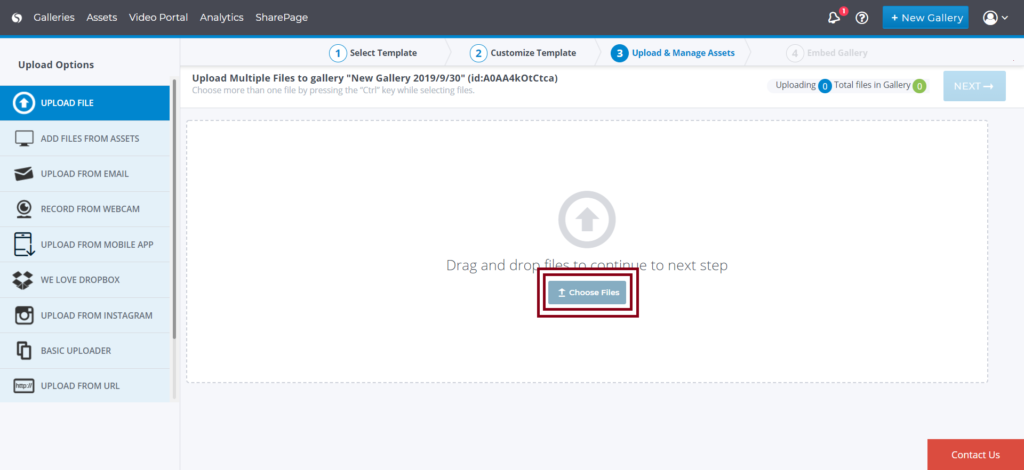
Next, you will be redirected to uploading options:
Multiple Files Uploader
Upload files directly from any browser, there is no need to install anything on your browser or PC.
- Use the “Upload multiple files” options from the menu (this is the default option).
- Click on “Choose file” button
- Mark the files you wish to upload by pressing the “Ctrl” key while choosing multiple files.
- Upload files
Drag and Drop Upload
Drag and drop upload is the easiest way to transfer videos and images from your computer to your Cincopa cloud-drive. Drag-and-drop upload requires you to mark the files you wish to upload by pressing the “Ctrl” key while choosing multiple files. Drag the files, drop them in the designated area, and you are ready to go.
Next, click on Choose Files and select your audio files from your computer
Your audio file will then get uploaded to your new gallery and once the upload process is completed click on NEXT
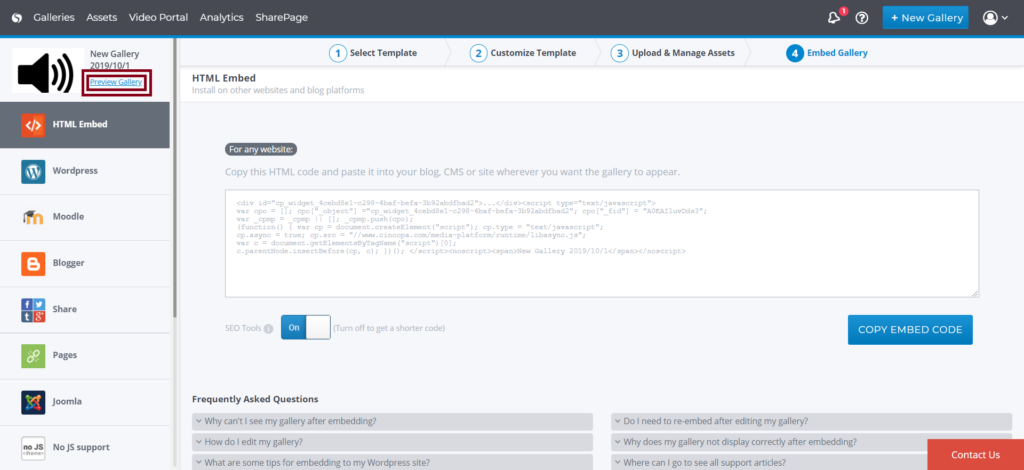
Next, you will be redirected to the embed page which means your Gallery has been created with the audio files you uploaded. You can click on the Preview Gallery
You will now see the audio files with the gallery you created
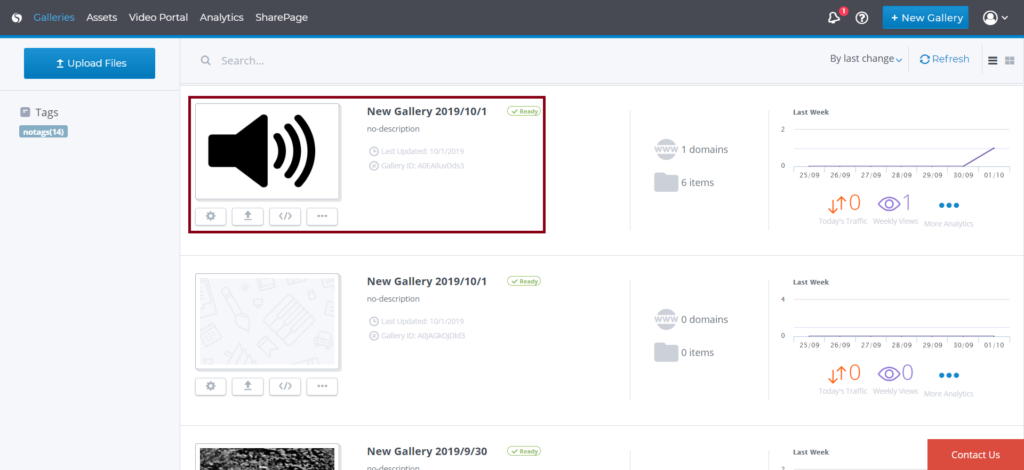
You can also see your new gallery under your Cincopa account Gallery Page.


