In HTML an iframe tag is used to embed content from one web page to another. An iframe helps to display multiple web pages from different servers in one single page.
With proper use of Adjusting Heights and Sides, you can also crop another Webpage into your own Webpage as required.
Cincopa uses iframes to embed the videos, audio, and images to the user’s websites.

Putting video on your website is the best way to get your message across. The act of putting a video on your website is called embedding, and in this guide, we’ll show you how to get it done right.
Once the media file is uploaded and the media gallery, settings, and customization are done, the gallery is ready to embed on your web assets or share with friends.
Once you’ve uploaded and customized your video, you’re ready to go ahead and embed.
Note: you can make changes in gallery settings and it’s customized after the gallery is embedded. Those changes will automatically apply anywhere the video is embedded.
An embed code is a snippet of code that you can use to add content (like a video!) to a web page.
How to use the Embed Code option to display a gallery on your website?
To start with, login to your Cincopa account using the URL: http://www.cincopa.com and click on Galleries
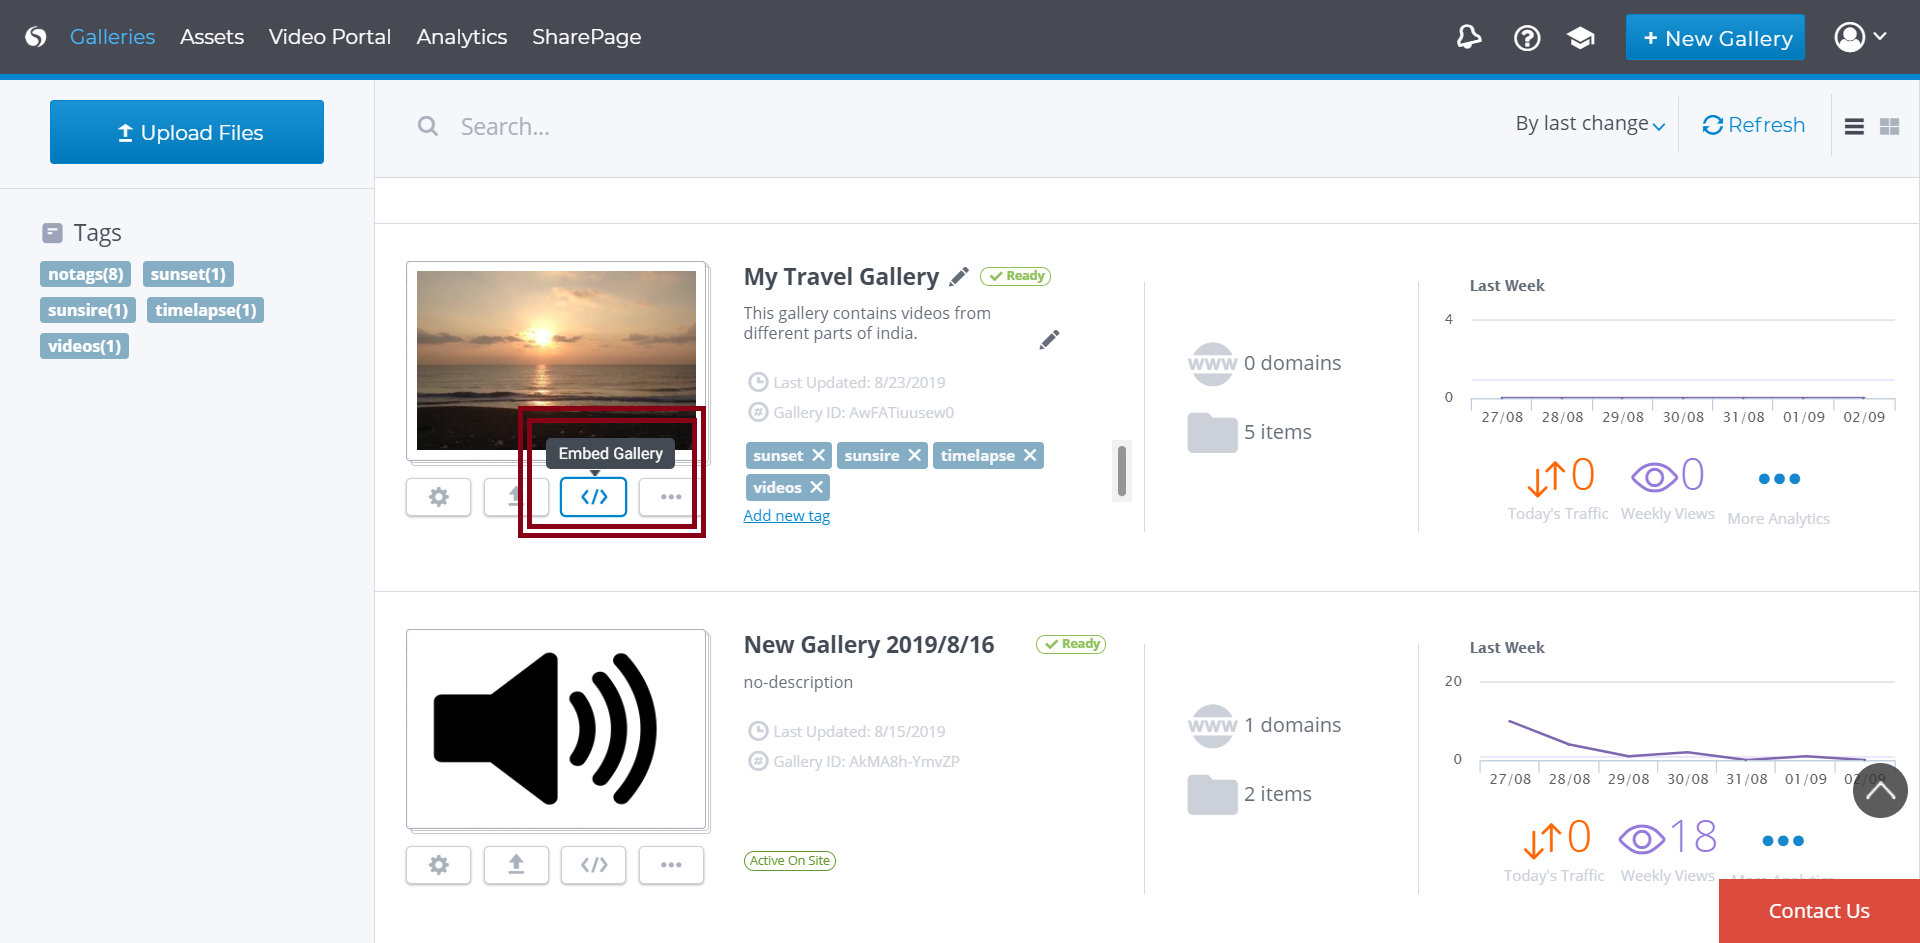
Now scroll and search for the gallery that you would want to embed on your website and the click on Embedd Gallery as shown in the screenshot below.
Once you click on Embed Gallery, you will see multiple options to share your media to your website as per the platform or CMS you are using like HTML Embed, WordPress, Moodle, Blogger, Share, Pages, Joomla, No JS support, Emails, and Campaigns and Others.
Choose the method you want for embed. Cincopa offers many ways to embed media galleries based on destination and needs.
Among these options, HTML embed and No JS support are the two iframe sharing options.
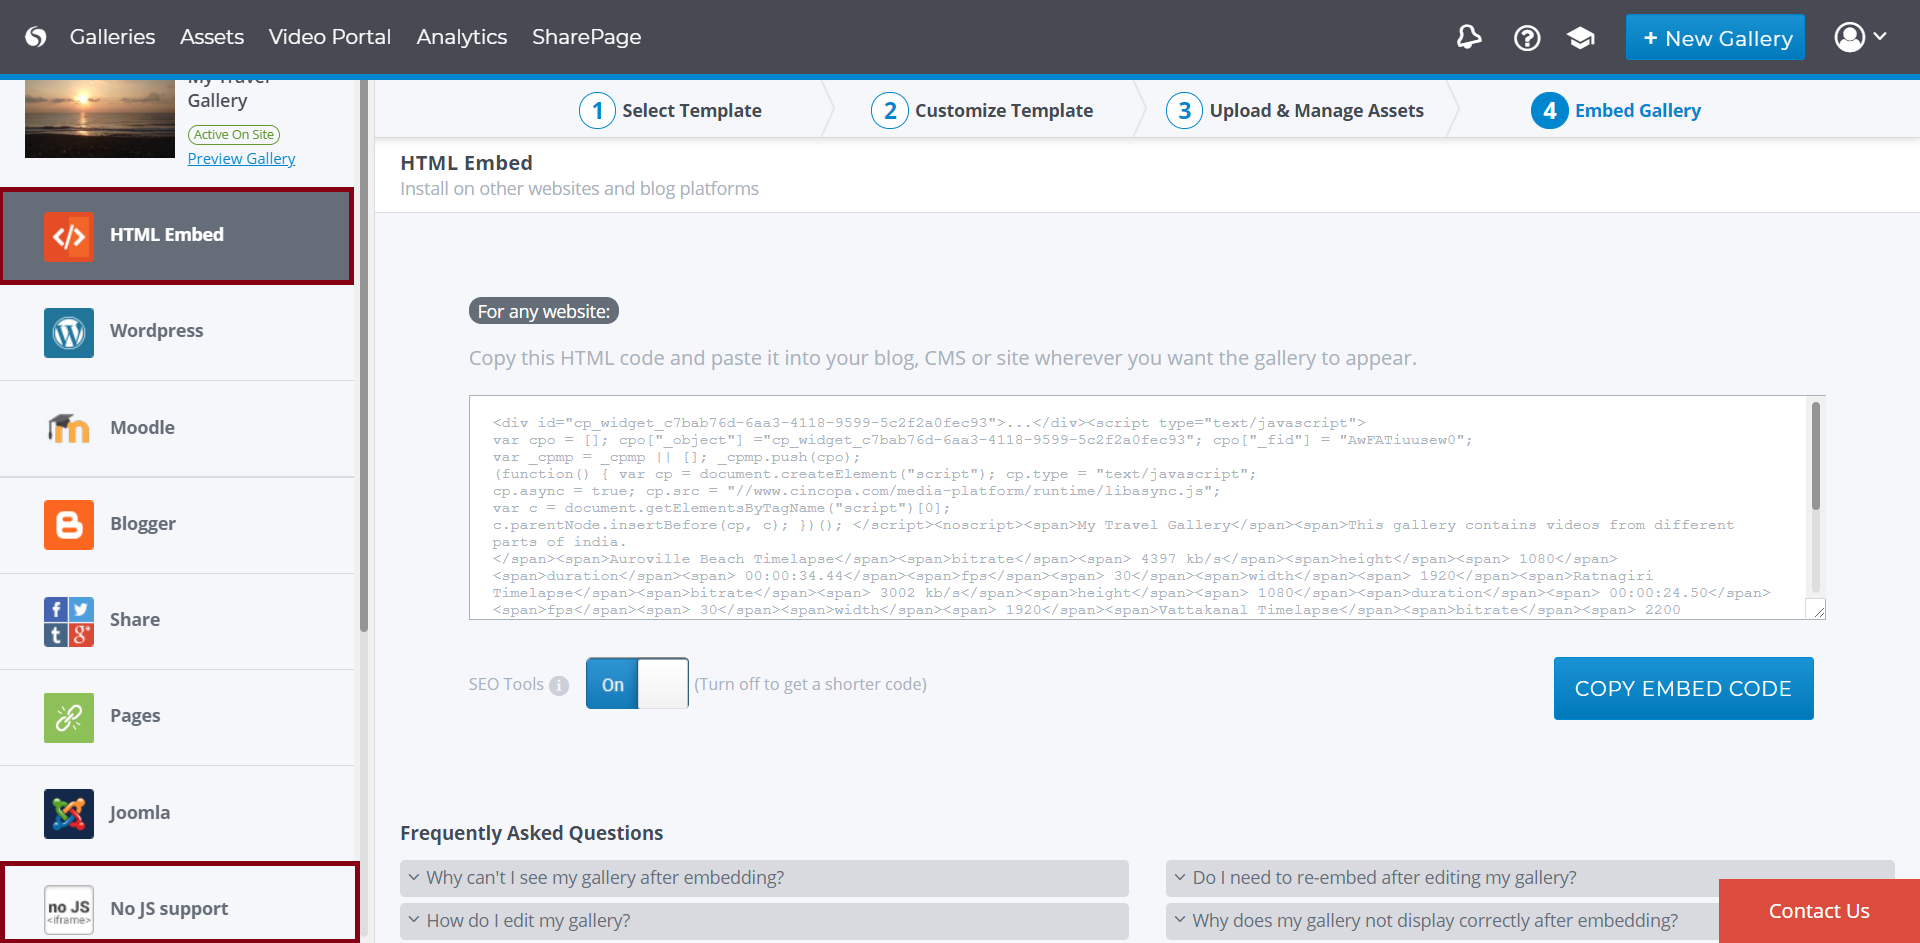
HTML EMBED:
Now click on HTML embed option and you will see the embedded code. Then click on Copy Embed Code to copy the iframe code and then you can paste it on any website platform that supports adding HTML/JS code.

You will now see the gallery embedded to your website.
This method is compatible with any website. The embed code will place the video directly on the page, in line with the rest of your content.
NO JS SUPPORT:
While the Standard embed HTML code will work great in most cases, some websites can give it a little trouble.
Now click on No JS support option and you will see the embedded code. Then click on Copy Embed Code to copy the iframe code and then you can paste it on any website platform that does not support JScript.

You will now see the gallery embedded to your website. Use iFrame Embed code when your CMS does not support JScript.
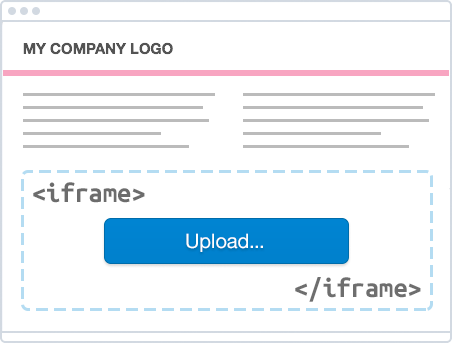
Upload iFrame
If you operate with user-generated content on your website, you need a simple solution allowing end users to seamlessly upload media files. Our ‘iframe upload’ feature helps you to configure a user-friendly interface for drag-n-drop file upload, uploading selected files, as well as editing, managing, and deleting assets.
Take advantage of iframe upload‘ if you work with a CMS-based website, an LMS or CRM system. All media from end-users will be uploaded directly to the galleries they select.
Use our deep upload technology to integrate Cincopa Upload iFrame directly to your application or web service.
HTML iframe to upload/delete/reorder an gallery / upload.iframe API
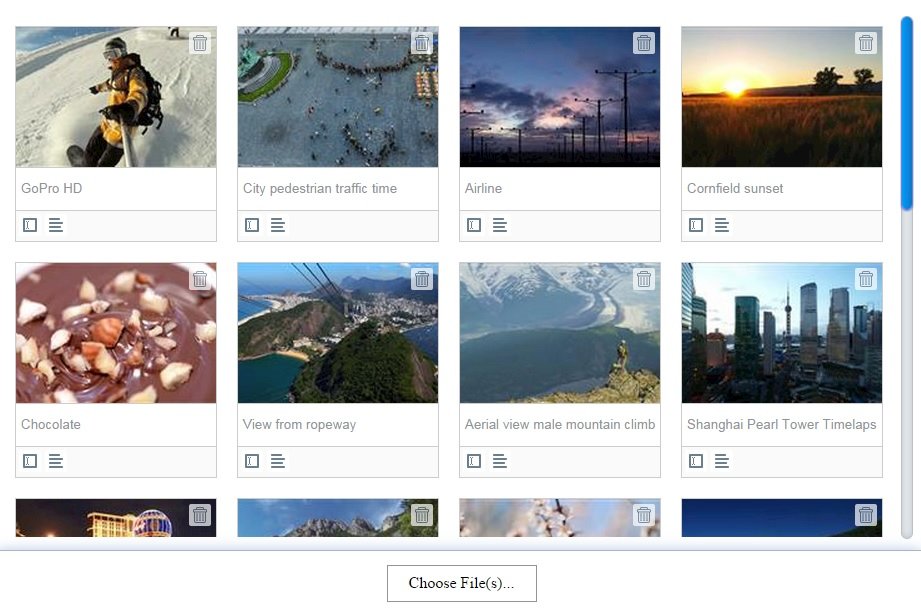
This method is actually a URL for an iframe which allows end-users to upload media directly to a Cincopa gallery using an embedded iframe. This iframe provides a unified simple interface to an end-user to uploading using drag and drops, select media, edit the media information, reordering and deleting. The iframe supports mobile, tablet and desktop and will adopt the size and shape according to the site layout.
Here are some scenarios where this iframe can be used :
CMS system like WordPress and BuddyPress in an editor mode where the user can attach the media while in the authoring mode of a post, article or profile.
LMS system in teachers mode where the teachers can add media to a lesson
CRM system like Salesforce where a media can be attached to any object for example product object where the iframe can be added to the product’s layout and allow adding videos, images, audio and docs to that object
Every media that is uploaded will reside in a gallery, this gallery can be referenced using 2 methods, those 2 methods are interchangeable and were created to make the integration with the different system much simpler :
Cincopa Identifier – this id (also known as FID) is issued by the API (or when creating a gallery in www.cincopa.com). when using FIDs your system should save it either in CMS page (like shortcode in WordPress) or in an extra field in the CRM object.
External Identifier – this id (also knows as RRID) is actually a remote reference given by your system, for example in WordPress this can post id. in Salesforce this can be the unique id of the specific object.
API CALL
CALL:
https://api.cincopa.com/v2/upload.iframe?api_token=1411253ioelwtf5vpvx5xto5z13gzgm55sg&fid=AwCAjiug2P7y
RESPONSE BODY:
<iframe width="100%" height="430" src="https://api.cincopa.com/v2/upload.iframe?api_token=1411253ioelwtf5vpvx5xto5z13gzgm55sg&fid=AwCAjiug2P7y" frameborder="0" allowfullscreen scrolling="yes" allow="geolocation *; microphone *; camera *"></iframe>
Embedding the gallery in your page can be done by adding a javascript or HTML code. When embedding a fix gallery with a know fid (created manually using the Cincopa wizard or obtained with the REST API) use the following code (or copy and paste from step #4 in the wizard) :
<div id=”cp_widget_1″>…</div>
<script type=”text/javascript”>
var cpo = [];
cpo[“_object”] =”cp_widget_1″;
cpo[“_fid”] = “<GALLERY_FID>”;
var _cpmp = _cpmp || []; _cpmp.push(cpo);
(function() { var cp = document.createElement(“script”); cp.type = “text/javascript”;
cp.async = true; cp.src = “//www.cincopa.com/media-platform/runtime/libasync.js”;
var c = document.getElementsByTagName(“script”)[0];
c.parentNode.insertBefore(cp, c); })();
</script>
When embedding a gallery with rrid (created by the upload.iframe) use the following code :
<div id=”cp_widget_1″>…</div>
<script type=”text/javascript”>
var cpo = [];
cpo[“_object”] =”cp_widget_1″;
cpo[“_uid”] = “<UNIQUE_ACCOUNT_ID>”;
cpo[“_rrid”] = “<REFERENCE_ID >”;
cpo[“_template”] = “<GALLERY_ID>”;
var _cpmp = _cpmp || []; _cpmp.push(cpo);
(function() { var cp = document.createElement(“script”); cp.type = “text/javascript”;
cp.async = true; cp.src = “//www.cincopa.com/media-platform/runtime/libasync.js”;
var c = document.getElementsByTagName(“script”)[0];
c.parentNode.insertBefore(cp, c); })();
</script>
Comments about the code:
cp_widget_1 in the id of the div and should be unique in the page, if you have more than one then set the second to cp_widget_2 etc. make sure to update
cpo[“_object”] =”cp_widget_2″; to the same div id
UNIQUE_ACCOUNT_ID can be found at the bottom of the API page
REFERENCE_ID should be the same as rrid from the iframe
GALLERY_ID is the ID of a gallery in your account that will be used as the visual template, create as many templates as you like in your account, call it template1-X, choose the template, customize to your liking and use the ID. you can also use Ids of system templates from the start page for example AEAAQdbniShi