Many e-learning organizations rely on simple tools to share their training videos, Google Drive links, unlisted YouTube videos, Vimeo links, or files sent through Slack, WhatsApp, and Google Docs.
This may seem manageable at first, but it creates serious limitations once the content becomes part of a paid program or needs structured access control.
These links can be easily forwarded or downloaded; anyone with the URL can watch the video, and there is no reliable way to prevent unauthorized access. As your video inventory and lessons grow, managing content across scattered tools becomes even more difficult.
Another major problem is the lack of analytics that these platforms have. Vimeo and YouTube don’t offer granular analytics that allow content creators to understand who’s watching the videos, what they are watching, or how much progress they are making in their learning.
Why Traditional Tools Don’t Work
Traditional tools like Google Drive, YouTube, Vimeo, and Slack might seem easy and convenient at first, but they quickly become inefficient as your content and audience grow. These tools often lack the structure needed to manage a large library of videos. Without a clear system to organize lessons or control access, learners can struggle to navigate content, leading to confusion and wasted time.
Additionally, these platforms pose security risks. Links can be shared with unauthorized users, and there’s no reliable way to stop downloading or prevent the videos from being shared further. This is especially problematic for e-learning businesses that require controlled access to protect their intellectual property.
Furthermore, these tools don’t provide the level of analytics necessary to measure learner engagement effectively. Without insights into who is watching, how long they are watching, or where they are losing interest, it becomes impossible to optimize content or identify areas where learners may need additional support.
This lack of visibility makes it more challenging to track progress, ensure the effectiveness of your training programs, and make informed, data-driven decisions.
The Impact of Poor Training Infrastructure
When a university, training institute, or coaching academy lacks a structured system for delivering video courses, it directly affects both teaching operations and the student experience. Without a proper platform, course content becomes scattered across multiple tools, making it difficult for students to find lessons, follow a learning path, or revisit important material.
Instructors often spend unnecessary time managing links, responding to access-related questions, and manually sharing or re-sharing content. As the number of courses and students grows, this manual effort increases, reducing the time available for teaching, mentoring, or improving course material. Without a clear structure, students may miss lessons, struggle to keep up with the course flow, or disengage altogether.
Another challenge is the lack of visibility into student engagement. When video platforms do not provide detailed analytics, institutions have no reliable way to understand which lessons are being watched, where students drop off, or which topics require further explanation. This makes it difficult to improve course quality or measure learning outcomes over time.
Poor infrastructure also limits an institution’s ability to scale. Adding new courses, managing multiple batches, or introducing paid programs becomes harder when content access, organization, and permissions are handled manually. Without a system designed for structured video learning, expanding offerings and maintaining a consistent learning experience becomes increasingly difficult.
CincoTube
CincoTube solves these problems. It acts as a private, secure, and white-labeled video portal where e-learning teams can host, organize, and deliver their content without needing custom development.
Videos can be organized in a simple, structured way and shared only with the learners who should have access. You can easily decide who can view each course, enable moderation when needed, and control how your content is used. This makes it straightforward for training teams to manage their lessons, protect their videos, and maintain a consistent experience for their learners.
CincoTube Core Features
Organized Learning Structure
CincoTube allows training teams to arrange their video content in a way that matches how they teach. Instead of storing videos in scattered folders or sharing individual links, lessons can be grouped into Channels, courses, and further divided into modules or topics. Both VOD and live session recordings are supported, making it easy to keep all learning.
This creates a structured flow that is easier for both instructors and students to follow. It also reduces confusion during long programs, where multiple courses, recordings, and supplementary materials need to stay clearly separated.
Access Control
One of the main challenges in e-learning is controlling who can watch the videos. CincoTube supports restricting content so it can only be viewed by authenticated users, assigned courses, or specific user groups. It also includes settings to prevent casual downloading or sharing.
This gives training teams better control over their learning materials and helps avoid situations where videos are forwarded or accessed by people who are not part of the program.
Monetization
Training companies that charge for access—whether through subscriptions, one-time payments, or cohort-based pricing—can connect this structure directly with their payment system, like Stripe. With CincoTube, access to specific courses or lessons can be linked to the student’s payment status.
This helps ensure that only paying users can view the content, and it removes the manual work of giving or removing access for each student. It also works well for academies that operate multiple programs with different price points.
Analytics
Understanding how students engage with video lessons is important for improving the learning experience. CincoTube provides insights such as how much of a video was watched, where viewers stopped, and which lessons received more attention.
This information helps instructors identify topics that may need re-teaching, additional support materials, or updated recordings. It also helps program managers understand overall engagement across courses, making it easier to refine the training process over time.
Annotations & Chapters
CincoTube also supports annotations and chapter markers, allowing instructors to break longer videos into clear sections. Chapters help learners navigate directly to specific topics without manually scrolling, while annotations can highlight important explanations, links, or instructions at precise timestamps. This makes lessons easier to follow, improves comprehension, and helps students revisit key parts of the content during revision or practice.
Real-World Examples
Use Case 1: Syntax Technologies
Before adopting CincoTube, Syntax Technologies delivered its programs through a mix of Zoom live classes, Google Drive, online recording, and occasional classroom videos.
Students received the recordings through Google Docs or Drive links. This worked temporarily, but the team struggled to control access because links were easily forwarded, and students could download videos without permission. They also had no way to see who was watching the videos or what content learners were engaging with.
Although Syntax already had a CMS website and used Stripe for payments, none of this connected to their video delivery. They were lacking a true video platform that could unify their content, permissions, and course structure.
Managing access for each cohort became manual, and as their student base grew, keeping content organized across courses and preventing link-sharing became difficult for their small team.
CincoTube gave them a single, structured space to organize all lessons into workspaces and channels, assign access to specific cohorts, and deliver videos securely through their website.
With payment-linked access and built-in restrictions, Syntax no longer has to manage permissions manually. This setup now powers and supports all of their courses, providing clear organization, enhanced content protection, and visibility into user activity on the system.
Use Case 2: Phoenix Learning
Phoenix Learning is an education platform founded by Stefan Tzvetanov, built to help learners gain practical skills for careers in hedge funds and financial research. Their training content was initially delivered through a custom-built CMS that handled lessons, videos, and subscription pages all in one place. As the platform expanded, this setup became difficult to maintain and was expensive to develop.
Users frequently faced issues on the sign-up page, which made it difficult for them to continue onboarding. Even after signing up, important actions such as accessing the “Start Learning” button or navigating to the course or pricing pages did not consistently redirect them to the correct destination.
These issues impacted conversions and rendered the platform unreliable for paid learners. In addition, the team struggled to protect their training videos, since the CMS did not include any safeguards to prevent downloads or unauthorized sharing. They also lacked analytics, so there was no visibility into who was watching the videos or how learners were engaging with the content.
CincoTube helped resolve these issues by offering a structured and secure environment for delivering content. Lessons could be organized into workspaces and channels, creating a clearer learning flow.
Access controls prevented videos from being downloaded or circulated without permission, and content visibility could be tied to subscription levels. Instead of continuing to build and maintain their own CMS, Phoenix was able to use CincoTube directly as their lesson and video platform. They quickly created branded workspaces, uploaded their training content, and replaced the unstable custom system with a reliable, ready-to-use solution. The simple interface also made it easier for the team to manage user access and permissions without additional development work.
Setting Up CincoTube for Your e-Learning Platform
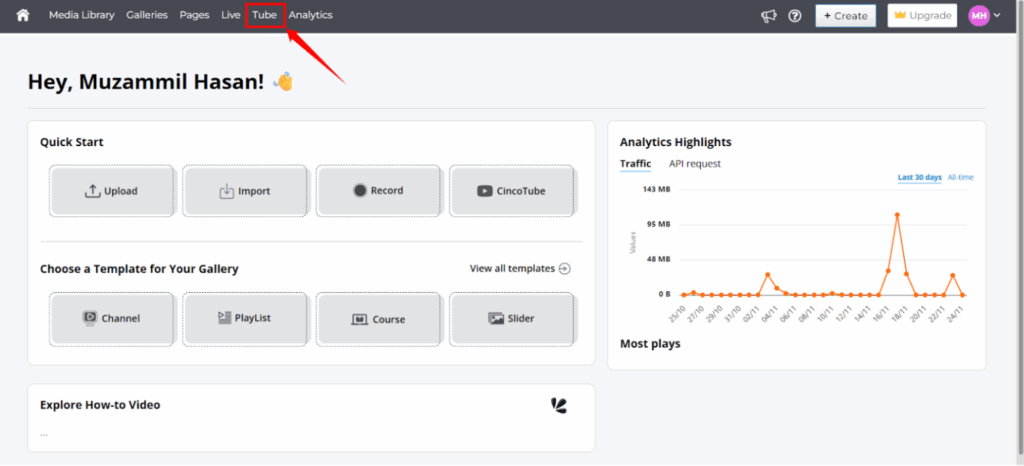
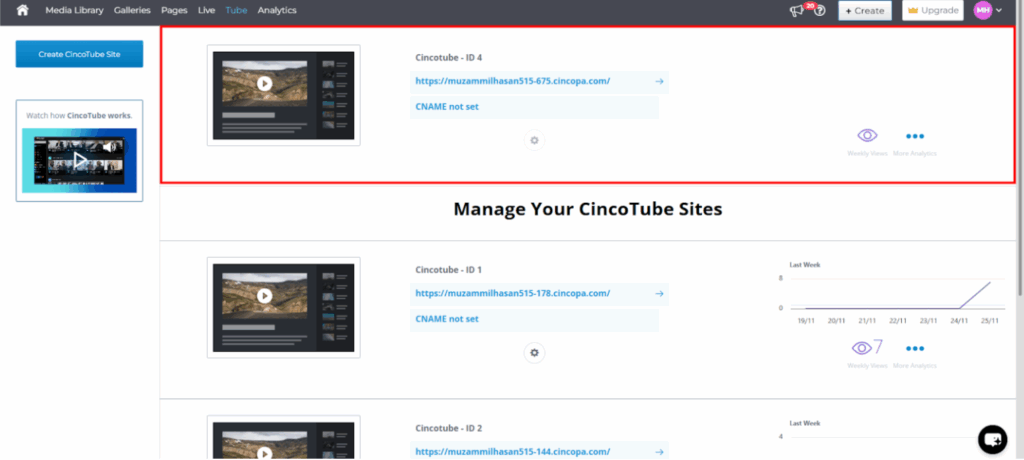
Step 1: Log in to your Cincopa account and go to the Tube section.
Step 2: Click on the Create CincoTube site option.
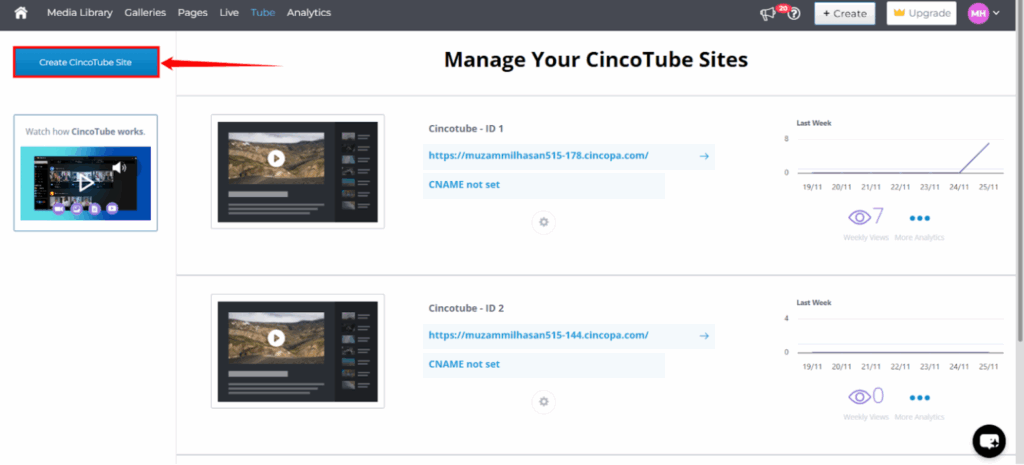
Step 3: Once the site is created, your CincoTube site will be available in your account.
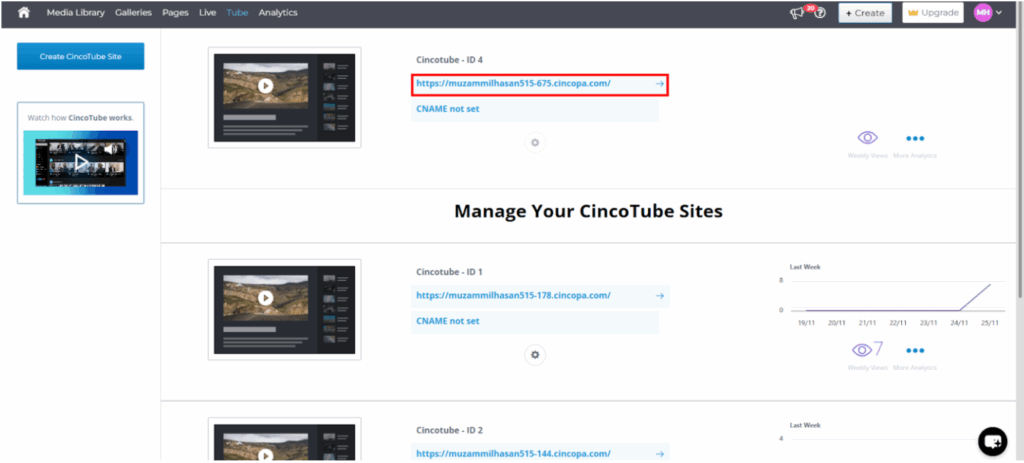
Note: If you want to use your own domain, you can set up a CNAME. To do that, refer to the “How to set up CNAME for CincoTube Site” guide.
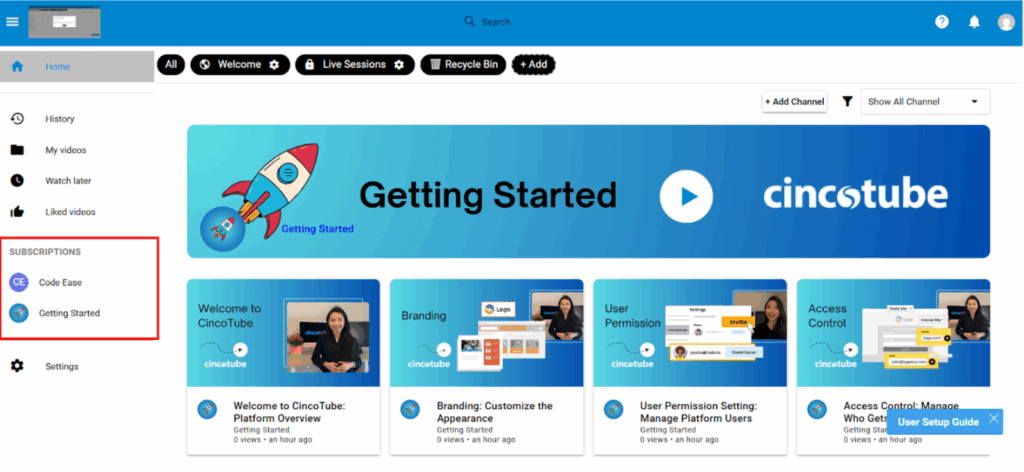
Step 4: Navigate to your newly created CincoTube site
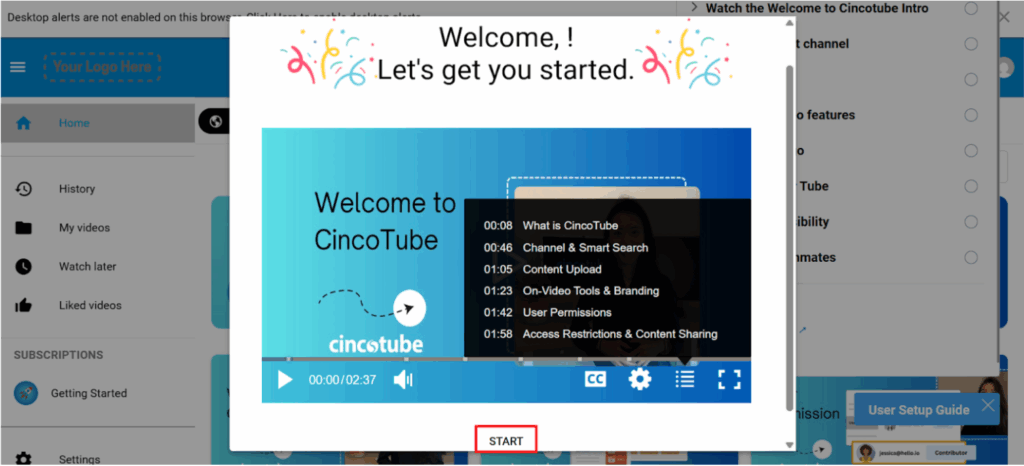
Step 5: You will be redirected to your CincoTube space. A short introductory video will appear, giving you a quick overview of how CincoTube works. Click on the Start button to continue.
Step 6: Begin by adding your brand logo so that your CincoTube space matches your e-learning brand.
![]()
Step 7: Click on the + Add button to start setting up your structure.
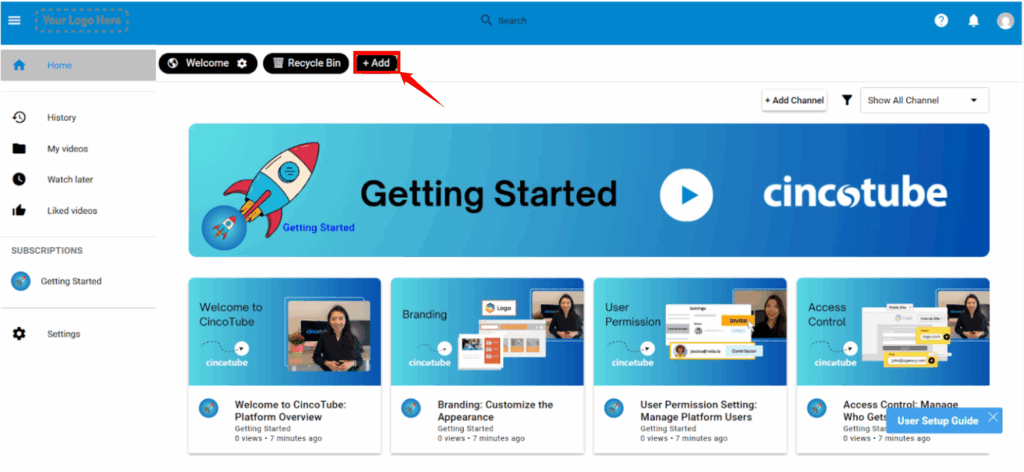
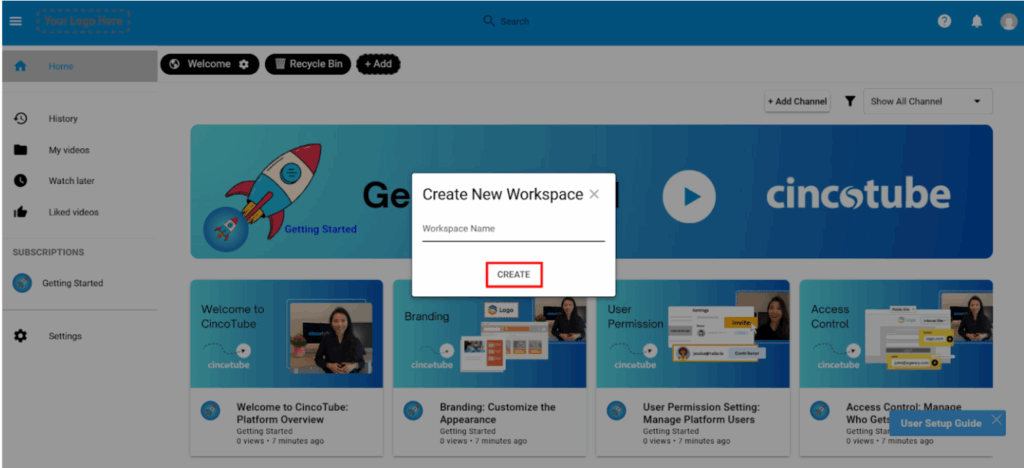
Step 8: Create a workspace and give your workspace a name (for example, “Live Sessions”) and click on the Create button.
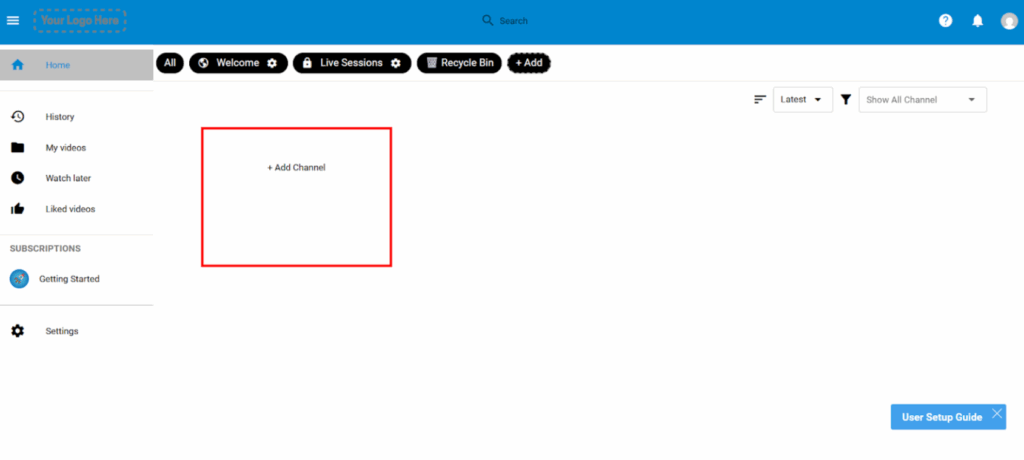
Step 9: After the workspace is created, add a channel inside that workspace.
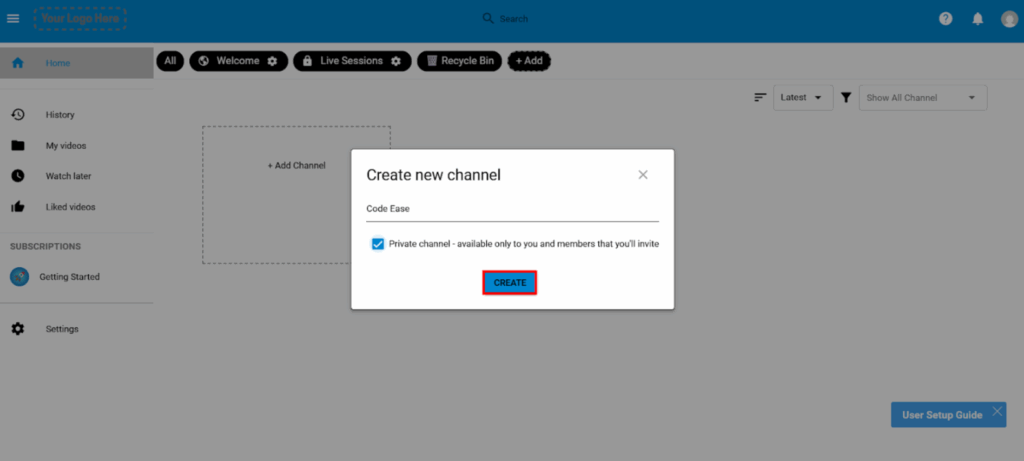
Step 10: Give your channel a name (for example, “Code Ease”). If needed, set the channel to Private based on your access requirements, then click Create.
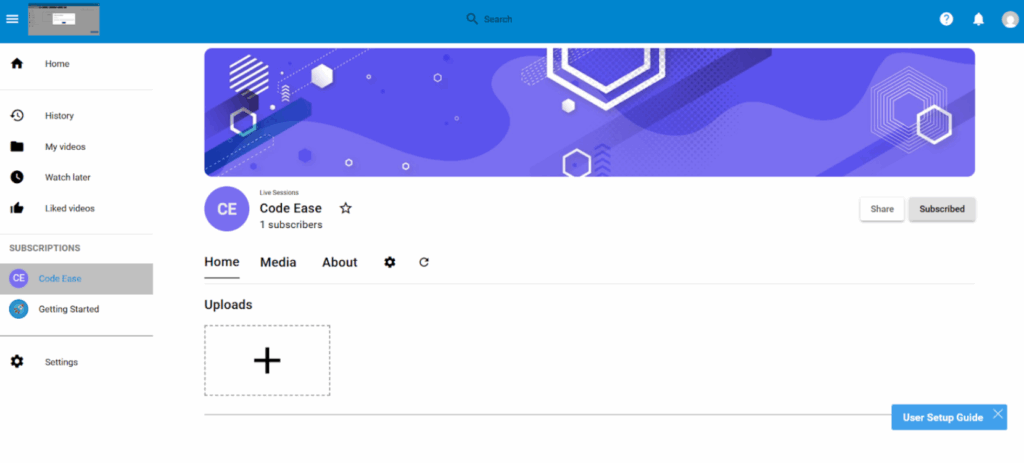
Step 11: Once the channel is created, you can start managing your media inside it by uploading videos and organizing your training content.
How to Upload an Asset in CincoTube
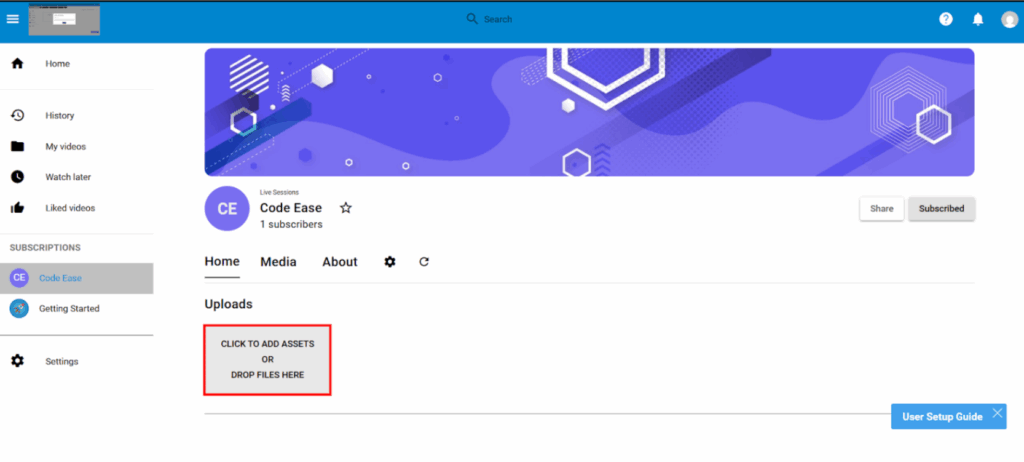
Step 1: Navigate to the channel where you want to upload your asset. For demonstration, I have selected the Code Ease channel.
Step 2: Click on the Upload button.
Step 3: After clicking Upload, a list of asset types will appear. Select the type of asset you want to add. For demonstration, the “Upload a video” option is selected here.
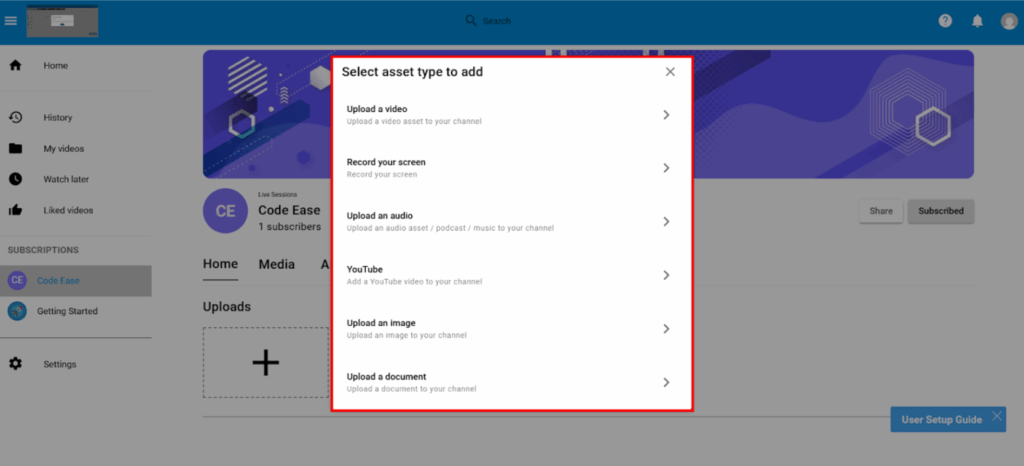
Note: If you want to learn more about the different asset types supported by CincoTube, refer to the “CincoTube Media Types” guide.
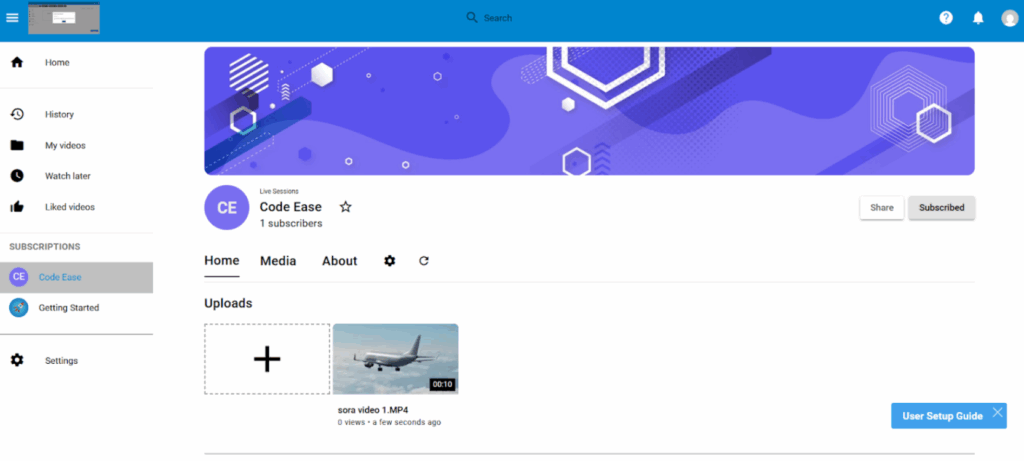
Step 4: Once the upload is complete, the asset will appear in both the Home section and the Media section of your channel.
How to Upload an Asset to CincoTube Using Cincopa
If you have already uploaded your videos or files to your Cincopa account, you can add them directly to any CincoTube channel.
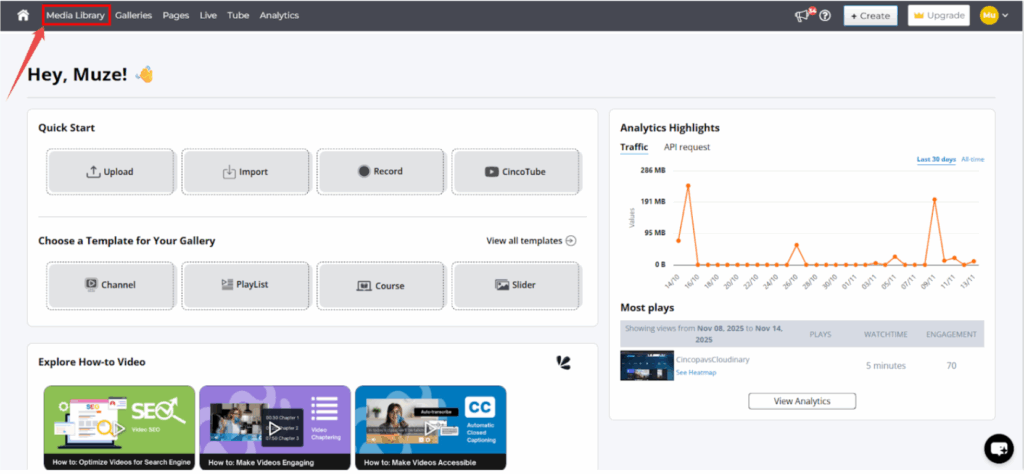
Step 1: Log in to your Cincopa account and navigate to the Media Library section.
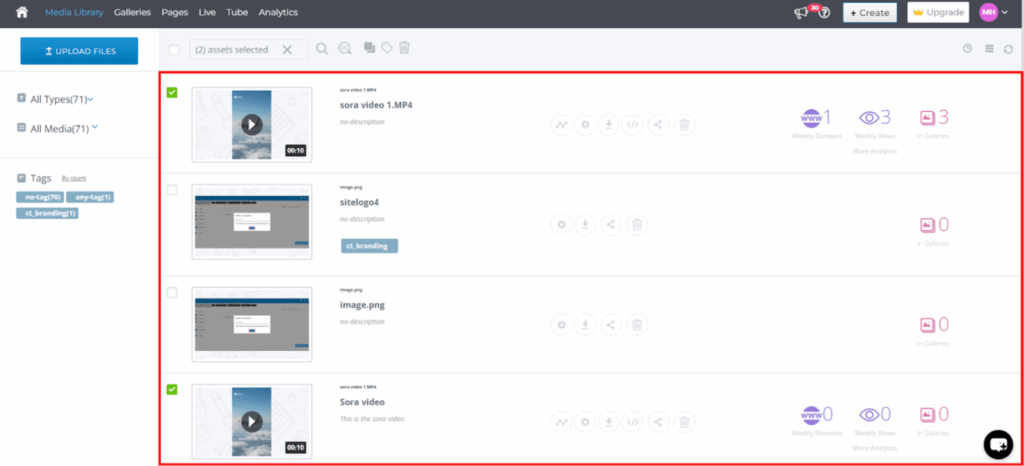
Step 2: From the Media Library, choose the asset you want to add to your CincoTube channel. You can select a single file or multiple files depending on your requirement.
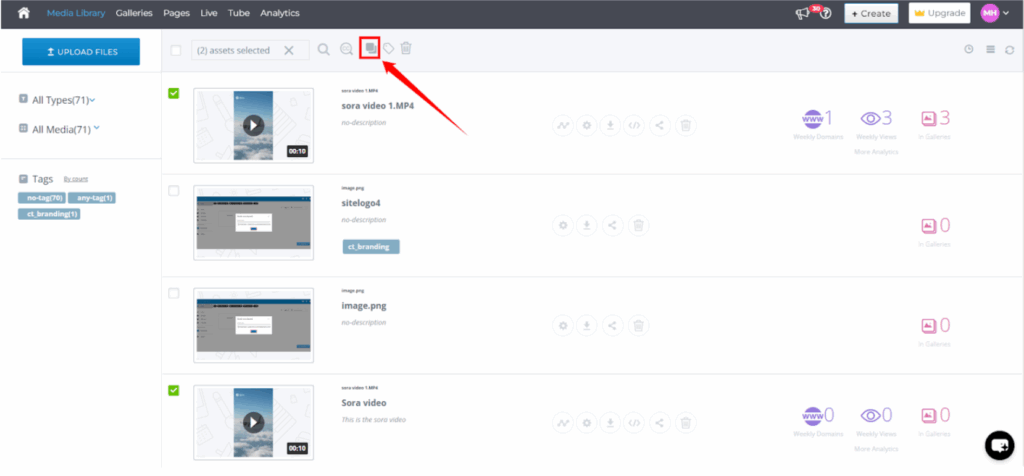
Step 3: After selecting your asset, click on the “Add selected asset to” option.
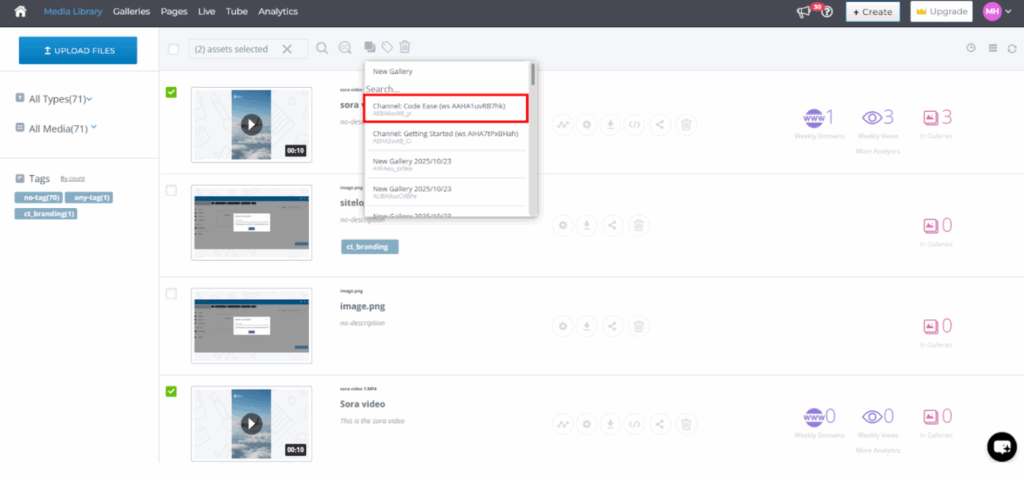
Step 4: A list of your CincoTube channels will appear. Choose the channel where you want to add the asset. For example, if you want to add it to the Code Ease channel, select it from the list. You can also use the search bar to find the channel you need.
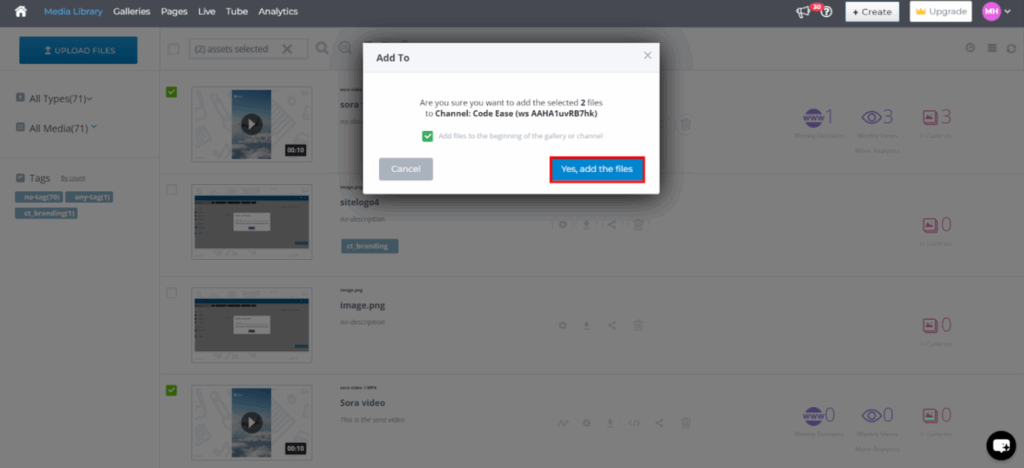
Step 5: Once you select the channel, a confirmation pop-up will appear. Click “Yes, add the files” to continue. If you prefer, you can also choose the option to add the asset to the beginning of the channel.
Note: This is the basic workflow for getting started with CincoTube. The platform also includes additional features such as Video Spotlight and many other advanced options. To explore everything CincoTube offers, refer to the full CincoTube Guide.