
When global transcription settings are turned off or you want to generate for individual files that preceded the automatic activation, then you can generate AI transcriptions and subtitles for individual videos as needed. This allows you to manage transcripts on a per-video basis, giving you control over which videos have captions, subtitles, SEO, and VideoGPT support, while leaving others unchanged.
Why AI Transcriptions and Subtitles Are Needed
AI transcriptions and subtitles help make video content easier to understand, search, and manage. Transcripts improve accessibility for viewers who prefer reading or cannot play audio. Subtitles help viewers follow along in noisy environments or when watching videos on mute.
- SEO: Captioned videos perform better in search engines because the transcript text is automatically injected into the page header. This makes video content readable by search engines and helps improve overall SEO visibility.
- Accessibility: Transcripts and captions support web accessibility requirements. Providing accurate subtitles helps ensure videos meet ADA and Section 508 compliance standards, which are required by law in many regions.
- Engagement: Subtitles make autoplay and muted videos more effective. Viewers can understand the message without sound, which helps reduce drop-offs and keeps users engaged when audio is disabled or unavailable.
- AI / VideoGPT Support: Transcripts allow video content to be indexed and used by VideoGPT. This enables AI-driven answers based on video content and improves the accuracy of responses generated from videos.
- Smart In-video Search: Transcripts make it possible to search across your entire video library using spoken keywords. If you remember a word or phrase from a video, you can enter it in the search bar, select the CC option, and quickly locate videos where that keyword appears in the transcript. This makes managing large video libraries faster and more efficient.
Steps to Generate AI Transcriptions and Subtitles for Individual Videos
Step 1: Log in to your Cincopa account and go to the Media Library.
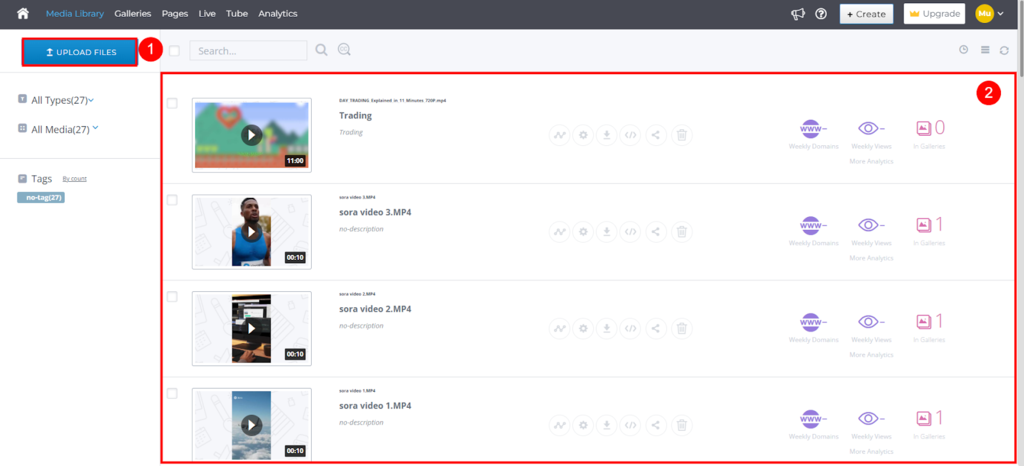
Step 2: Upload your video or select an existing video from the library.
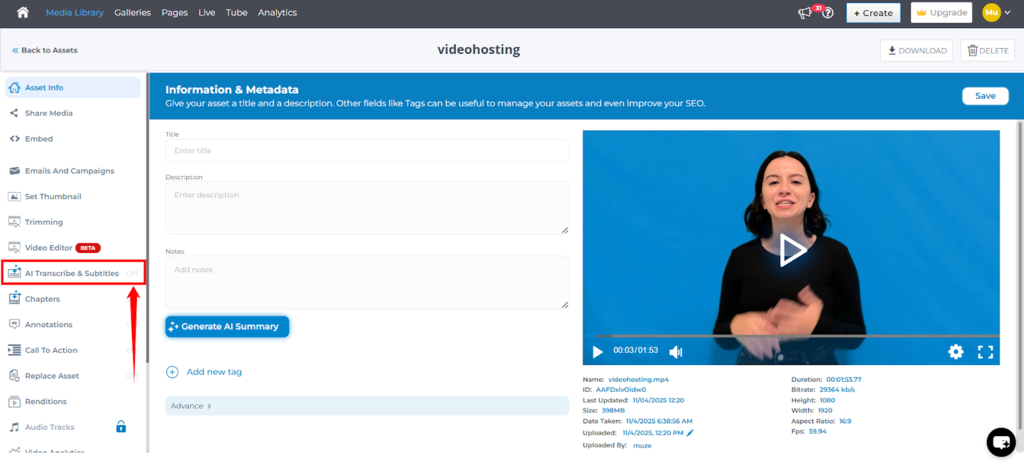
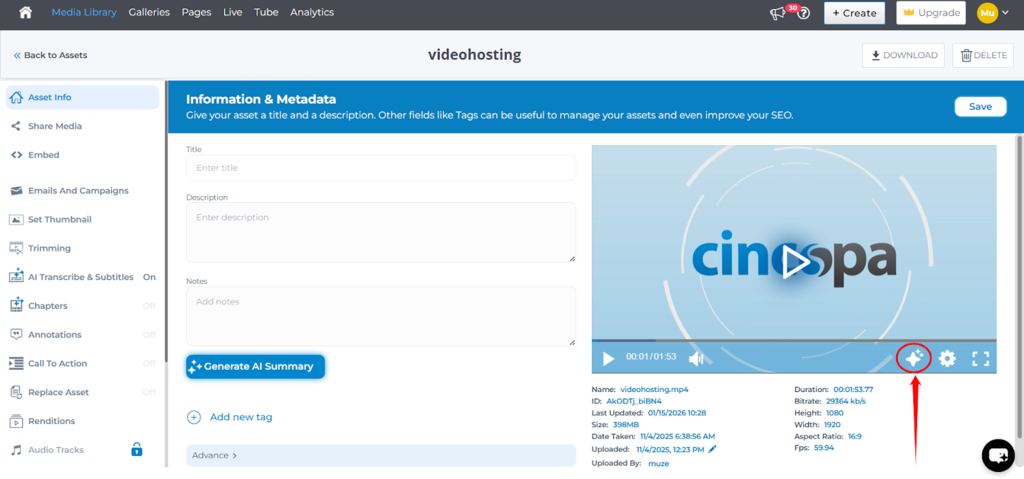
Step 3: Open the selected video and choose AI Transcribe and Subtitles.
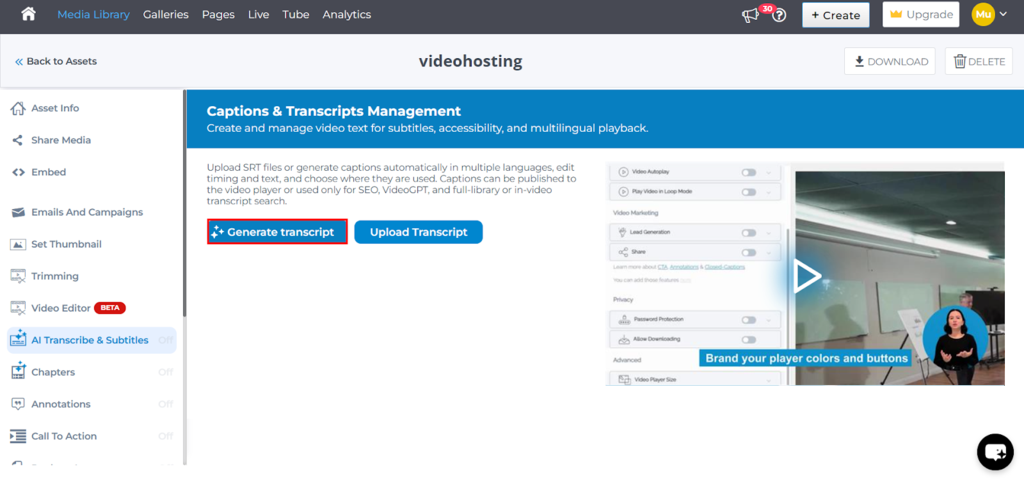
 Step 4: Click on the Generate Transcript button to create the transcript automatically.
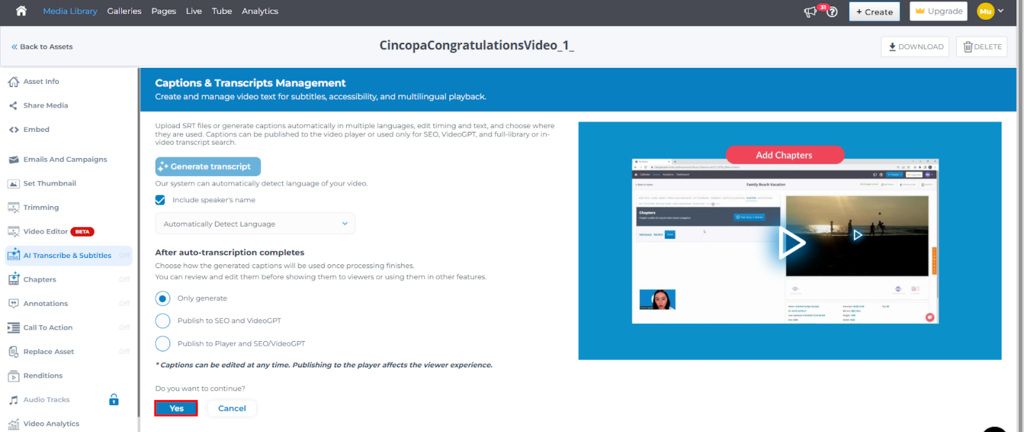
Step 5: After clicking Generate Transcript, a configuration panel appears where you can review and adjust transcription settings before processing begins. From this panel, you can:
- Choose whether to include the speaker’s name in the transcript, which is helpful for videos with multiple speakers.
- Allow the system to automatically detect the spoken language of the video, or select a specific language if needed.
- Choose how the generated captions will be used after transcription, by selecting one of the following options:
- Only generate – Creates the transcript but does not publish it anywhere. The transcript is stored in your account and can be managed later from the Auto Transcribe & CC section in Account Settings. This option is useful if you want to review or control publishing manually at a later stage. Use this option if you would like to manually edit and publish the transcripts.
- Publish to SEO and VideoGPT – Generates the transcript and makes it available only for SEO and VideoGPT responses. Subtitles will not appear in the video player. This option is suitable if you want transcripts to support search visibility and VideoGPT answers without displaying captions to viewers. Use this option if you want to manually edit and publish the transcript to the player, but it is good enough for SEO and VideoGPT.
- Publish to Player and SEO/VideoGPT – Generates the transcript, publishes it as visible subtitles in the video player, and also makes it available for SEO and VideoGPT. You can review and edit the transcript before publishing, ensuring accurate captions for viewers while supporting VideoGPT and SEO use cases. You can always edit and perfect the transcript after it has been published.
After selecting the appropriate options, click Yes to start the transcription process.
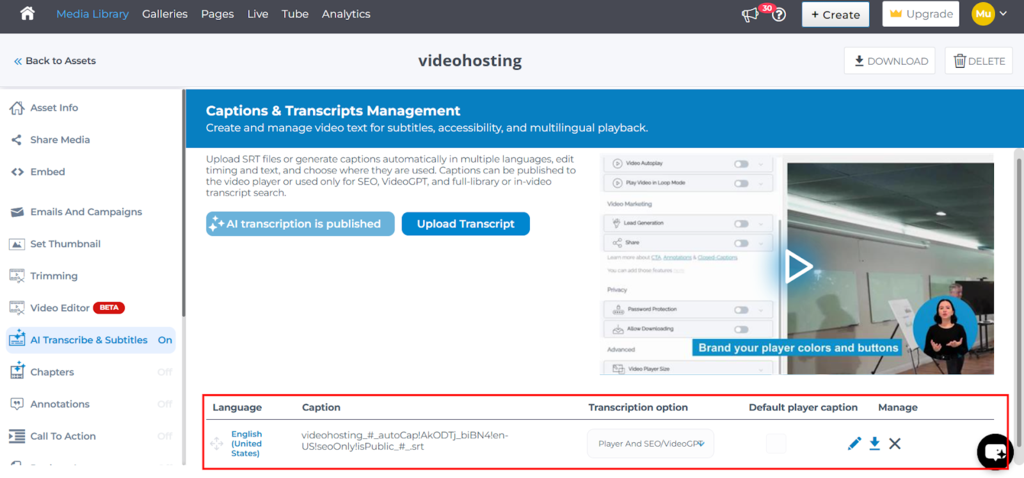
Step 6: After clicking Yes, the system begins processing the transcription. Once processing is complete, the transcript is generated and published based on the options you selected in the previous step.
|
Note: After the transcript is published, you can review and edit it by clicking the pencil (edit) icon. Since AI-generated transcripts may not be inaccurate, you can make corrections and re-publish the transcript as needed. To know more about how to edit trancript refer to this SRT Editor Guide. |
Step 7: After publishing the transcript, VideoGPT and SEO will be automatically enabled for the video.
|
TIP: Learn how VideoGPT can be useful. |
|
TIP: Learn how Cincopa automatically optimizes video content for SEO. |
Once this setup is complete, VideoGPT will be able to answer viewer questions using the video transcript and apply any custom prompt rules configured in your account.
| Note: To learn how to define and manage these responses, refer to the VideoGPT Custom Prompts guide. |