Uploading media files to your Cincopa account is a straightforward process, offering multiple methods to suit your preferences. Here's a comprehensive guide to help you upload your media files efficiently:
Getting started
Upload Video files
How to upload media files
Upload Methods
Cincopa offers multiple convenient ways to upload your video files:
- Drag and Drop: Easily transfer videos from your computer to your Cincopa cloud-drive by selecting and dragging files into the designated area.
-
Webcam Recording: Capture videos directly using your webcam, a feature particularly beneficial for video bloggers.
Video and Image Platform for Business - Third-Party Integrations: Import videos from platforms like Dropbox, Google Drive, Instagram, Vimeo, or via a direct URL.
- CSV Import: For bulk uploads, use a CSV file to import multiple videos simultaneously.
- API Token: Transfer media from another Cincopa account using an API token, facilitating seamless integration between accounts.
Note: Cincopa automatically handles resizing and converting of your uploaded images, videos, and music files, eliminating the need for manual adjustments.
Storage Limits
Storage capacity, maximum file size and upload limits depend on your account. Check the limits shown in your account before uploading. For more capacity, review current plans or contact support.
Upload Destinations
Depending on your needs, you can upload videos to:
-
Media Library: Upload videos directly to your Media Library for centralized management and easy access.
Video and Image Platform for Business - Video Gallery: Create a new video gallery by selecting a template, customizing settings, and uploading your videos to showcase them in a structured format.
Uploading to the Media Library
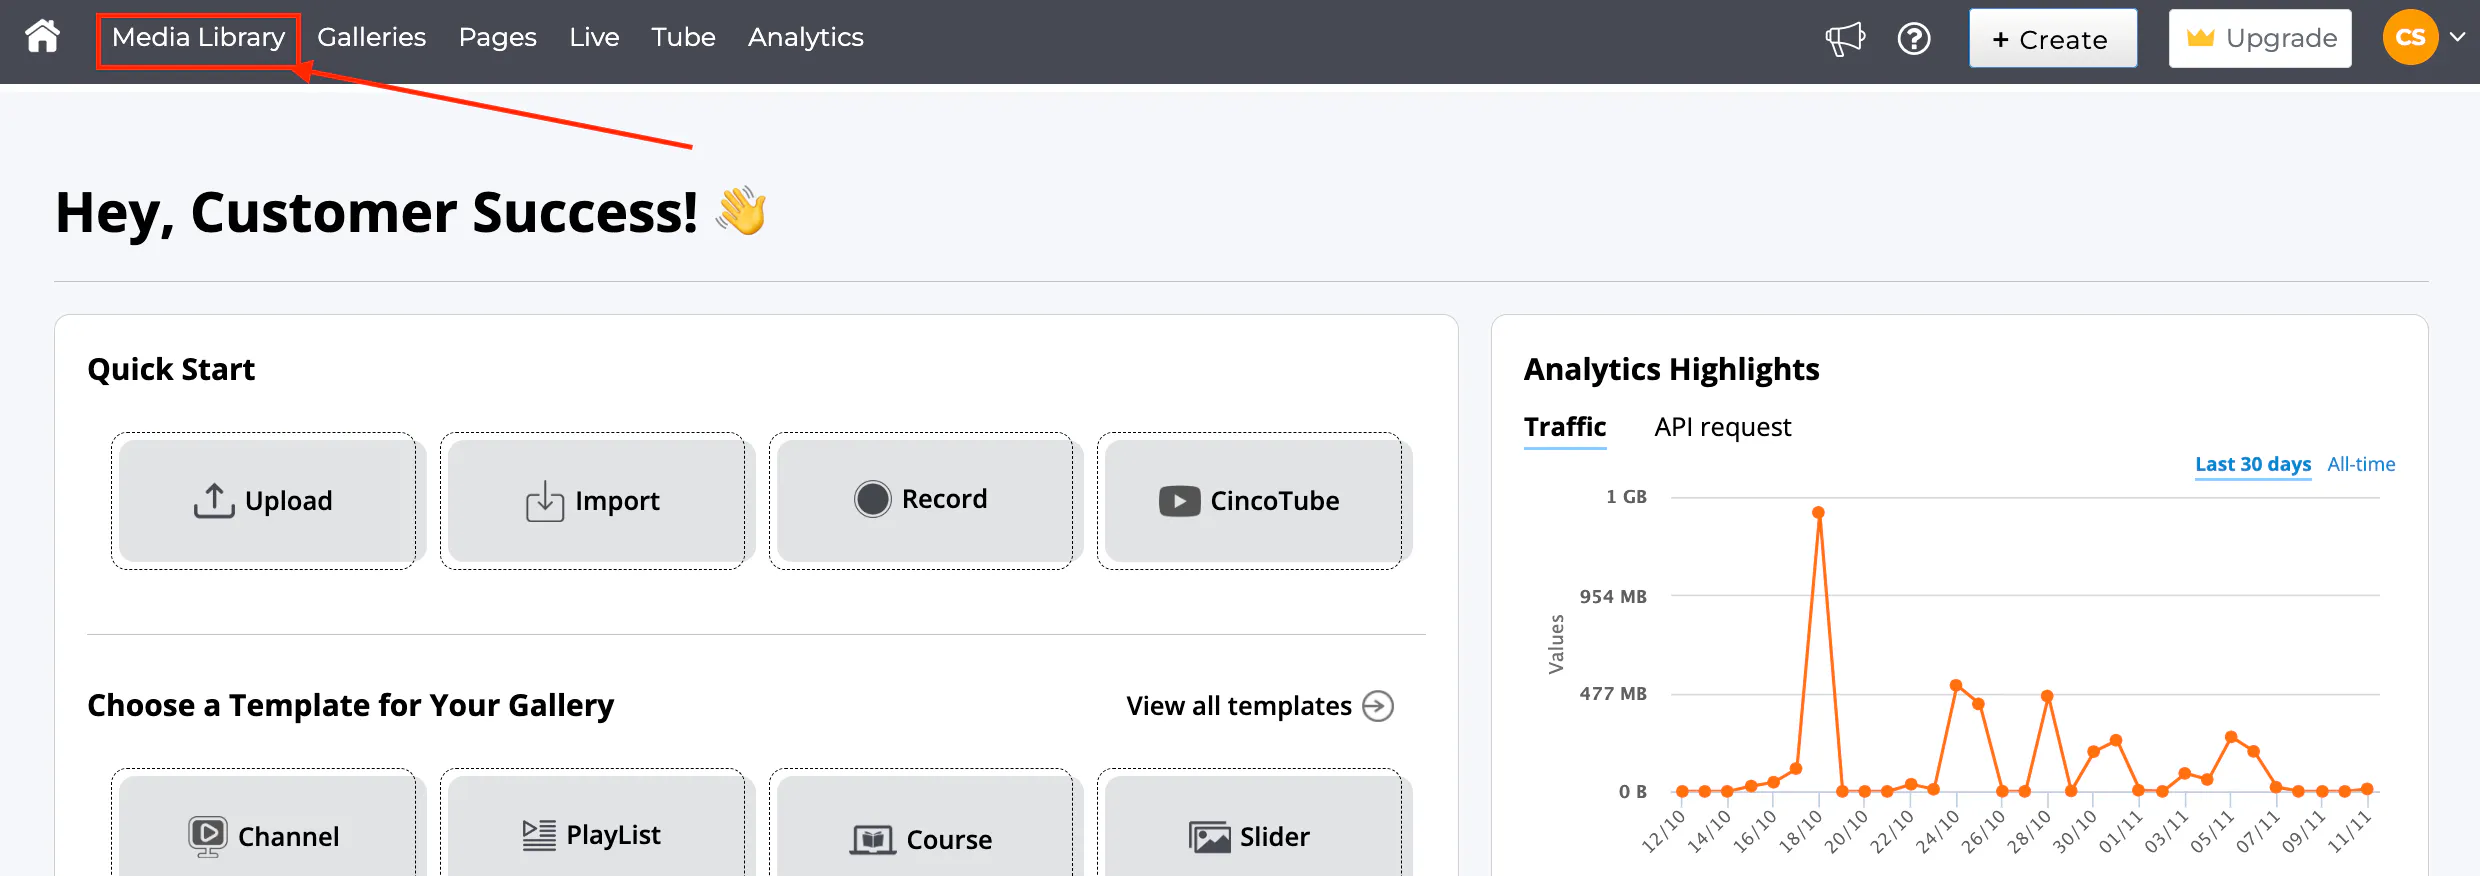
- Access your Cincopa account and navigate to the Media Library from the top-right menu.
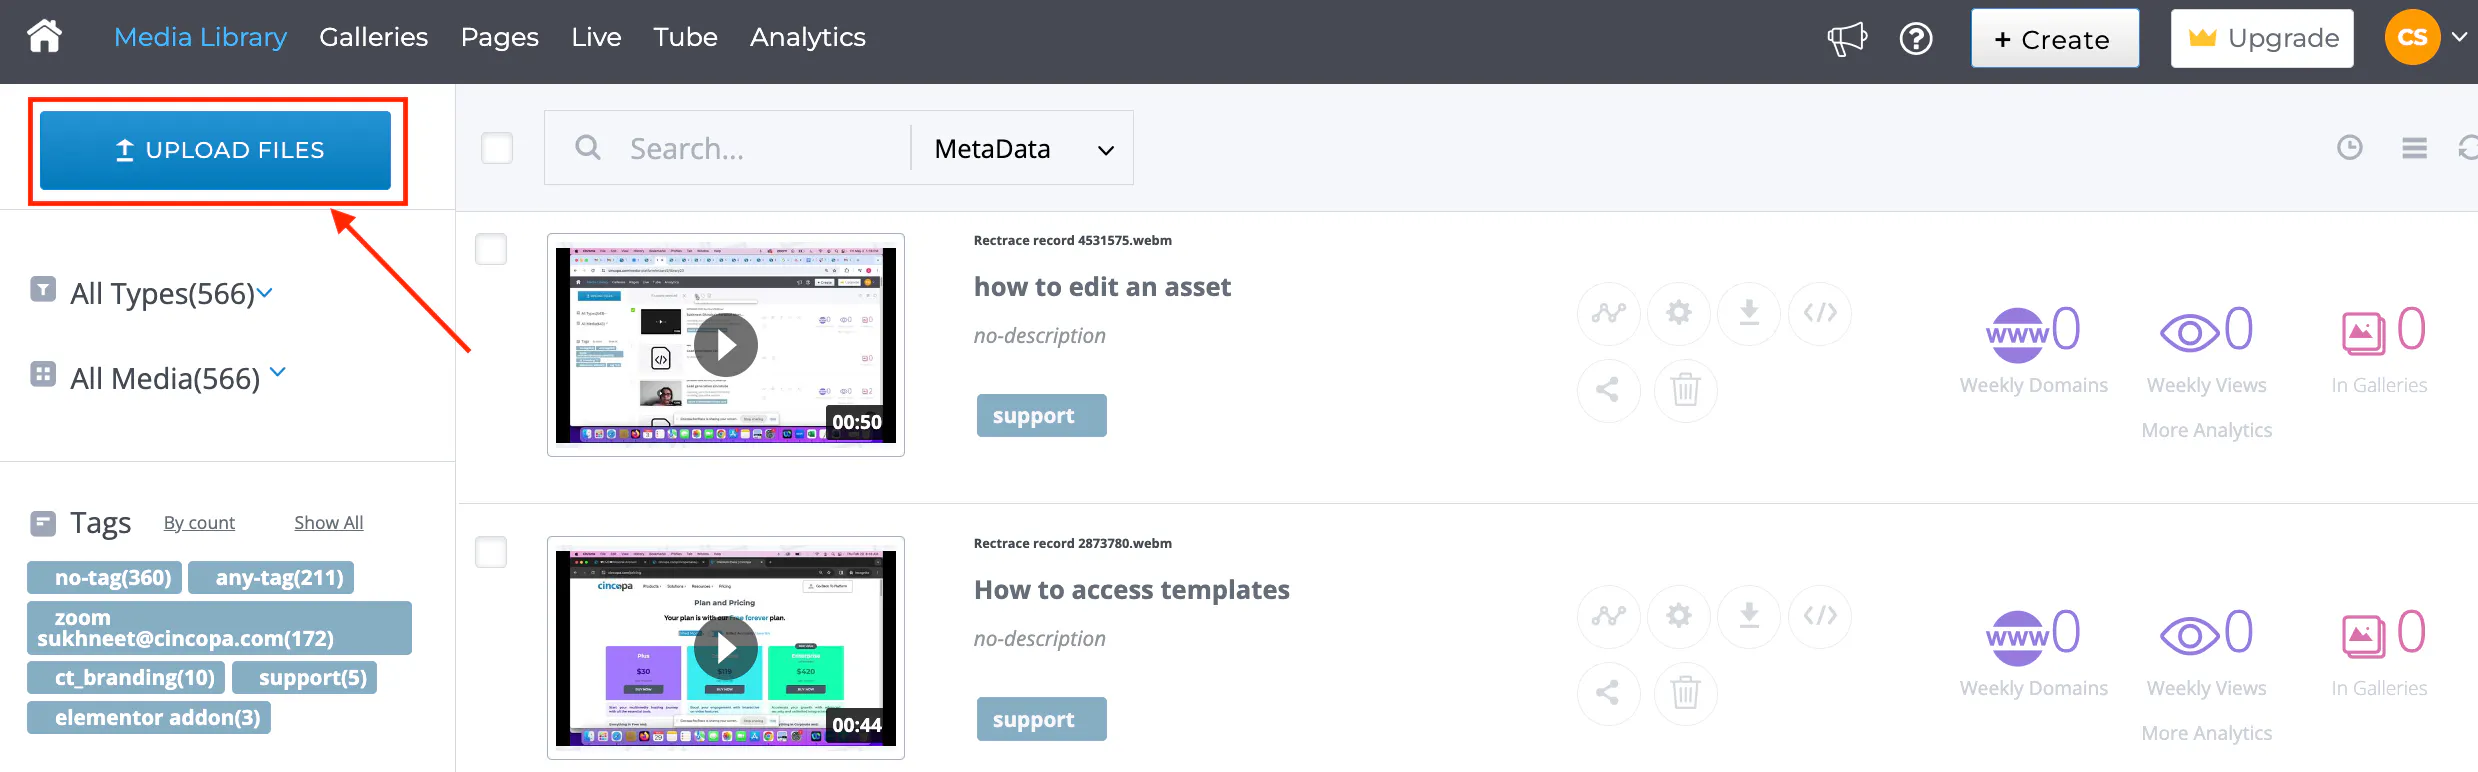
- Click on the Upload Files button.
-
Choose Upload Method:
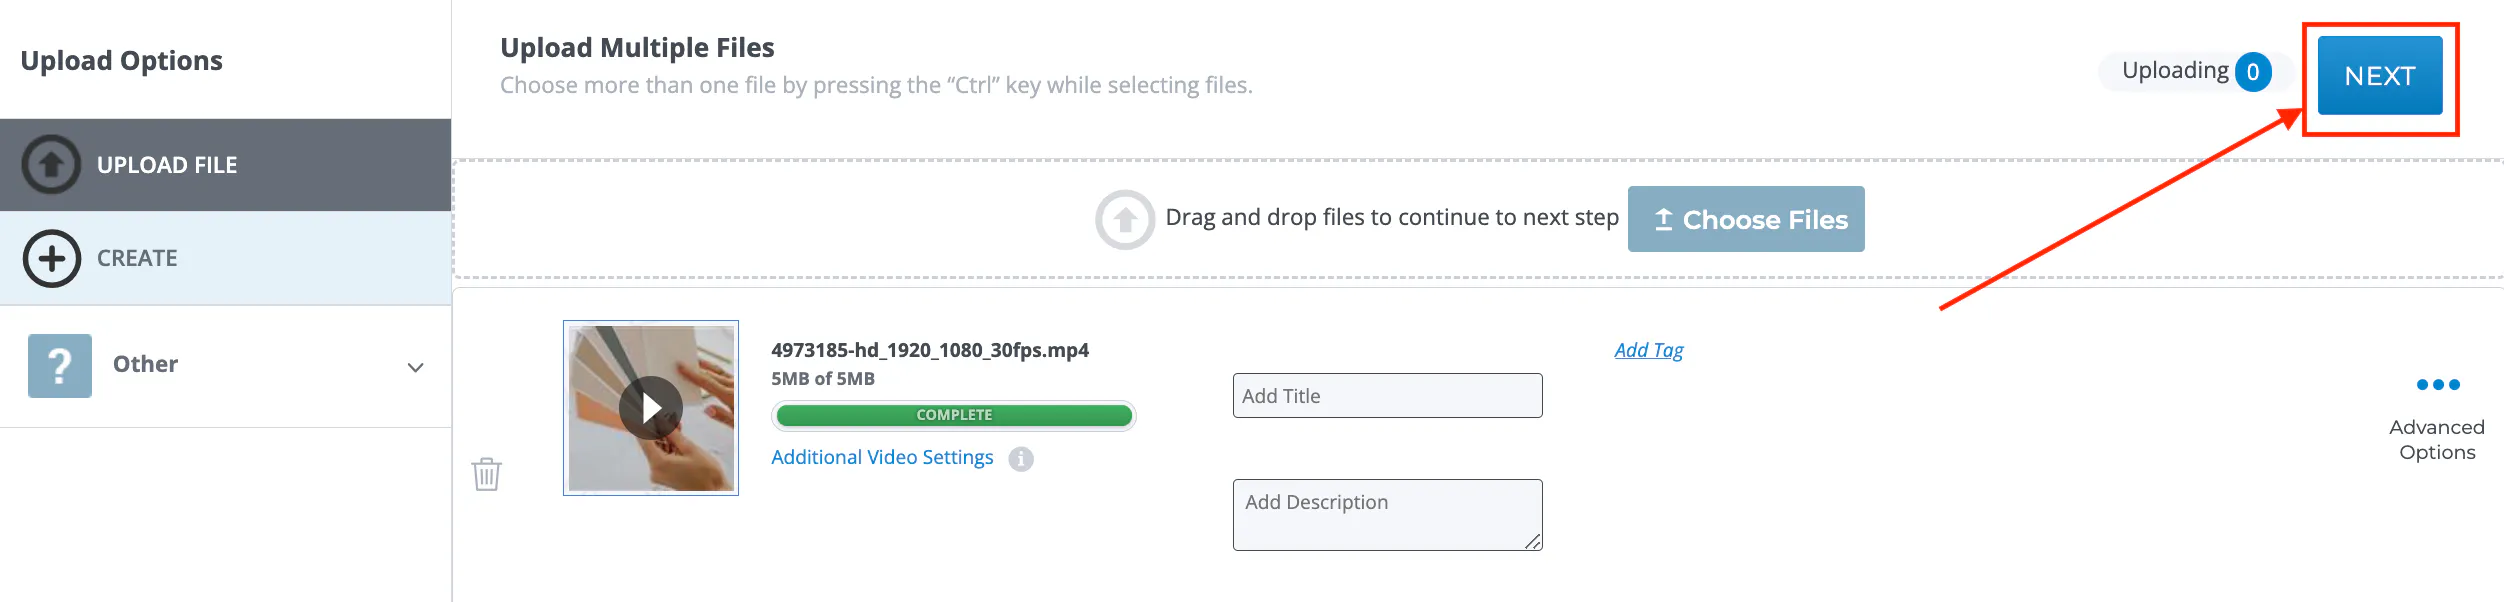
Multiple Files Uploader:
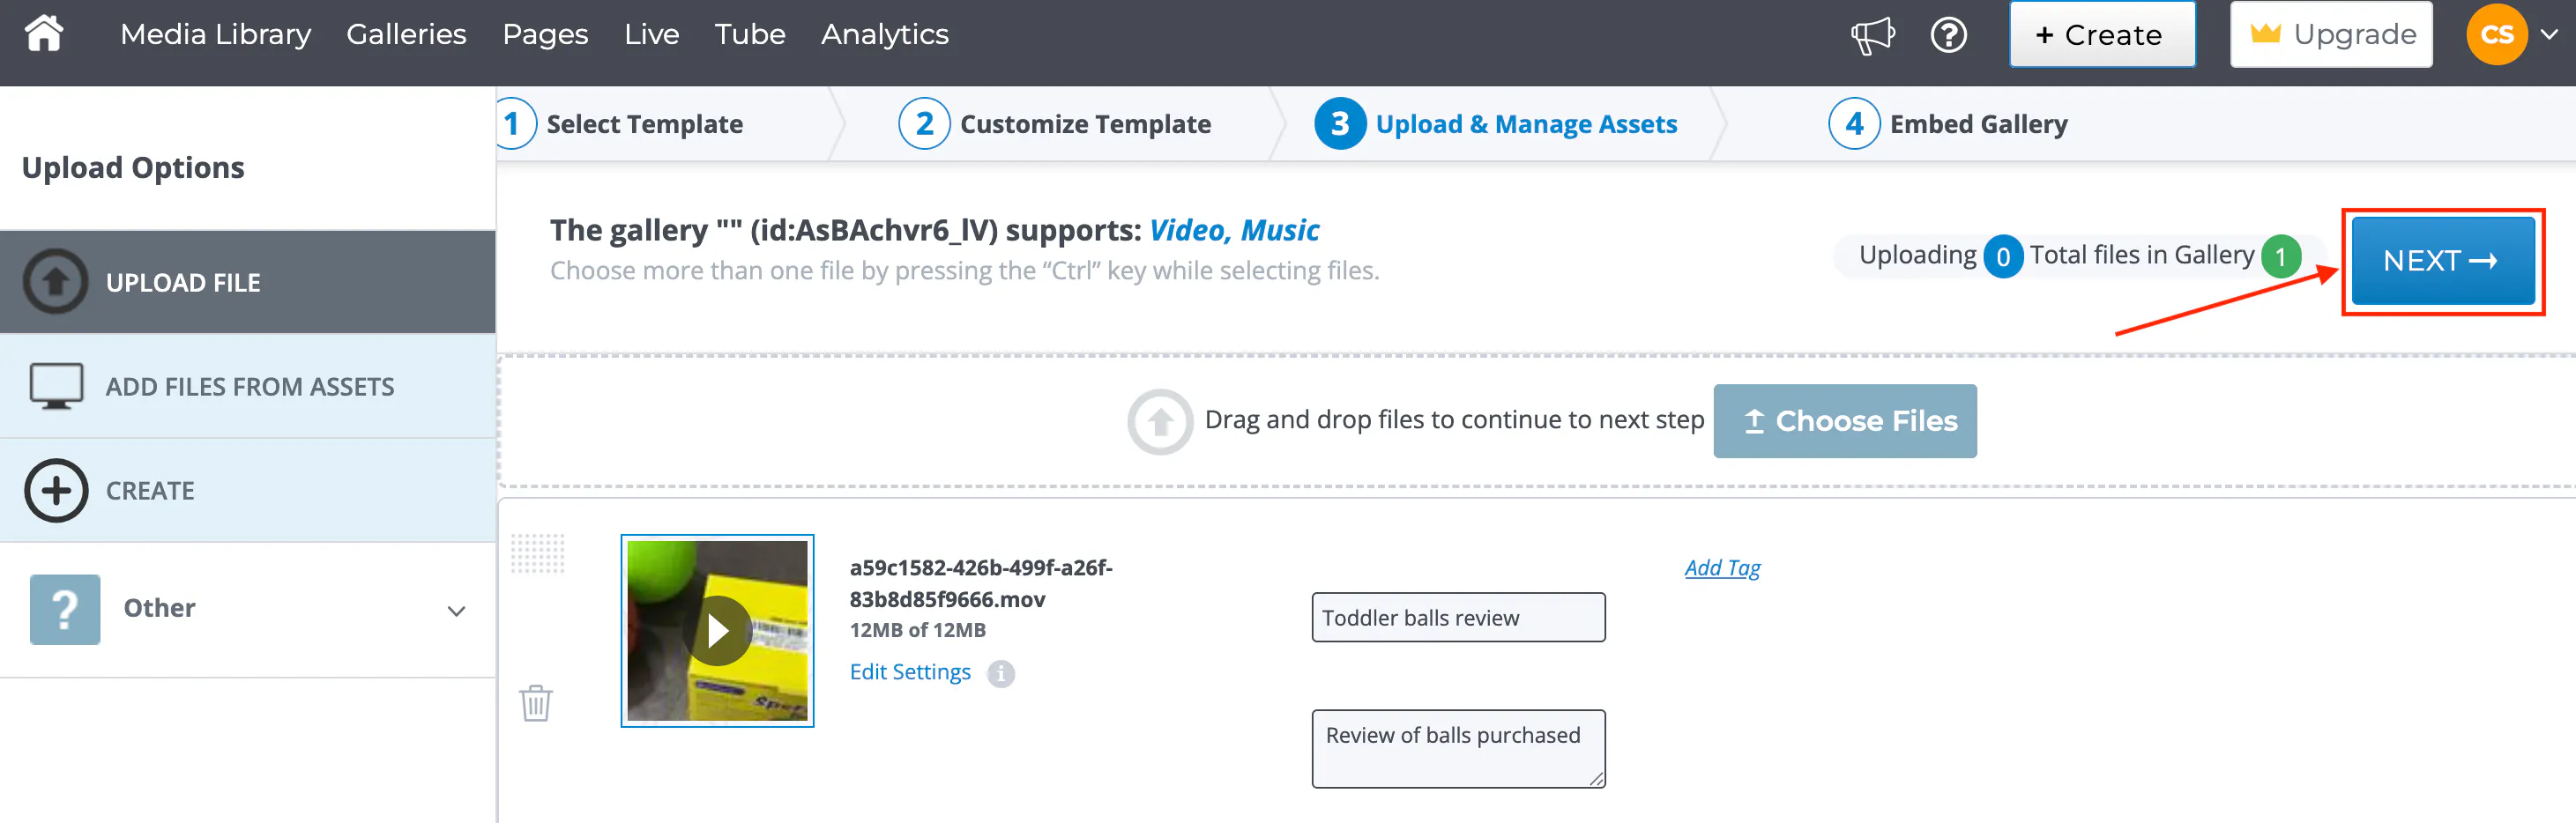
Click Choose Files and select the desired files from your device.
To upload multiple files, hold the Ctrl key (or Cmd on Mac) while selecting.
Monitor the upload progress displayed under each file name.
Once uploaded, click Next to return to the Media Library.
Drag and Drop: Thisis the easiest way to transfer videos and images from your computer to your Cincopa cloud-drive.
Select the files you wish to upload by holding the "Ctrl" key while choosing multiple files.
Drag them into the designated upload area on the page.
The upload will commence automatically.

Uploading to a Video Gallery
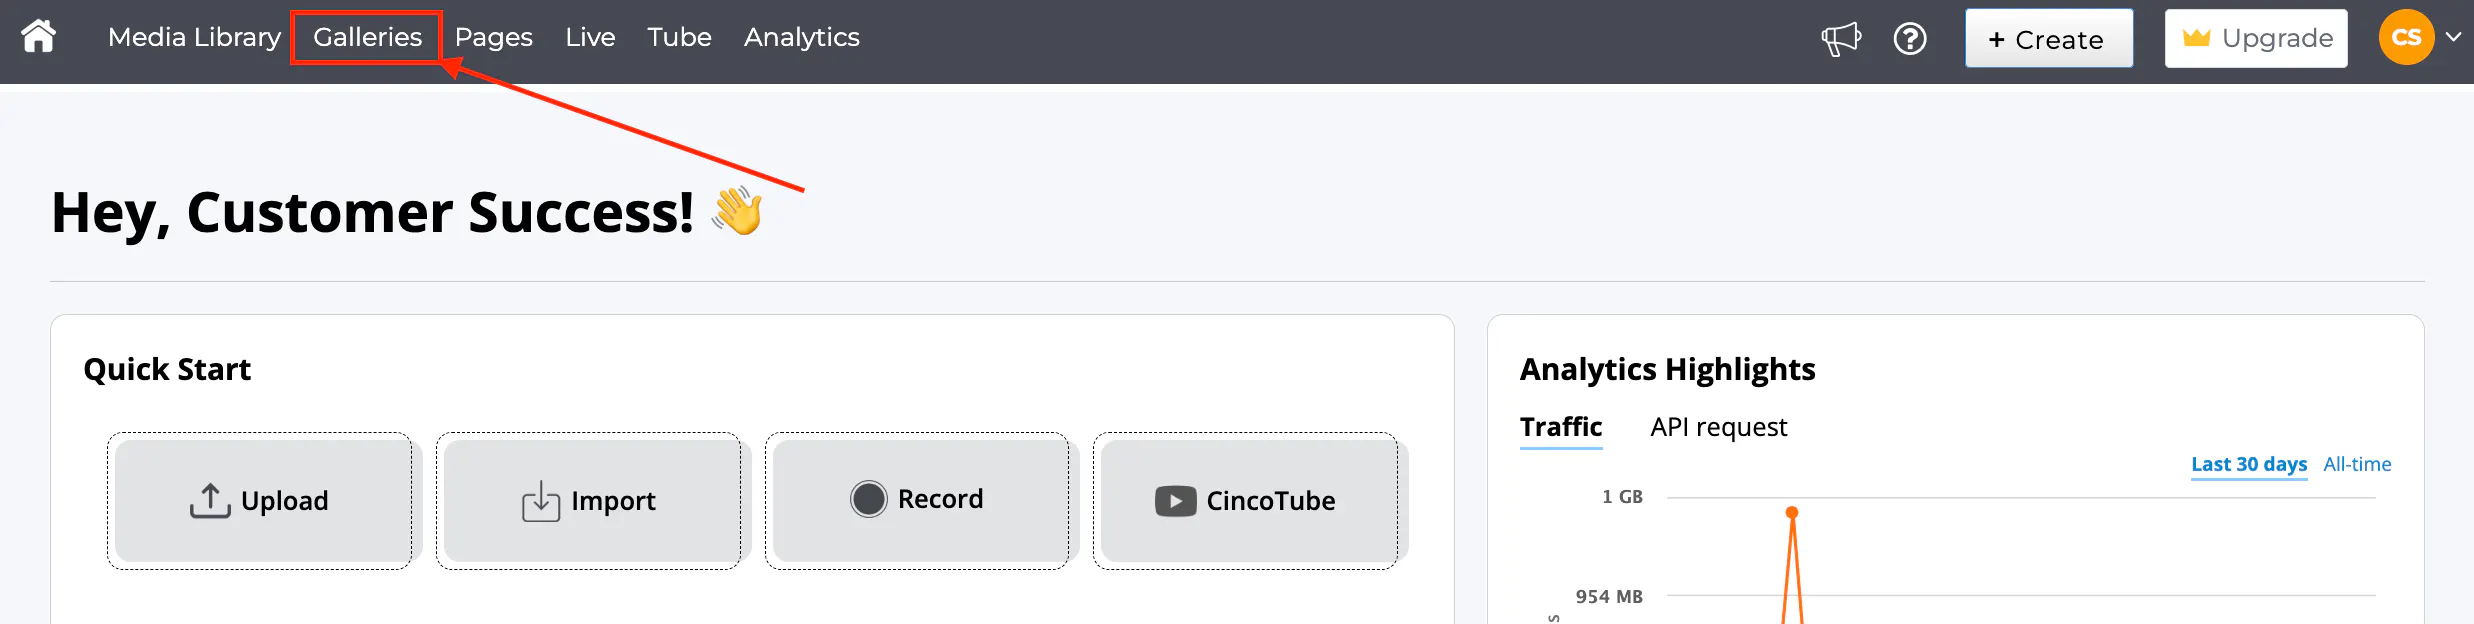
- Click on Galleries from the top-left menu.
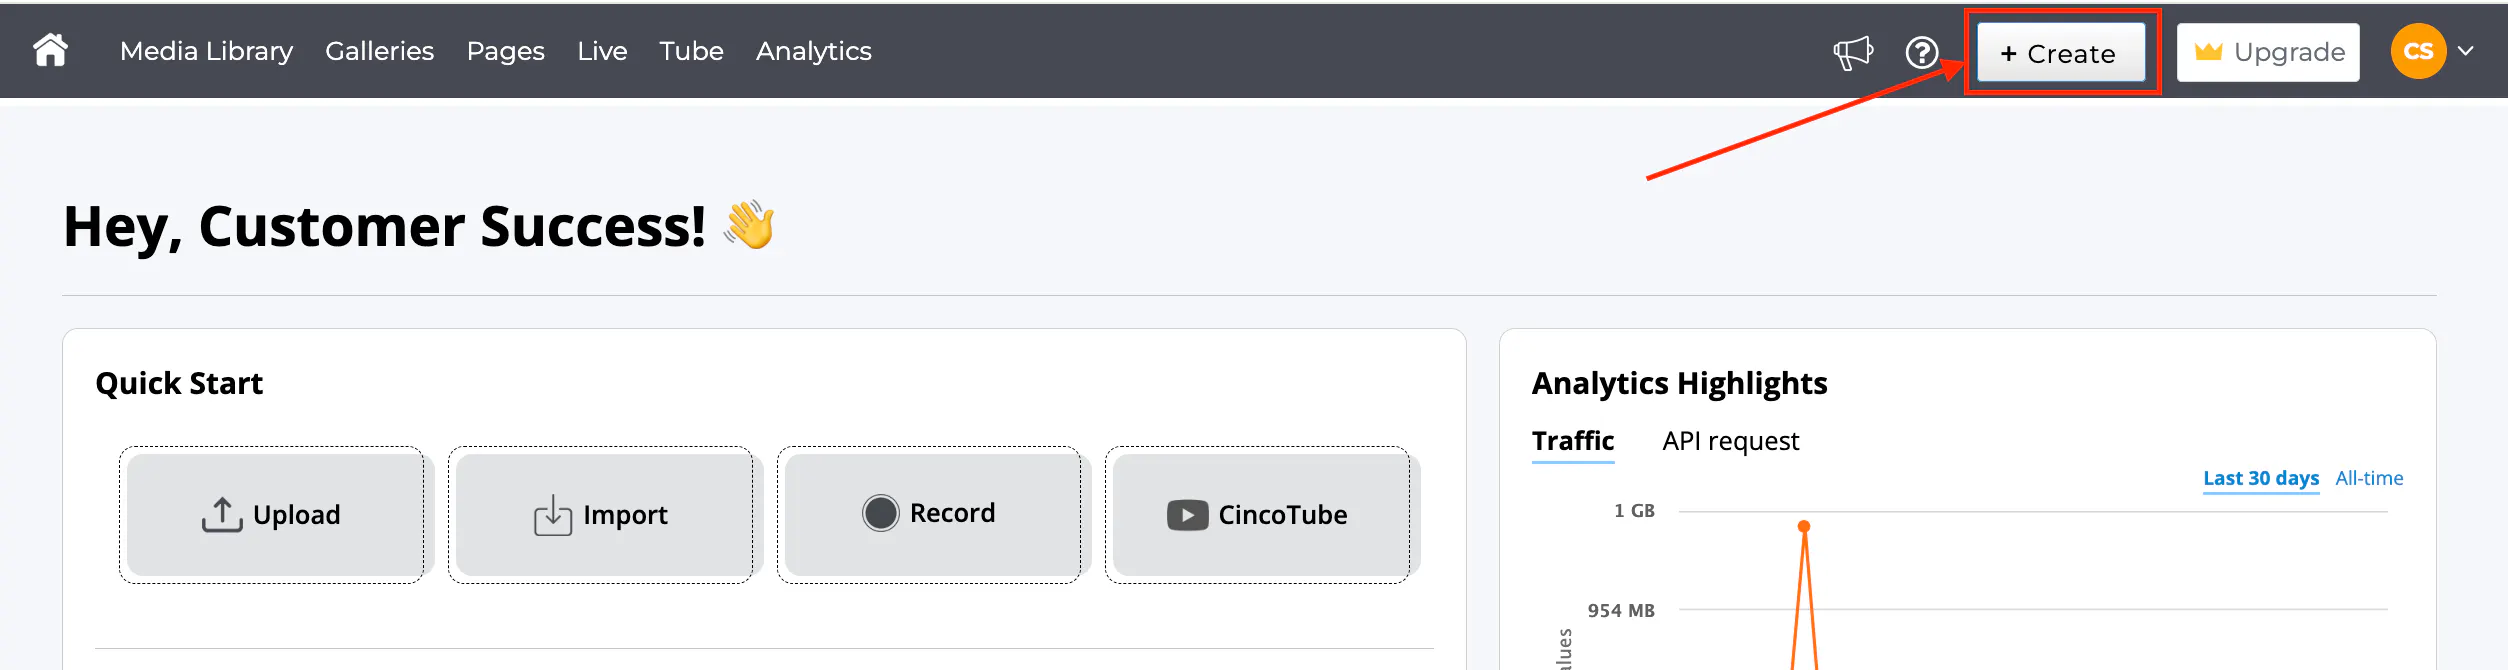
- Click the + Create button.
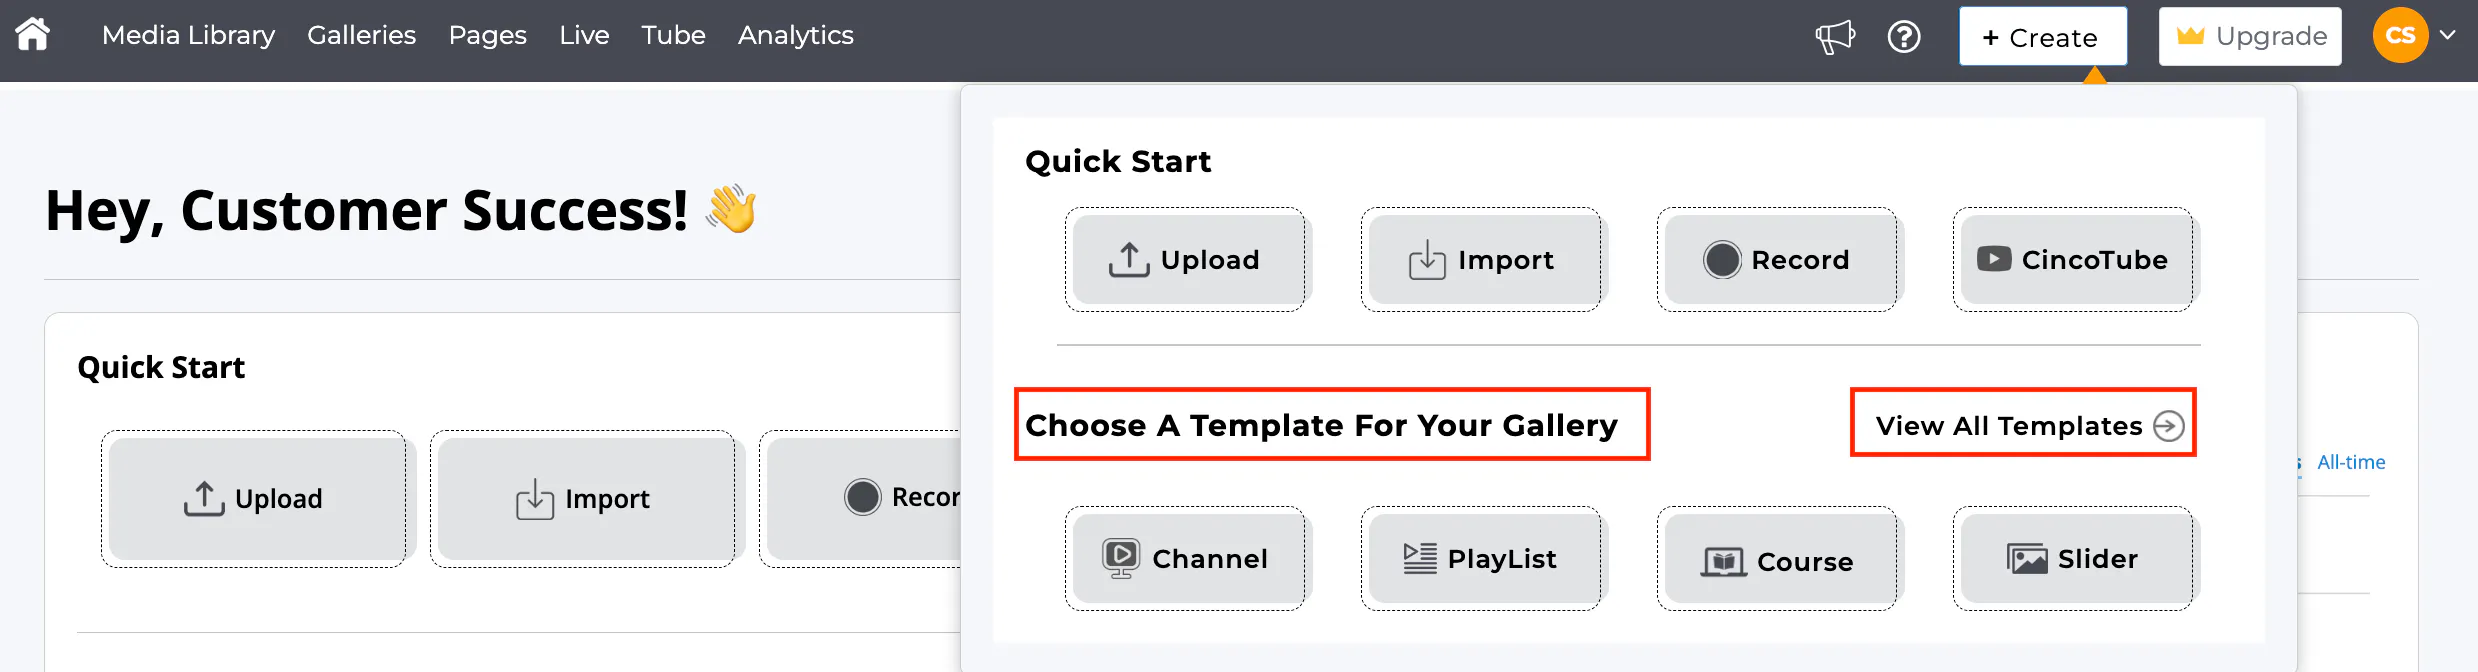
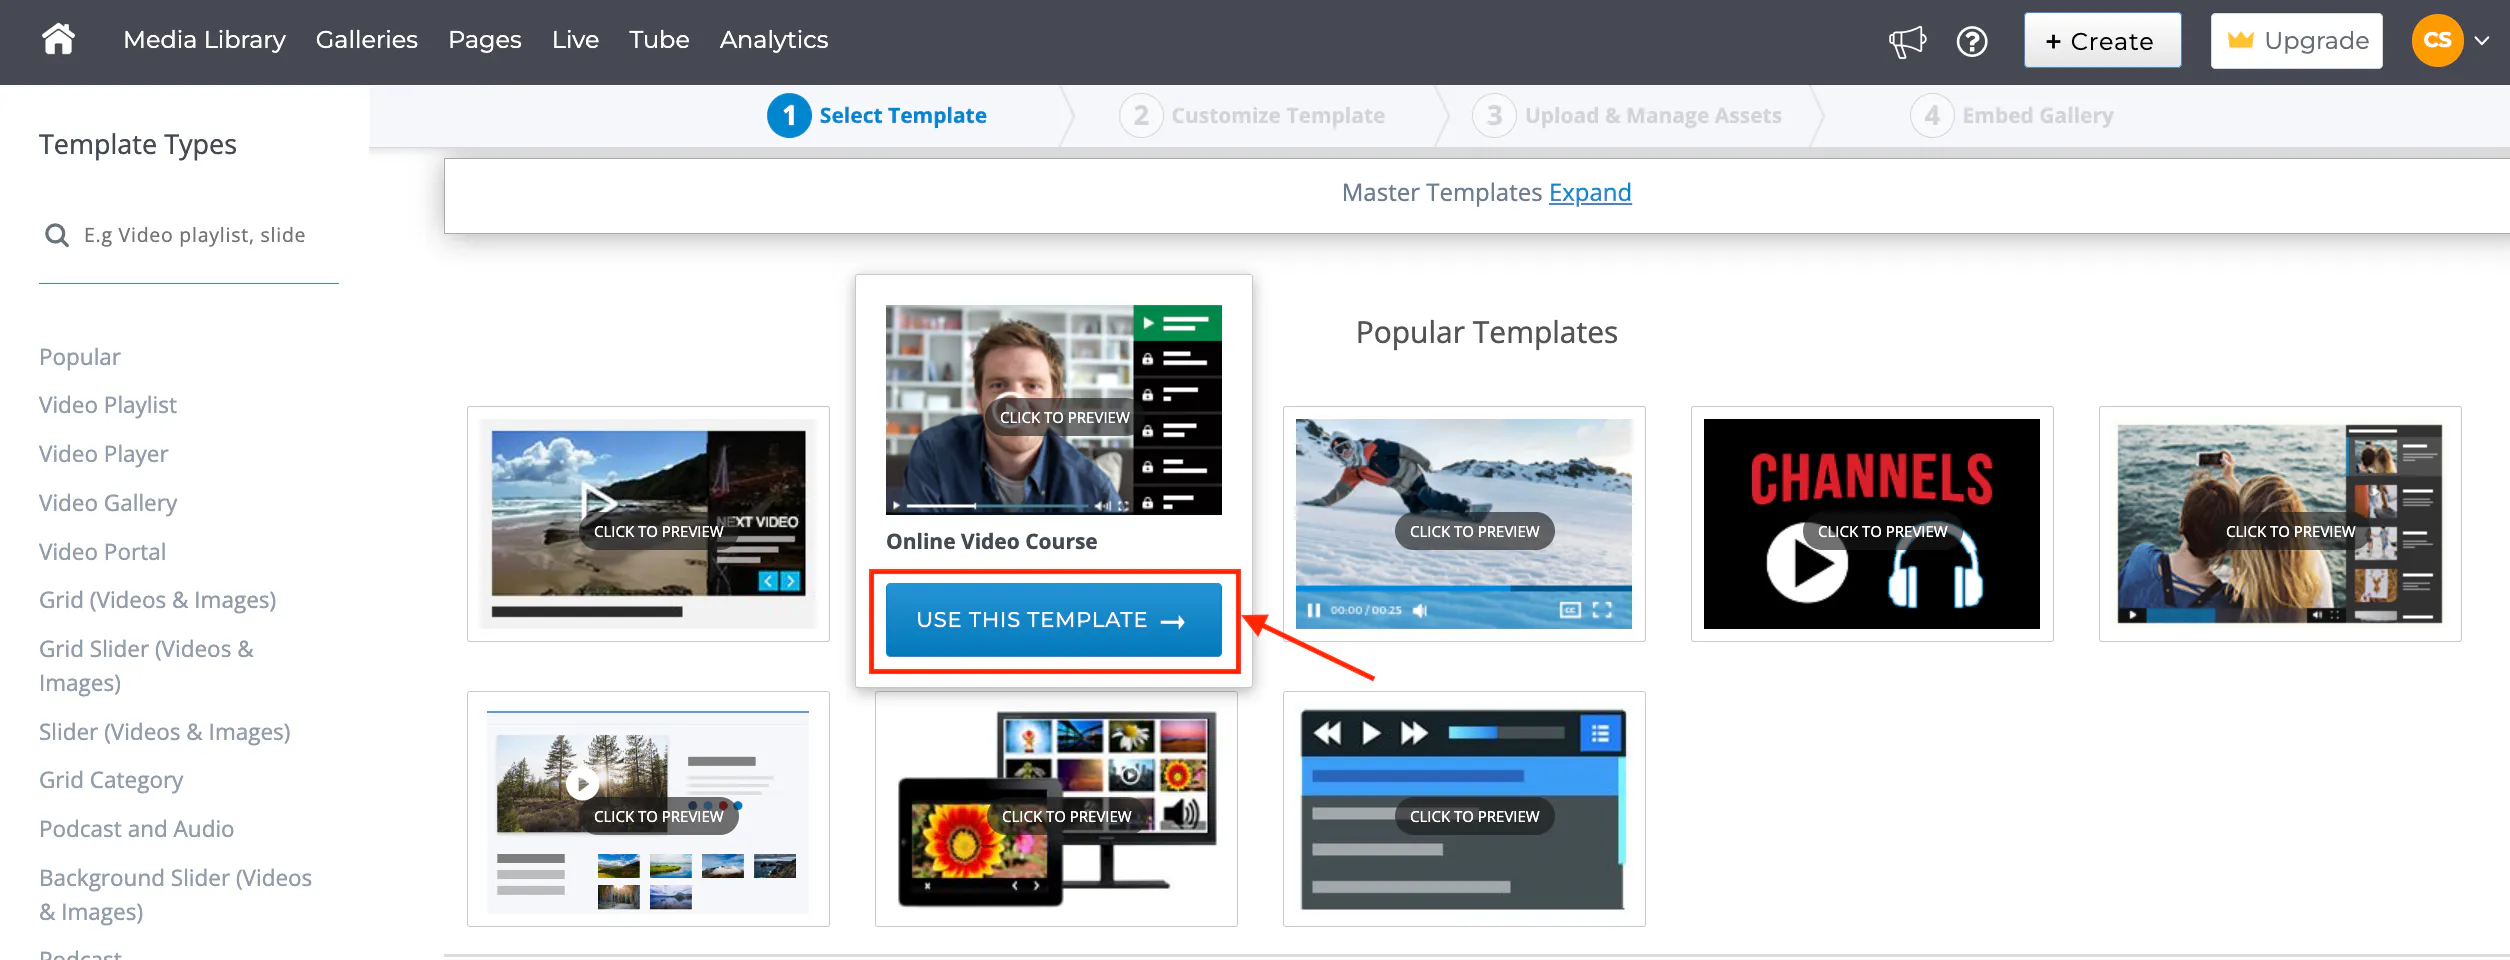
- Under Choose A Template For Your Gallery, select one of the popular templates to create your gallery or click on View All Templates option to access all the available templates.Upon clicking on the View All Templates option, you will be taken to the templates page where you can pick any template of your choice to create your gallery. Hover on the gallery thumbnail and then click on the USE THIS TEMPLATE button to select it.
-
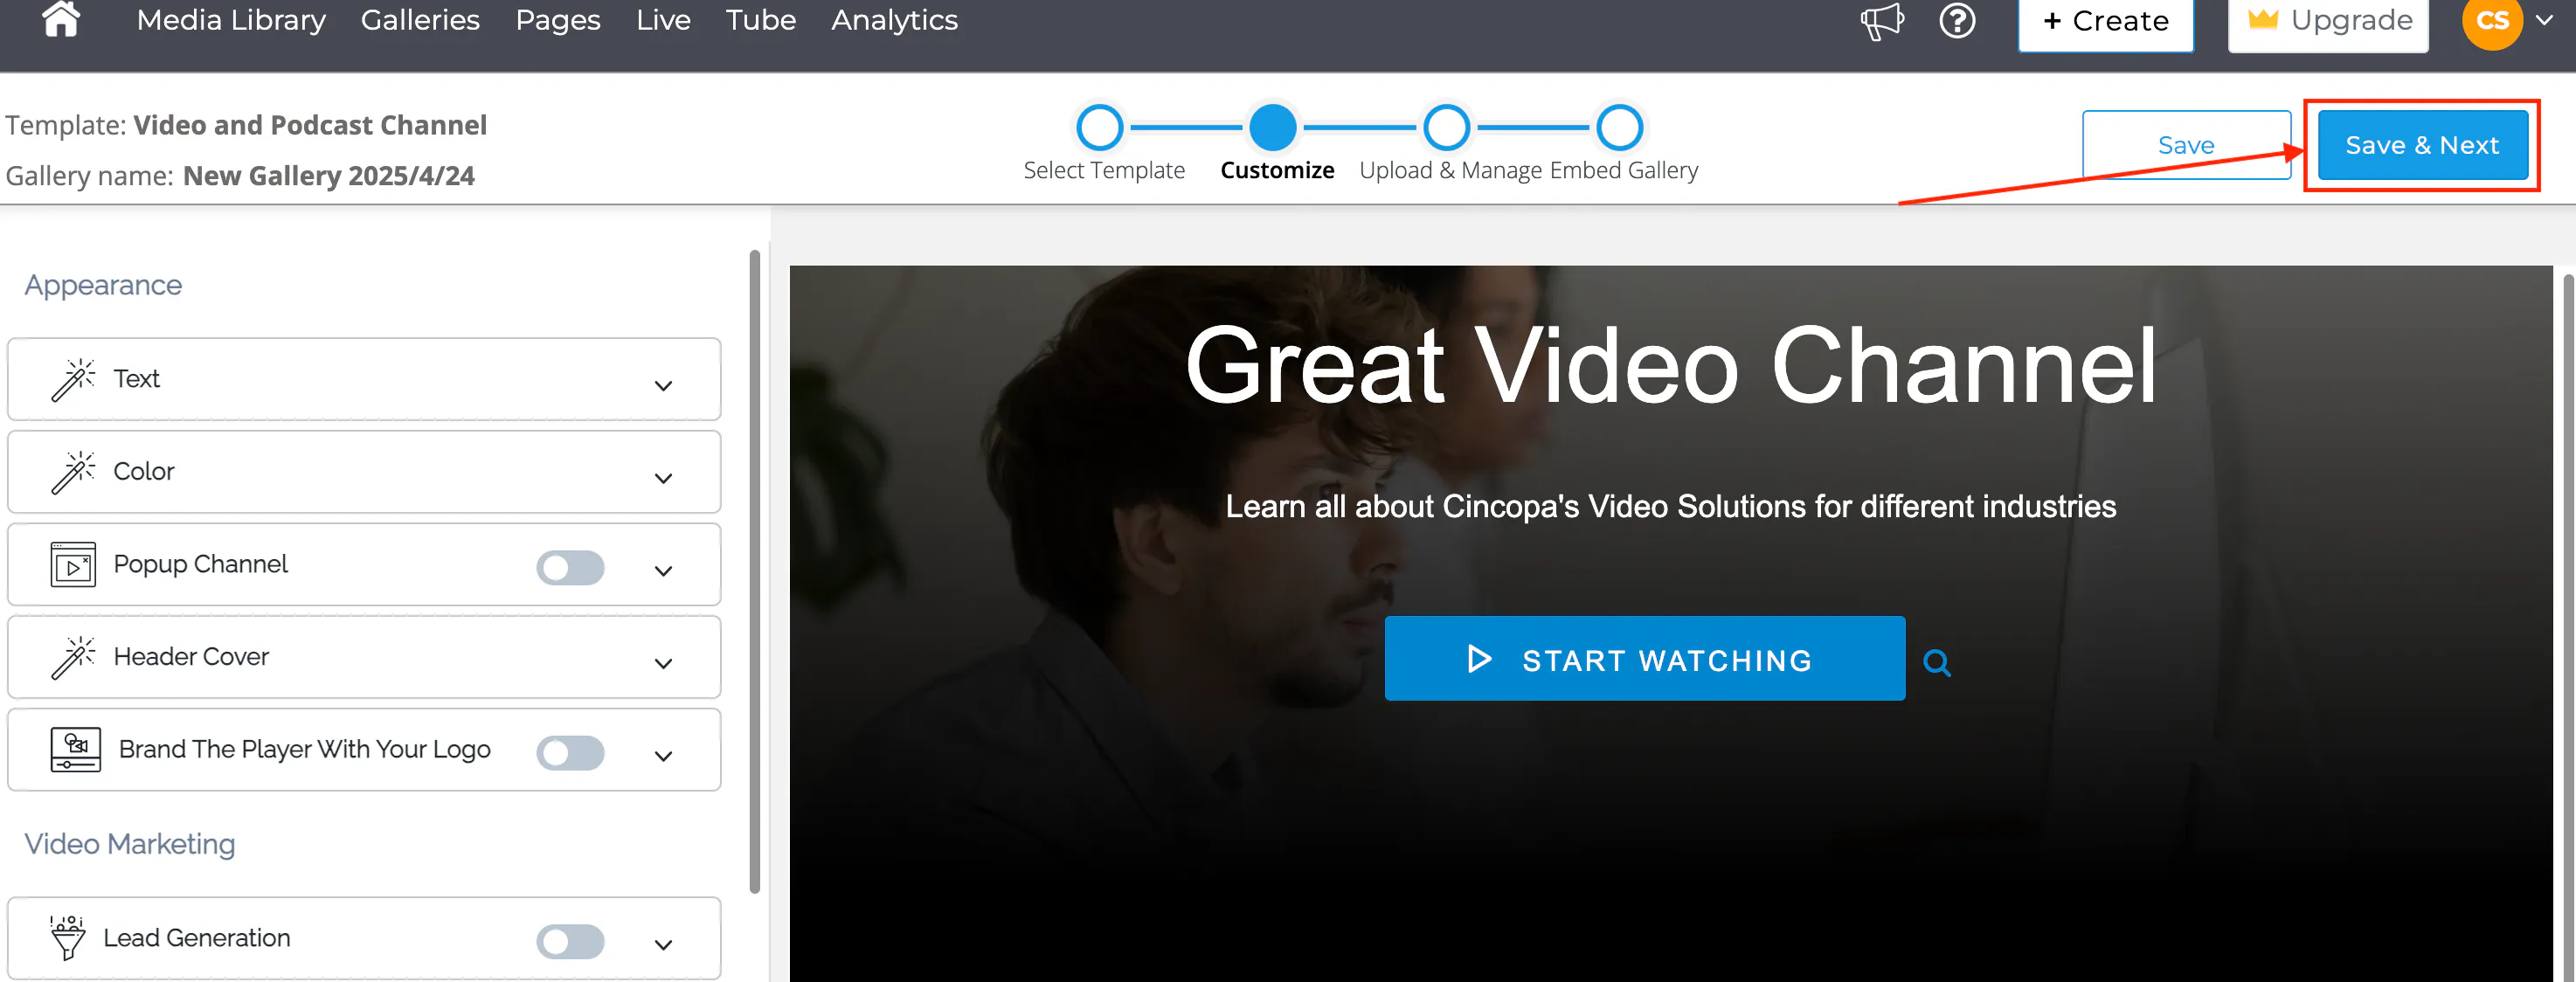
You'll be directed to the Gallery Settings page. After configuring settings, click Save & Next.
- Use either the Multiple Files Uploader or Drag and Drop method as described above.
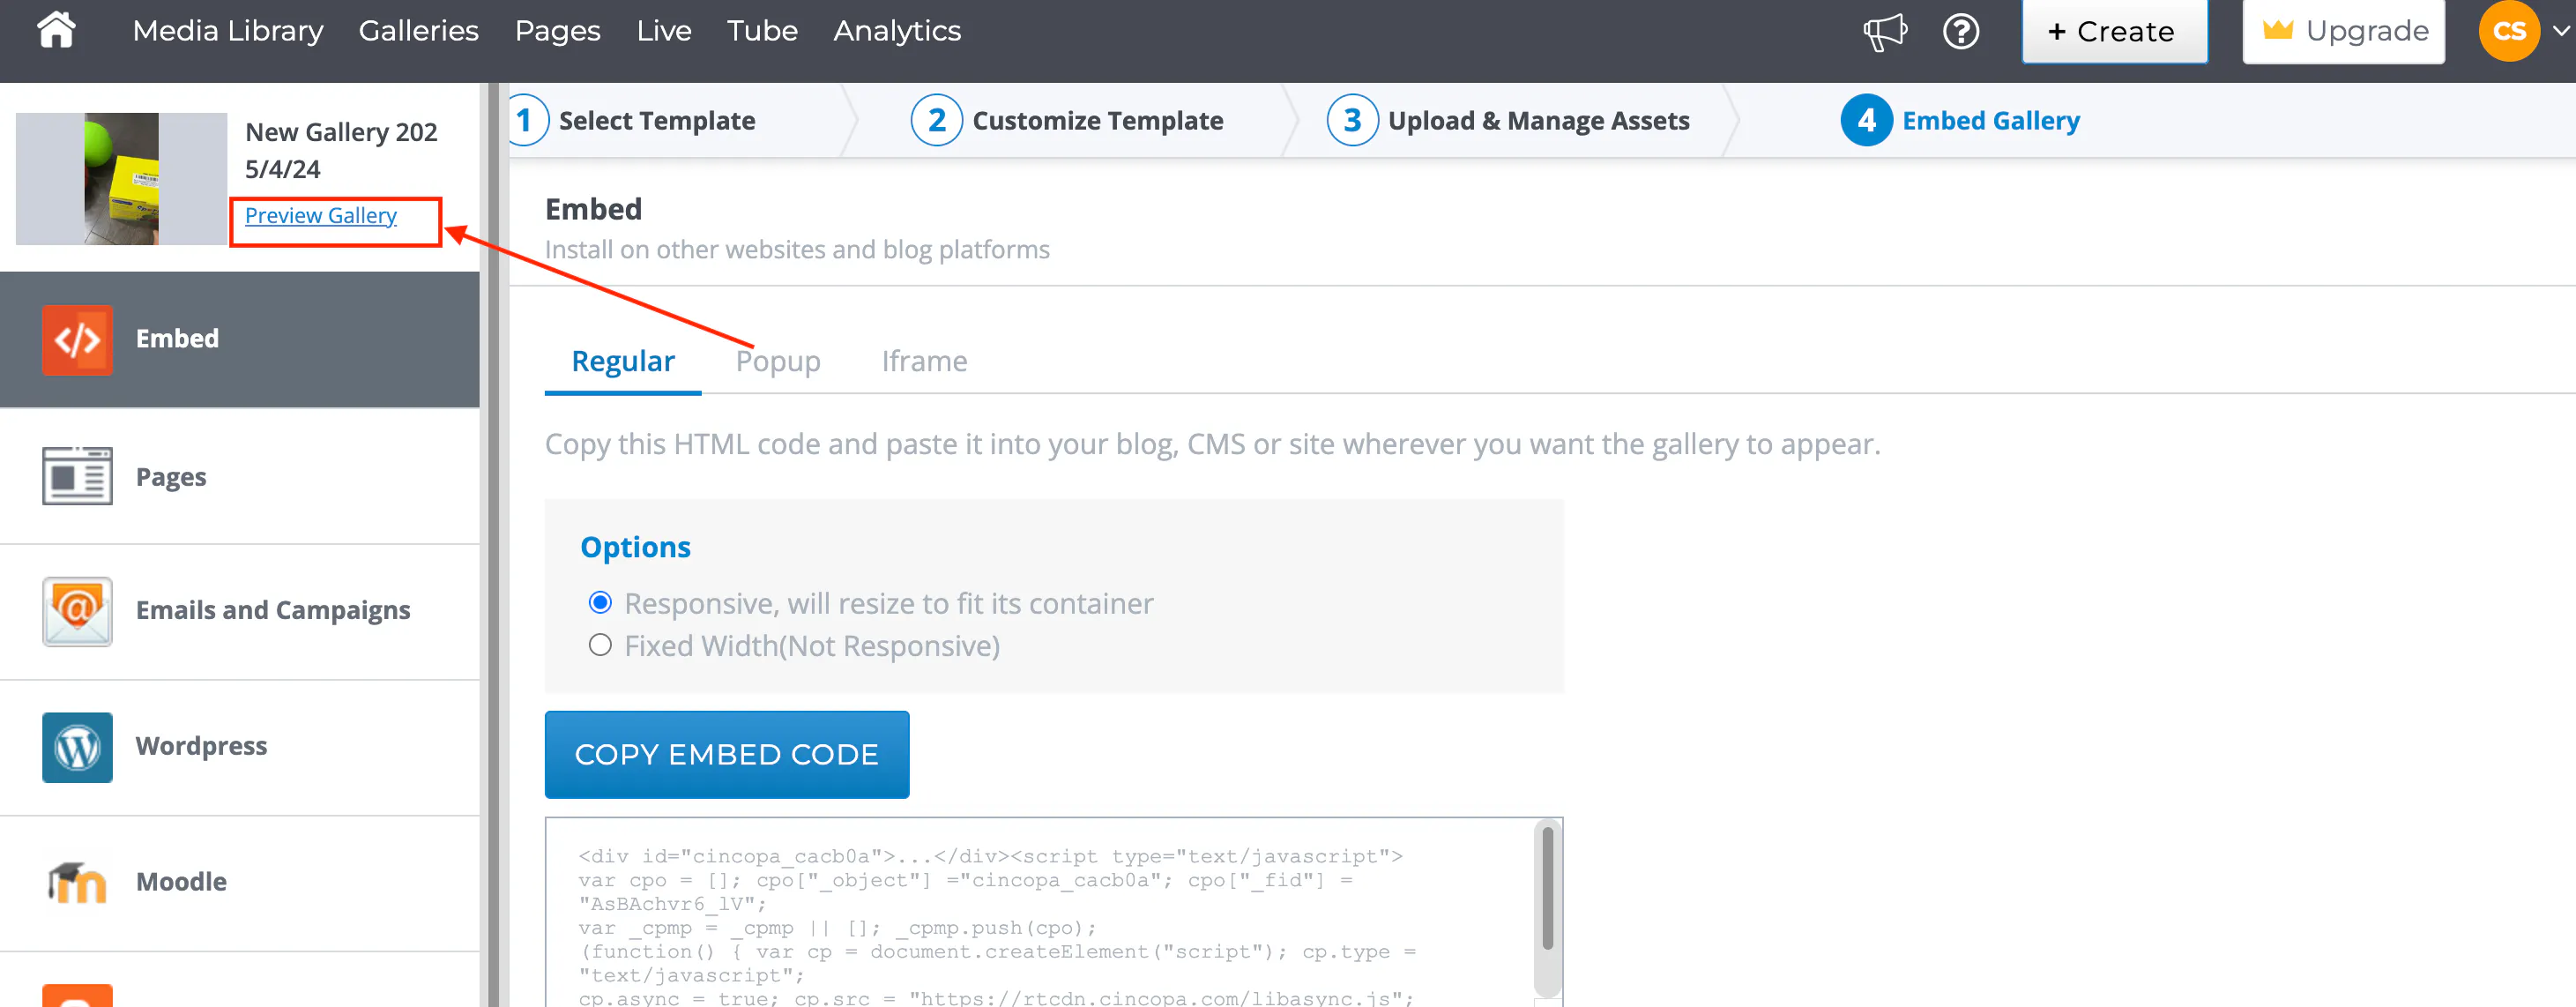
- After uploading, click Next to proceed to the embed page.
-
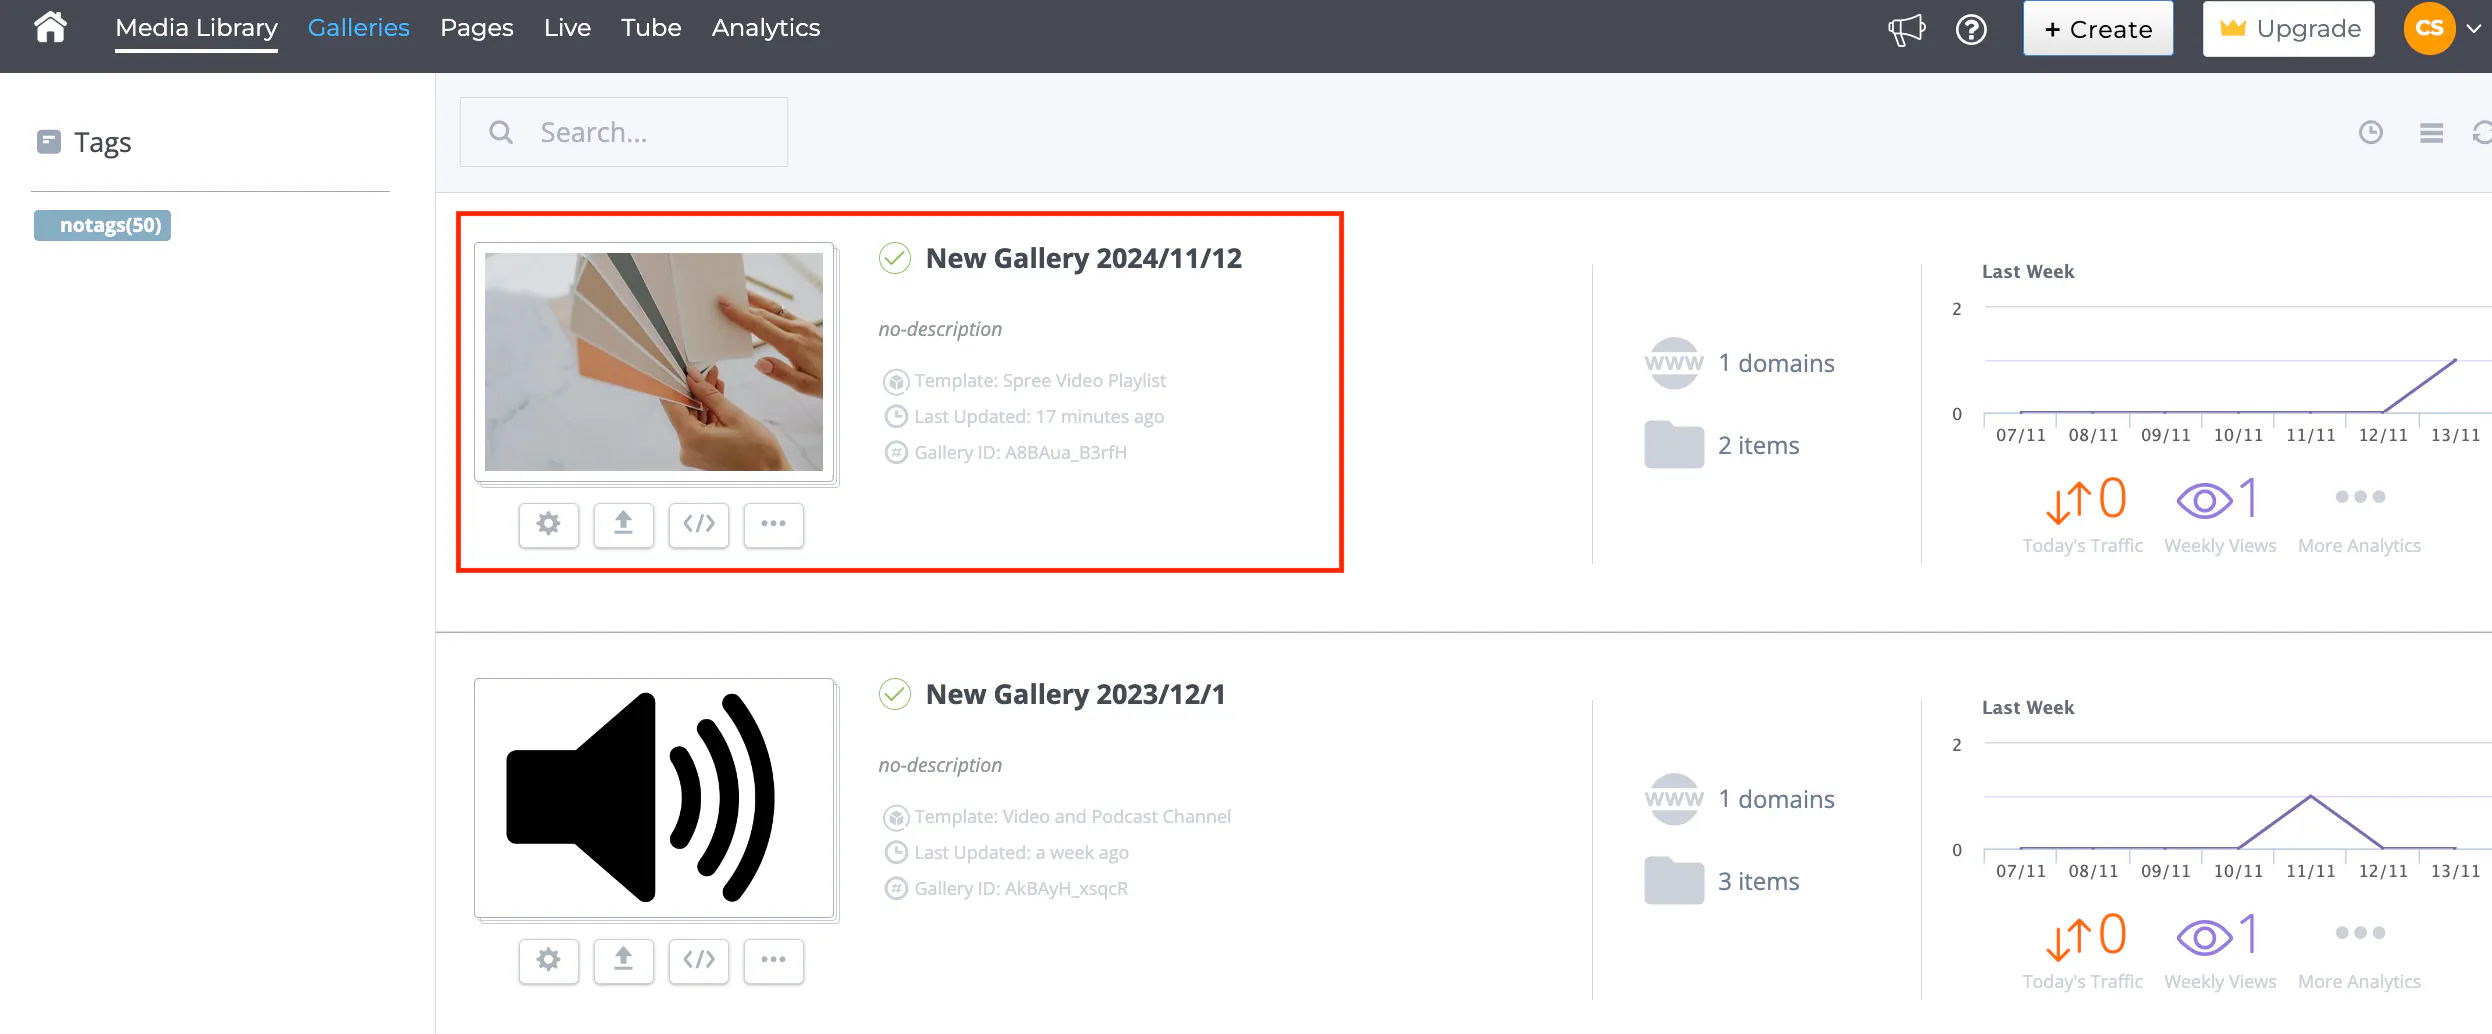
Preview your gallery to ensure everything appears as desired. Your new gallery will now be accessible under your account's Gallery Page.
You can also see your new gallery under your Cincopa accounts Gallery Page.
Additional Upload Options
Cincopa offers various alternative upload methods:
- Webcam Recording: Directly record videos using your webcam.
-
Third-Party Integrations:
Dropbox Import
Google Drive Import
Instagram Import
Vimeo Import
SlideshowPro Import - URL Upload: Upload media directly from a URL.
- CSV Import: Bulk upload media using a CSV file.
- API Token: Import from another Cincopa account using an API token.