
Basic

Gallery Title – This field is for internal use only. It won’t be visible to your users. Give your gallery a name that will help you find it in the future.
Gallery Description – This field is for your internal use and SEO meta data. It won’t be visible to your users. Describe your gallery in a way that will help you find it in the future.
Video Player Max Width – The video player is fully responsive and by default will automatically fill the max width of container where embedded. Use this field if you want to override the default and define your own video width.
Auto Start Mode – In Auto Start mode, your video starts playing automatically when the page is loaded, so the user doesn’t have to click on the ‘Play’ button. Auto Start is turned OFF by default. Use the toggle to turn it ON.
Advanced
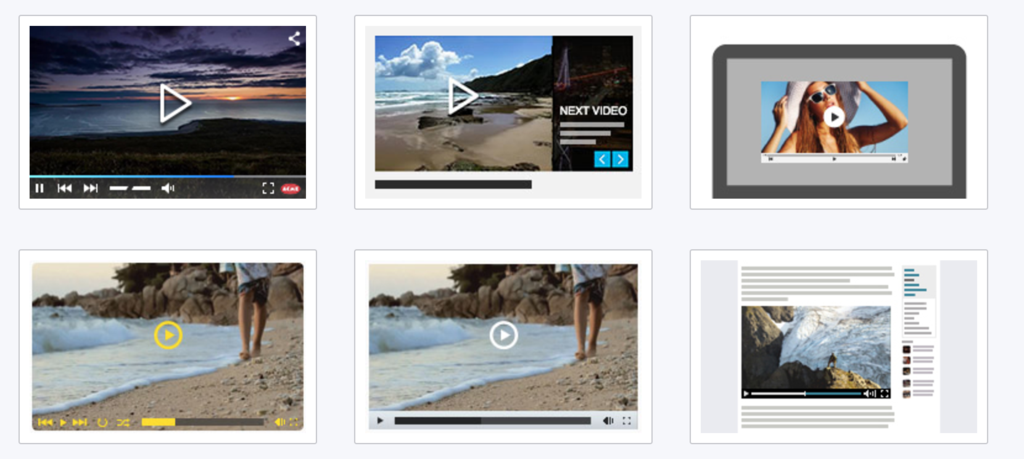
Advanced settings is based on the template you selected. Below is the advance settings for a video player gallery.

Show Playlist – By default player comes with a playlist. To deactivate the playlist change the toggle button to ‘Off’.
Player CSS code – Open CSS editor to directly edit the video player CSS code.
Show Control Bar – By default when player is not active the player control bar is hidden. To show control bar when player is not active change the toggle button to ‘On’.
Facebook Mode – In Auto Start mode, your video starts playing automatically in silent mode when user scrolls over the player. Use the toggle to turn it ‘On’.
NOTE: For more details about Facebook Mode feature please click here.
Player Always on Top – With Always on top video player users will have a floating fully customizable window with playing video inside while they scroll over the content on page. Use the toggle to turn it ‘On’.
Always on Top Window Size – Define the size of “Always on top” floating window
Floating Window Margin Top – Define the margin size of floating window from top of the screen.
Floating Window Margin Right – Define the margin size of floating window from right of the screen.
NOTE: For more details about Always on Top feature please click here.
Volume Control – define the player default volume
Player Control

Show Previous Button – By changing the toggle button to “Off” the “Previous” button won’t be visible in the player control.
Show Play / Pause Button – By changing the toggle button to “Off” the “Play/Pause” button won’t be visible in the player control.
Show Next Button – By changing the toggle button to “Off” the “Next” button won’t be visible in the player control.
Show FullScreen Button – By changing the toggle button to “Off” the “Full Screen” button won’t be visible in the player control.
Show Shuffle Button – By changing the toggle button to “On” a “Shuffle” button will become visible in the player control.
Show Playlist Button – By changing the toggle button to “On” a “PlayList” button will become visible in the player control.
Play Video in Loop Mode – In Loop mode when your video player reaches last video in playlist it will automatically move to the first video. To activate ‘Loop’ mode use the toggle to turn it ‘On’.
Start on Shuffle Mode – Shuffle mode means player will switch between video from the playlist randomly. To active “Shuffle” mode change the toggle button to ‘On’.
Share Button – Use share buttons to grab your visitors attention and increase sharing across devices.
Mobile Native Player – By changing the toggle button to “On” mobile devices will display their own native player instead of Cincopa player design.
Playlist Active / Inactive – By changing the toogle button to ‘On’ ‘PlayList’ will be visible without clicking the ‘PlayList Button’
Show Volume Button – By changing the toggle button to “Off” the volume button will get hidden in the player control.
Show time control – By changing the toggle button to “On” the time control indicating video length and time progress will become visible in the player control.
Show Progress Indication Bar – By changing the toggle button to “Off” the progress indication bar will get hidden in the player control.
Progress Indication Bar Thumbnails – Progress indication bar thumbnails are visible when hovering over the progress indication bar. They can come in 2 sizes, small and medium.
Lead generator
Cincopa Lead Generator is a great marketing tool that works with video galleries and allows you to generate leads directly from your videos. A pop-up email form shows up right where you want to display it in a video playlist or in a single video. You can place it after the first or the last video in a playlist, after all videos, after 25%, 50% or 75%.
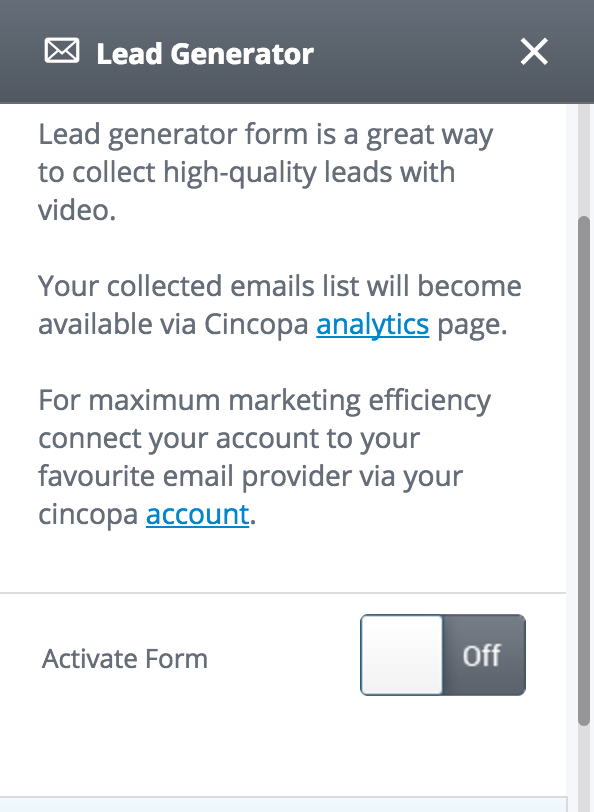
Activate form – to enable lead generator form change the toggle to “On”.
Create lead generator form – use the dropdown menu to choose your form type. You can choose between default form, use your own HTML form or insert a URL to form.
Name – give name to your form. This will be visible to the users.
Form fields – select the form fields you want.
Formatting – choose when to show the form during the video.
Allow users to skip the form – decide if your form is mandatory or not.
Add text – add upper and/or lower text to appear on your form.
Connect form: for maximum marketing efficiency connect your account to your favourite email provider via your cincopa account. After authorization with your account, leads will be automatically added to the email list that you can select from the drop-down menu.
See more:
Player logo
Watermark – Choose watermark placement over the player. If you don’t need watermark leave the default “I don’t need watermark”.
Watermark URL – Type in the watermark file direct URL.
Watermark Click URL – Type in the click URL (target site URL when clicking the watermark).
Open URL in new tab – Open watermark link in current tab or new tab.
Brand player – Add your logo to the player control bar. If you don’t want to add logo change the toggle button to ‘Off’
Player Logo URL – Type in the Logo file direct URL.
Player Logo Click URL – Type in the click URL (target site URL when clicking the logo)
NOTE: For more details about watermark / branding features please click here.
Advertising
Adding VAST ads to your Cincopa videos unlocks the opportunity to monetize your content. For being able to use this feature, your account must be upgraded to “Corporate” plan.
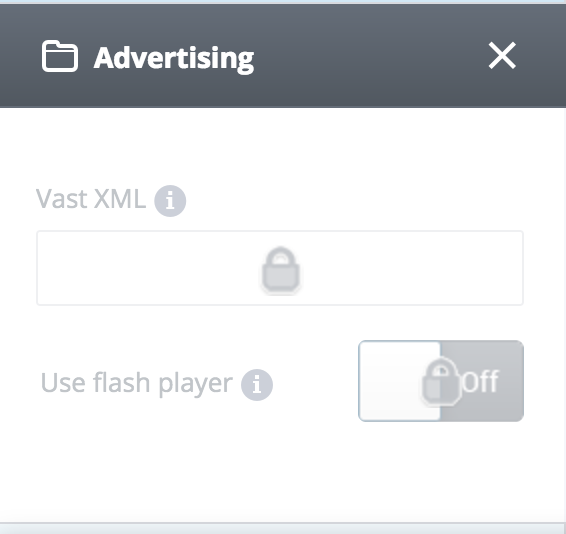
Vast XML – Paste the link to the VAST XML file into the corresponding field.
Use flash player – If you want to display VAST ads with .flv videos you can opt to use flash player by changing the toggle button to “On”.
Read more about Cincopa ads solution
Misc.

Allow Download – Allow user to download and save all files.
* Resized zip contains photos resized to 600×450, videos in mp4 format and music in original sampling.
NOTE: For more details about gallery zip download please click here.
Domain Lock – Allow this gallery to appear only in the domains on this list. This will prevent others from grabbing your gallery to their site.
Type a list of domains separated by comma or leave empty to allow all domains.
No need for http://
For example:mydomain.com,blogspot.com
Domain Lock Message – Message to be displayed when the gallery is locked, leave empty to keep the default message.
NOTE: For more details about domain lock please click here.
Password – Protected your gallery with a password. Give it to your users and only they will be able to access the content.
iFrame – Enable this option if the gallery is not working properly inside a page and the gallery will be placed in a HTML iframe.
Track Events with GA – When On the gallery will post events directly to your Google Analytics account where you can get detailed infromation about user engagement.
Search Box – Add a search box above the gallery to allow user to search the gallery.
NOTE: For more details about adding a search box to your gallery please click here.
Right-Click Protection – Lock the right click to prevent downloading and saving your content or allow user to download and save individual files from your gallery
Right-Click Text – The text users will see on Right-Click.
Right-Click URL – Type in the Right-Click URL (target site URL when click on ‘Right-Click Text’)
Download size – Allow user to download individual files from your gallery. * Photos resized to 600×450, videos in mp4 format, audio in mp3 fromat or choose original size of uploaded item
NOTE: For more details about how to add right-click to your gallery or enable individual download for your files please click here.