Sending New Lead we received from our Cincopa Gallery to Zoho CRM using Zapier
- For more information on how to Configure the Cincopa and Zapier integration
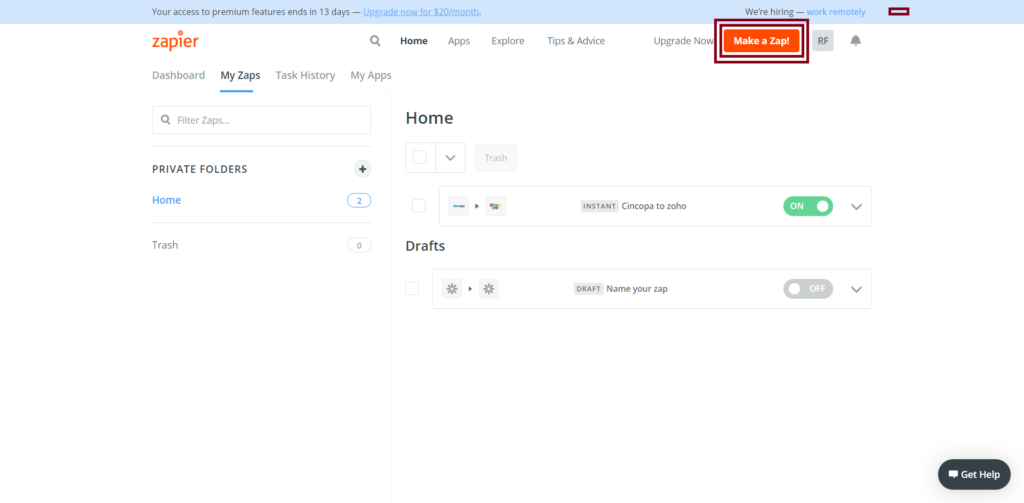
- Sign in to Zapier and select Make a Zap.
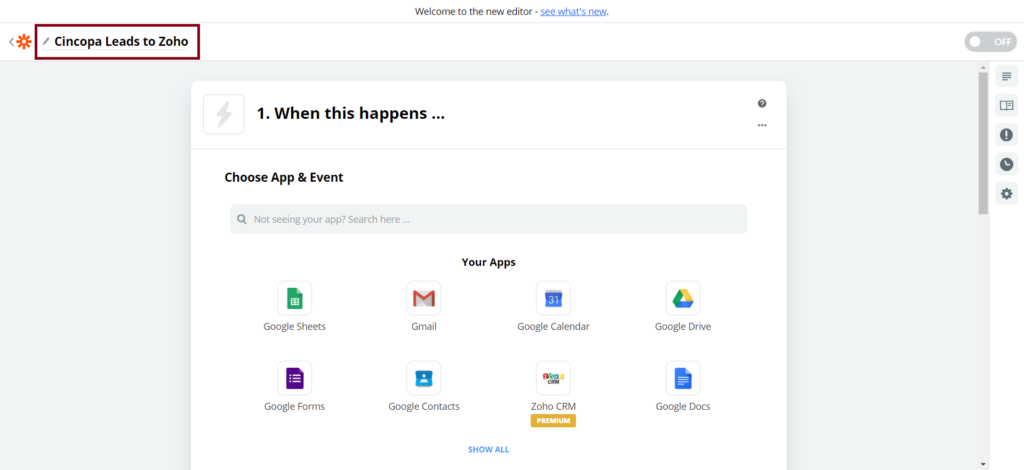
- After selecting Make A Zap, enter a name for the Zap
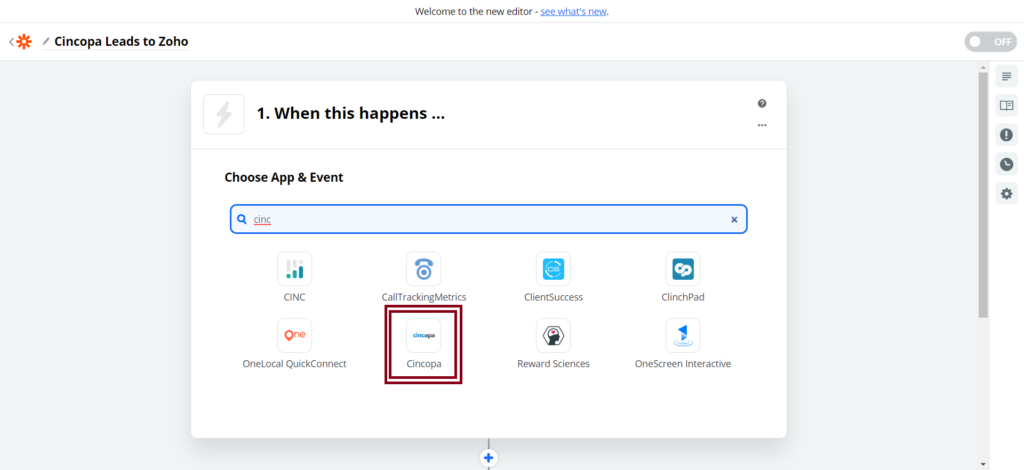
- Select the Cincopa APP
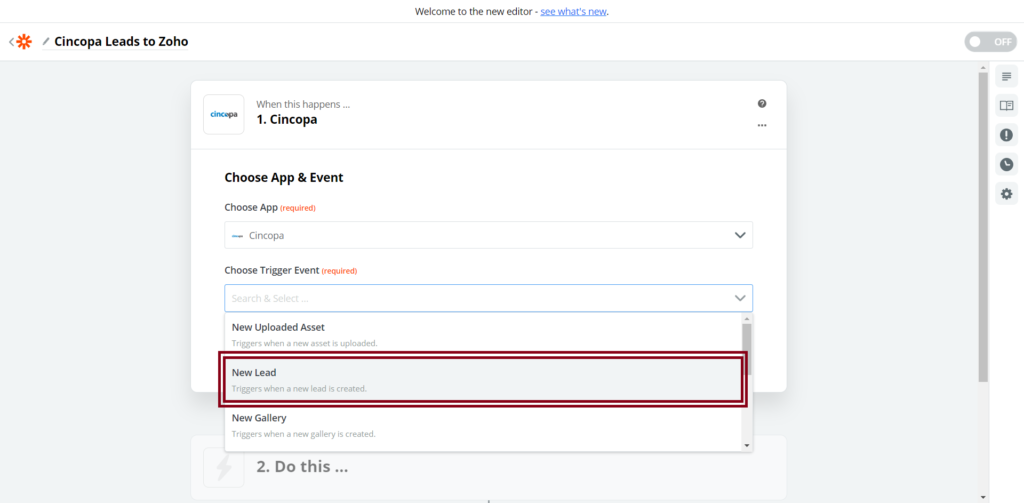
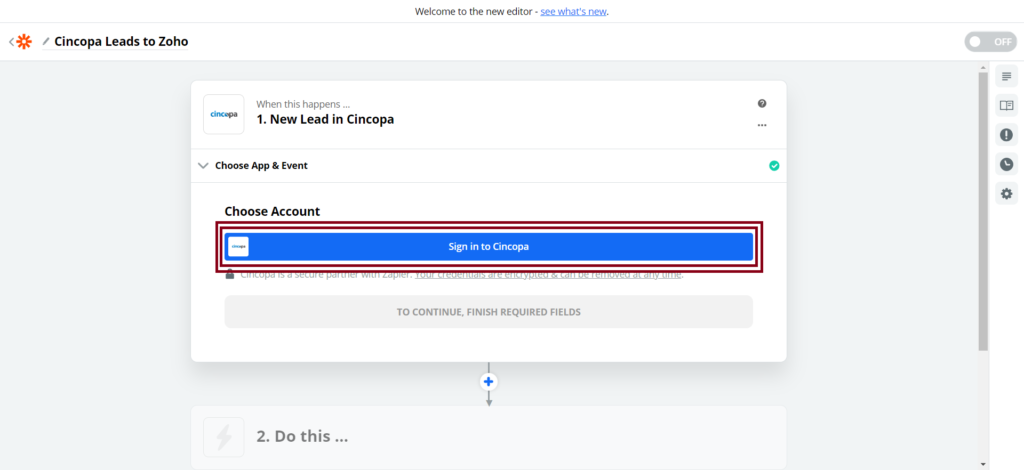
- Then you will be prompted to select a trigger, so choose New Lead.
- Once you choose the trigger, you will need to connect your Cincopa account so click on Sign In to Cincopa
- A new popup will appear that will enable you to enter your Cincopa API Token
- Go to your Cincopa Account Profile section >> API Tokens >> Click “Create new Key“
- Give the API Key a title, Check the access you wish to provide and select “CREATE KEY”
- Copy the API token
- Paste the API token into the available window. Click “Yes, Continue“.
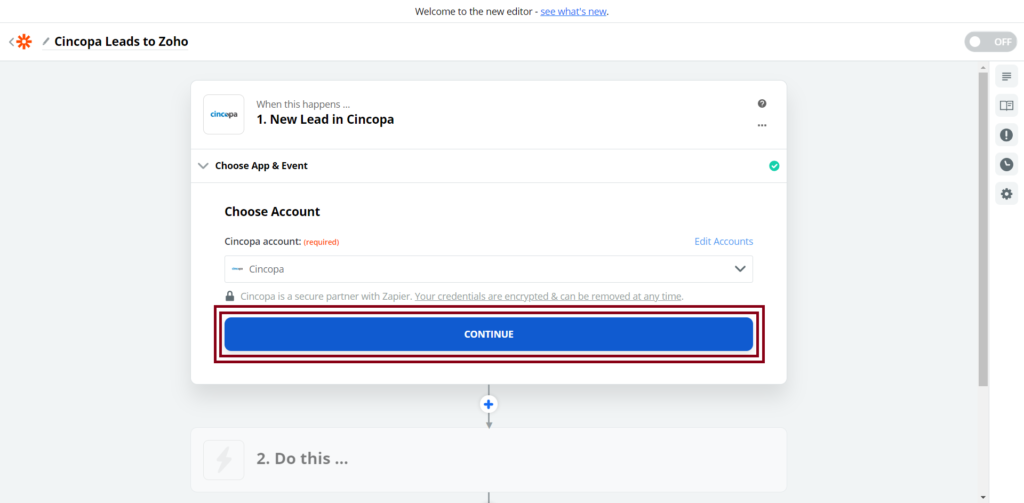
- Next, click on Continue
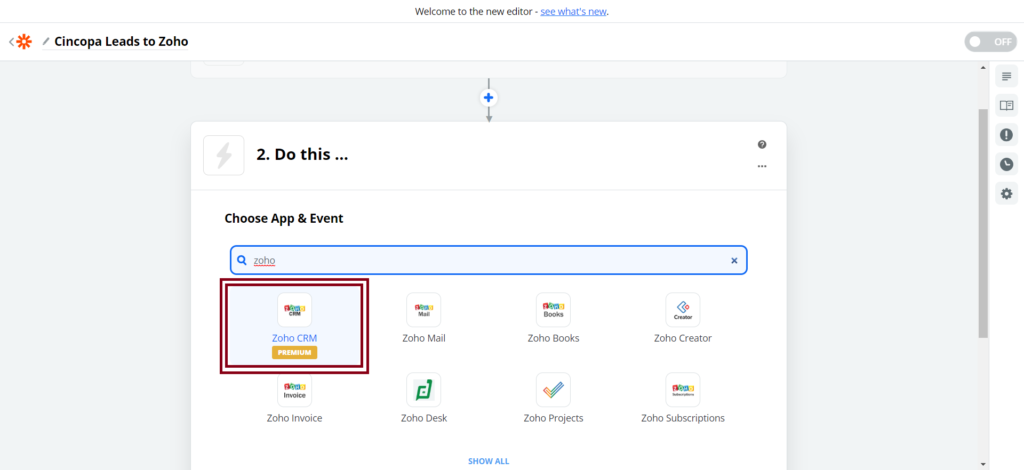
- Once the Cincopa part is completed, you can then connect Zoho CRM to receive the leads.
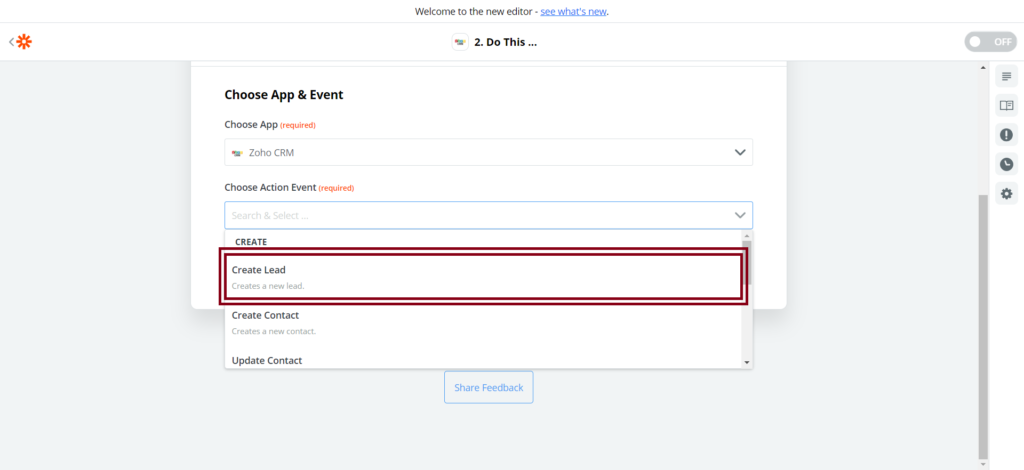
- Choose an action for Zoho CRM when a new lead arrives through Cincopa. Select the Create Lead option.
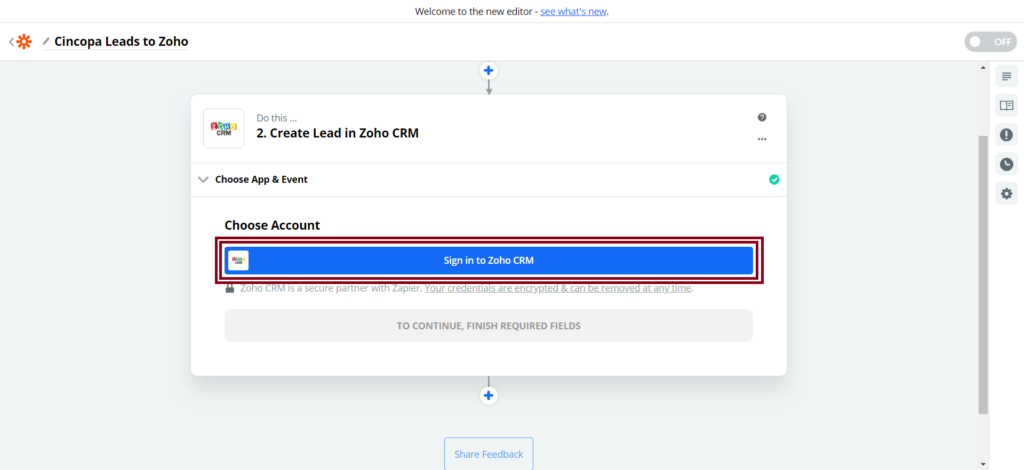
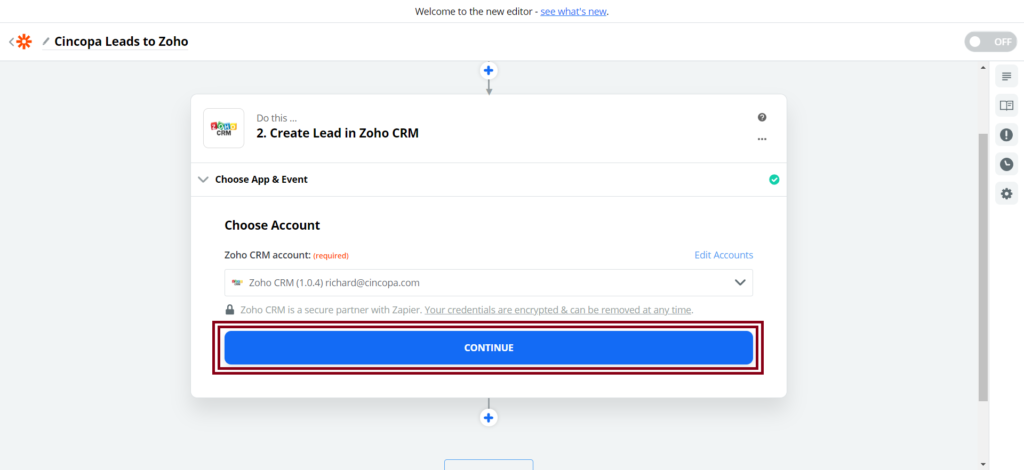
- Next, you will be asked to log in to Zoho CRM, click on Sign In to Zoho CRM
- Select the Zoho domain you have registered with. In this case, we have registered with Zoho.com
- And then click on Yes, Continue
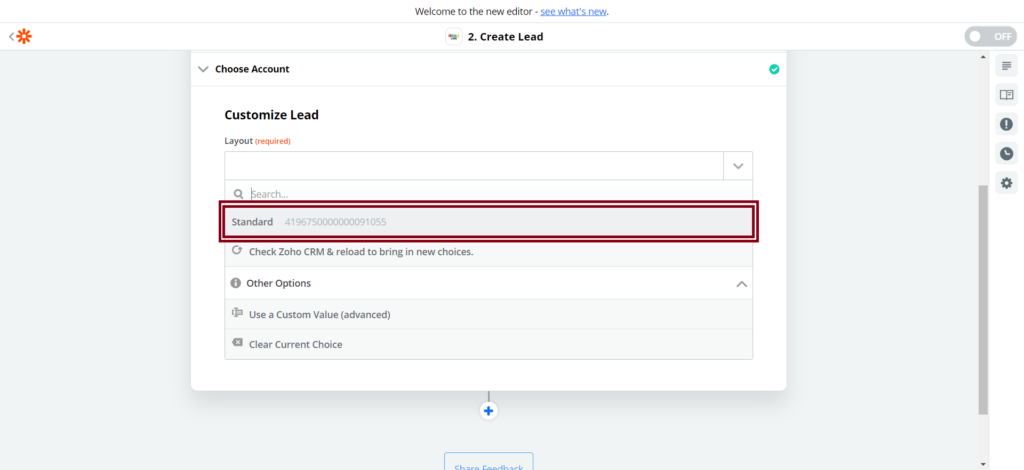
- Next, you will be asked to select a Layout, for this example we have selected the Standard option
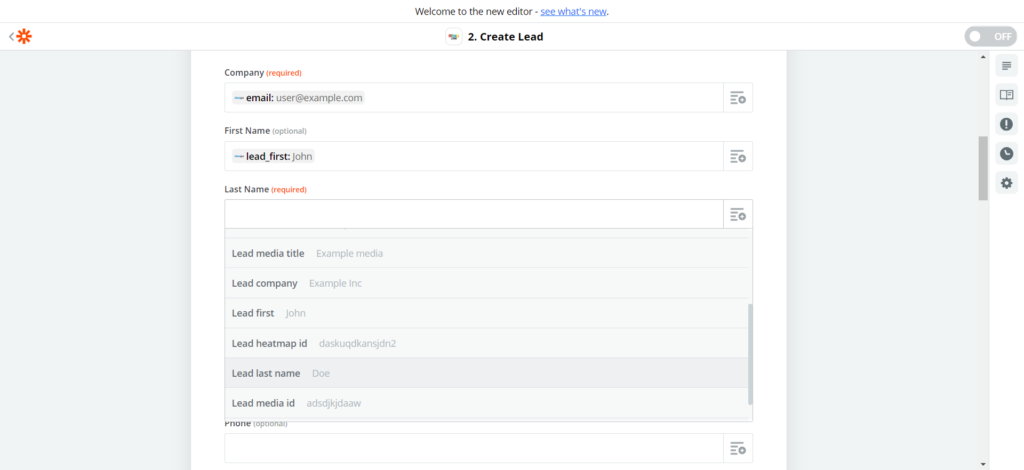
- You will have to choose how you would like to receive the lead data sent by Cincopa. Follow the settings as shown in the screenshot below.
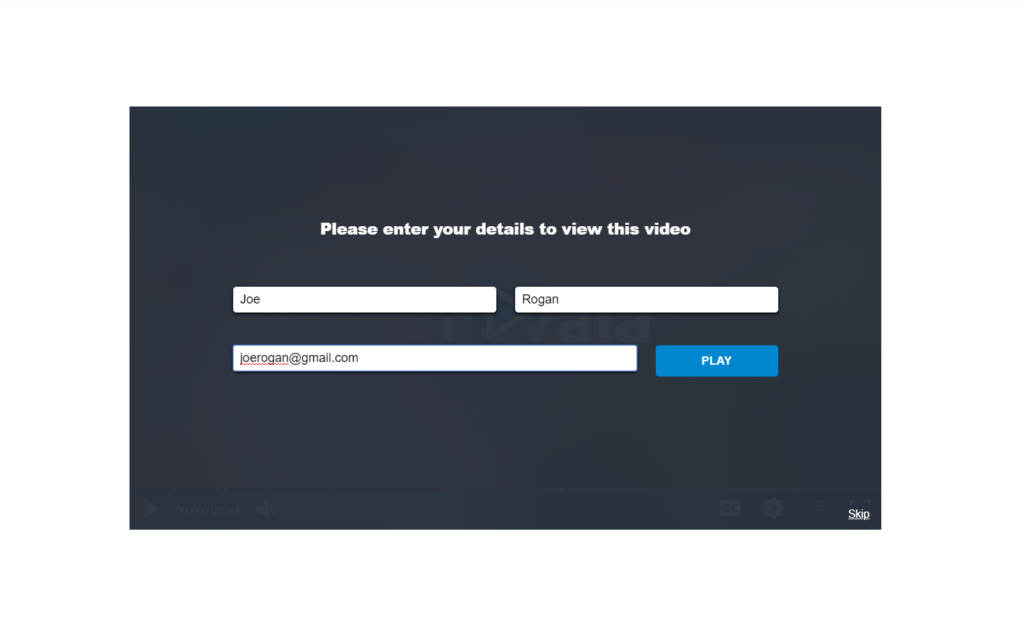
- Now we can access a Cincopa gallery with a lead generation form as shown earlier in this article and enter some data to test if the data is been sent to Zoho CRM and is configured the way we want it.
- Now you can log in to your Zoho CRM account to check if you received the test lead we created.
As you can see we have successfully received the test data we sent through the Cincopa form.


