
Live streaming allows content creators interact with viewers, keep the viewers engaged, and assist in the creation of online communities.
However, to get the maximum value from live streaming, you need the proper setup.
Steps to success are :
- Activate Live Stream in your Cincopa
- Install and configure OBS software
- Start Streaming !!!
- Access Live Analytics
- Live Streaming best practice
Activate Live Stream in your Cincopa
Log into your Cincopa Account or Sign up for a new Cincopa Account
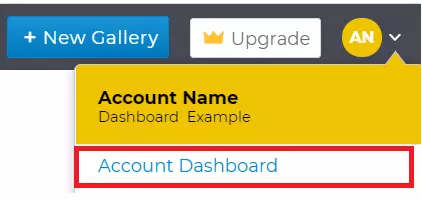
Click on the profile icon in the top-right corner of the home page and then select the Account Dashboard. Navigate to the Live Streams option on the menu.
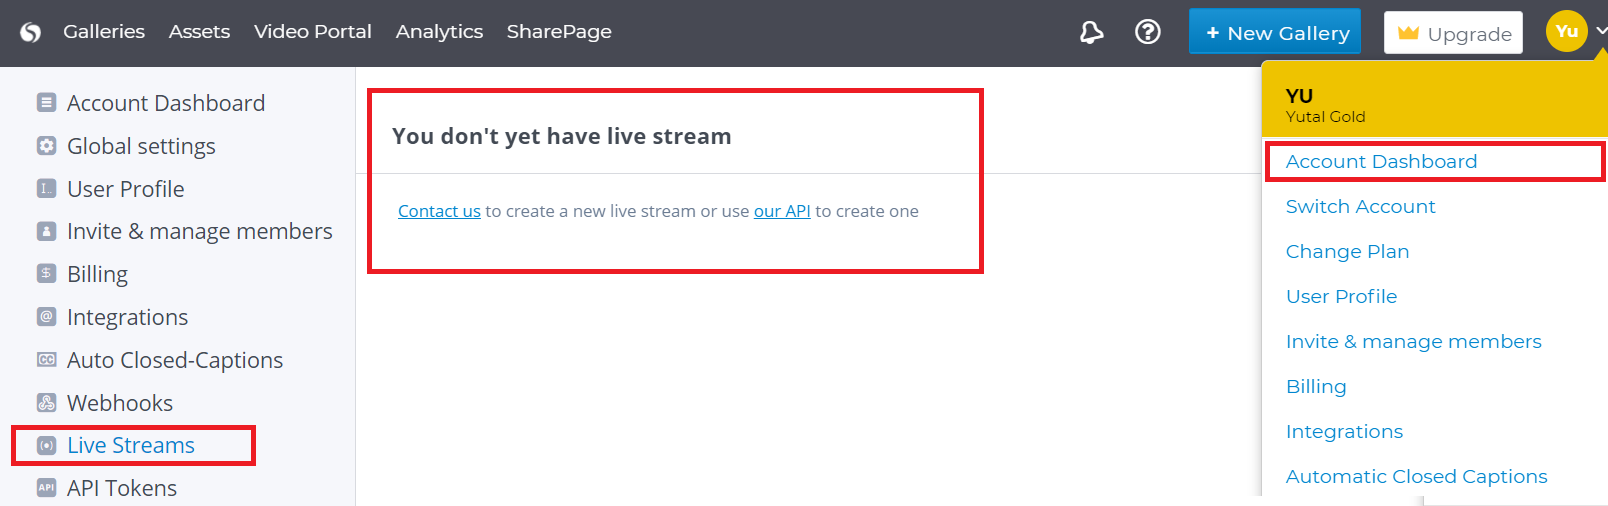
The above message means that you need to request a live stream server and stream key, to do so please select the Contact-us link.
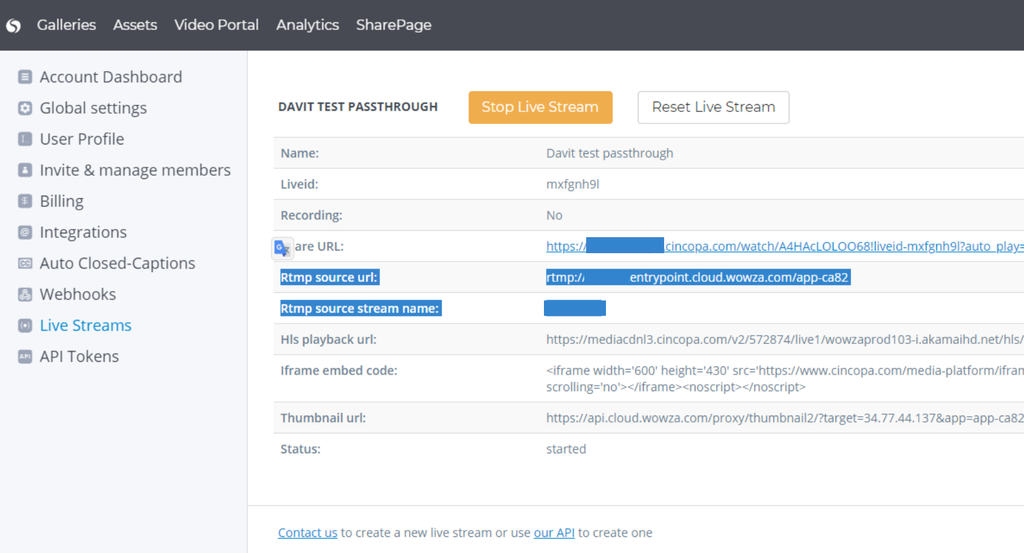
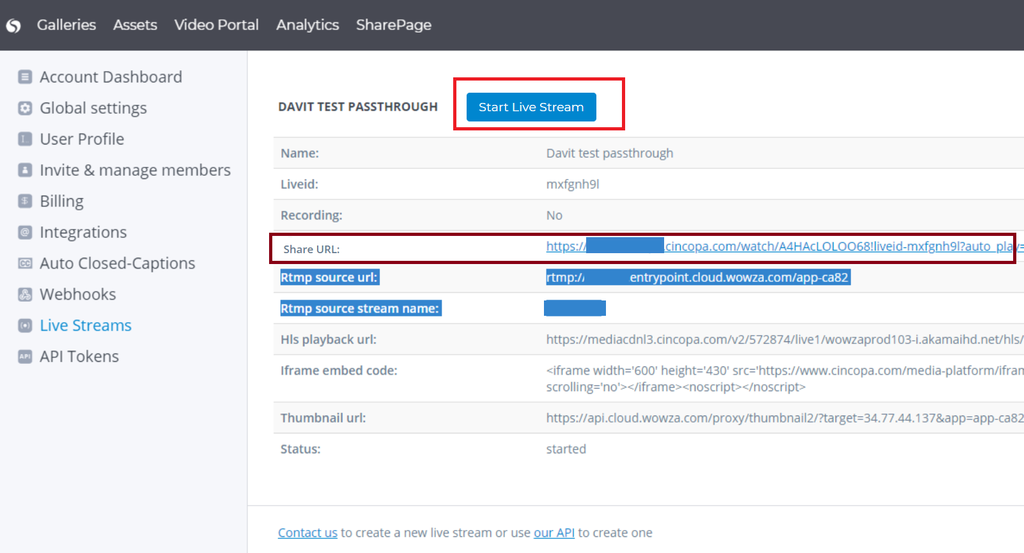
After you get a live stream server and stream key your screen will show the following information.
Install OBS software
OBS (Open Broadcaster Software) is free and open-source software for video recording and live streaming
To install OBS Follow this link
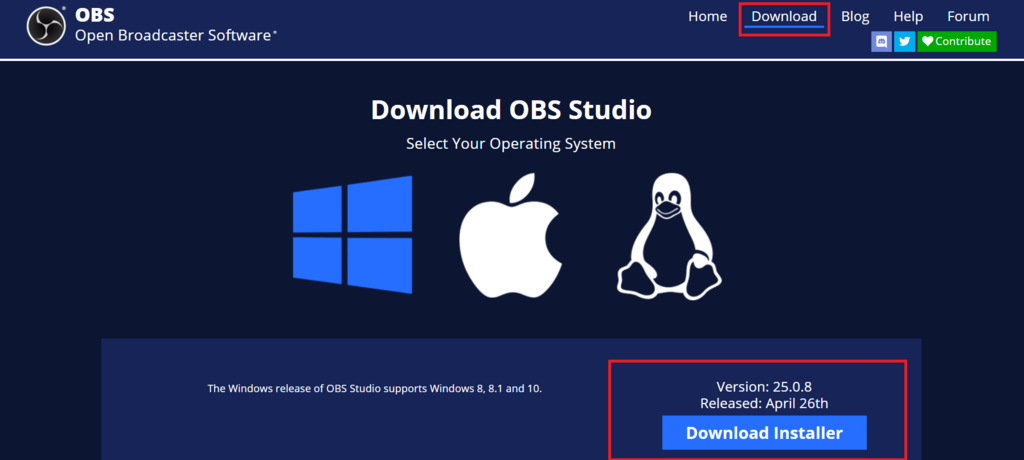
On the OBS site select the download menu and then Download the installer
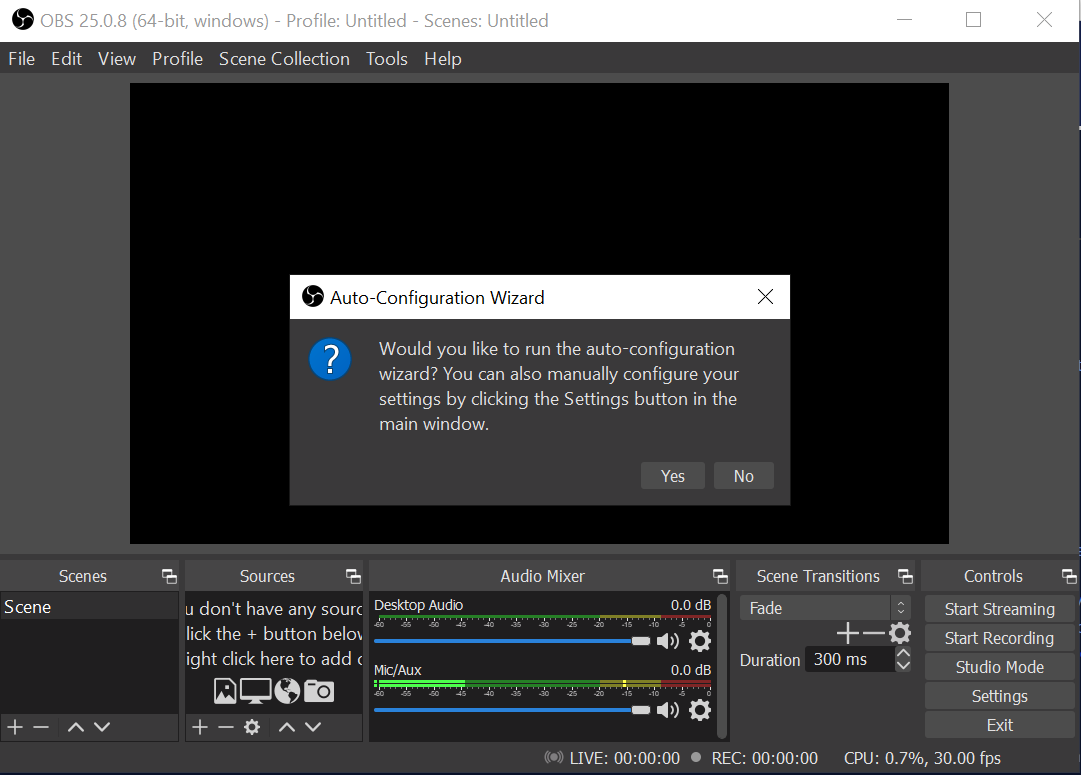
When you load OBS Studio for the first time you should see the Auto-Configuration Wizard. If you’re new to OBS or just want to get started as quickly as possible, follow the steps to apply the default startup settings.
Configure Audio settings
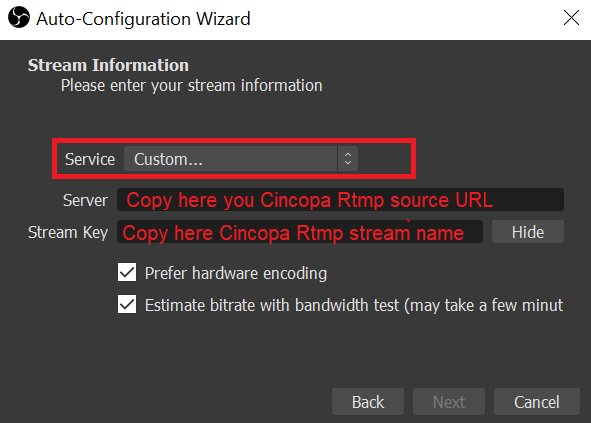
When you get to the Stream information you need to populate you live stream data from Cincopa here:
Service – Choose the ‘Custom’ option
Server – Copy and paste the Rtmp source URL from the Cincopa Live Streams screen
Stream key – Copy and Paste the link from Rtmp source stream name from the Cincopa Live Streams screen
Add video devices by selecting the Plus icon in the Source tab and choosing Video Capture Device.
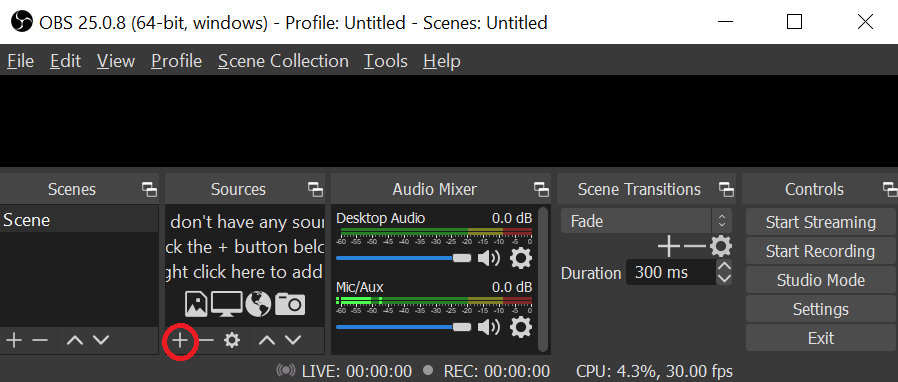
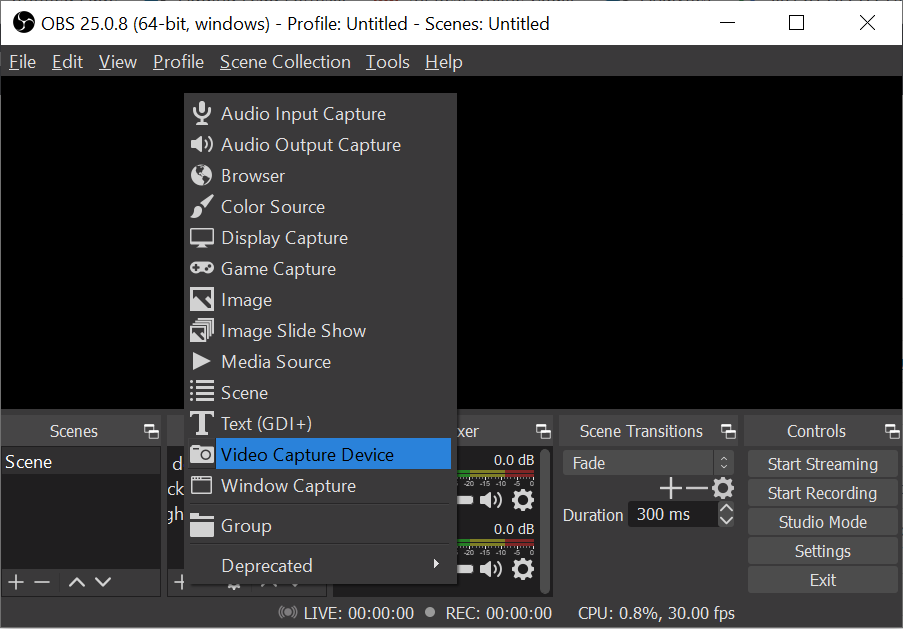
This will enable your Webcam
Configure Output settings
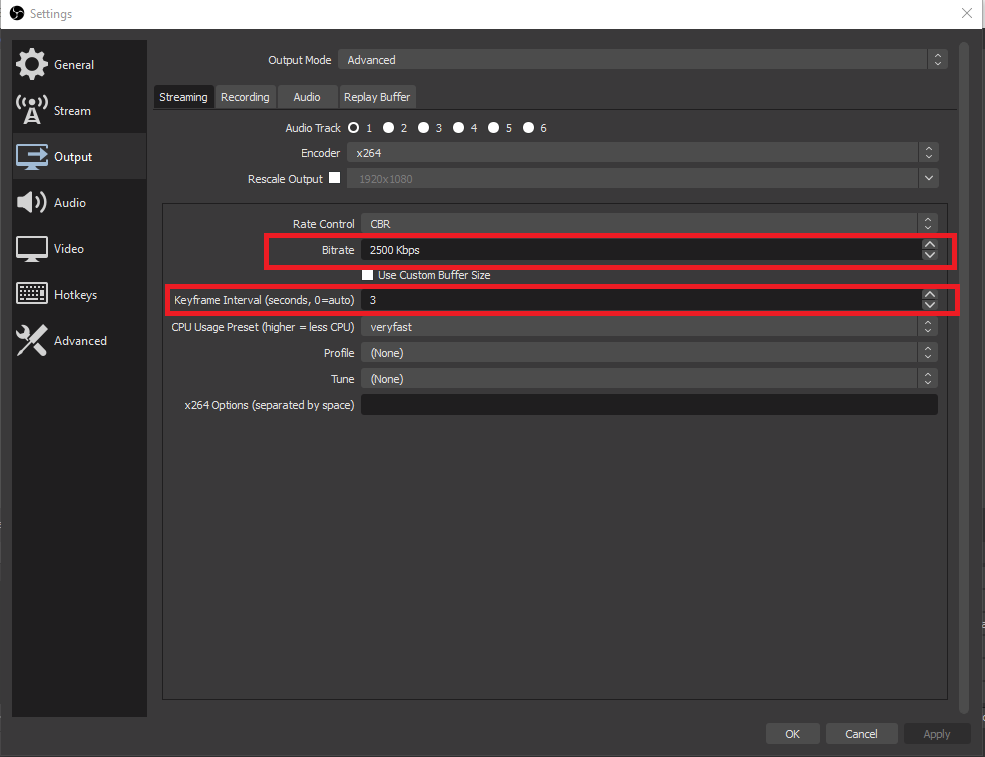
To get best result of streaming set keyframe to 3 and also bitrate to 2500-5000 Kbps depend on content source. If content of the video is lecture, screen record or similar with not too many movement can go with 2500 Kbps, if movie with many details then go up with bandwidth of up to 5000 Kbps. Need to experiment what would render the best results. the low the bitrate the higher the chance of audience not having connectivity issues.
Start Streaming !!!
Go back to the Cincopa Live stream area. From here you will have to perform a few important actions.
- Click on Live Poster to choose a custom thumbnail for your live stream.
- Share the URL to invite users to your Live stream.
- Select the Start Live Stream button to start streaming through Cincopa.
Lastly, through OBS, select the Start Streaming option to go live!

Notes:
Once you end your live streaming session the session will be uploaded as a VOD where it can be available through our portal. We have a search function available to assist you in locating past streams.
Access Live Analytics
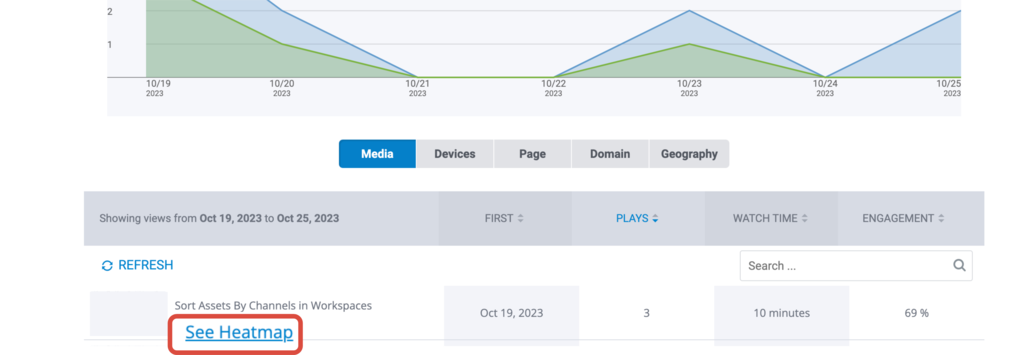
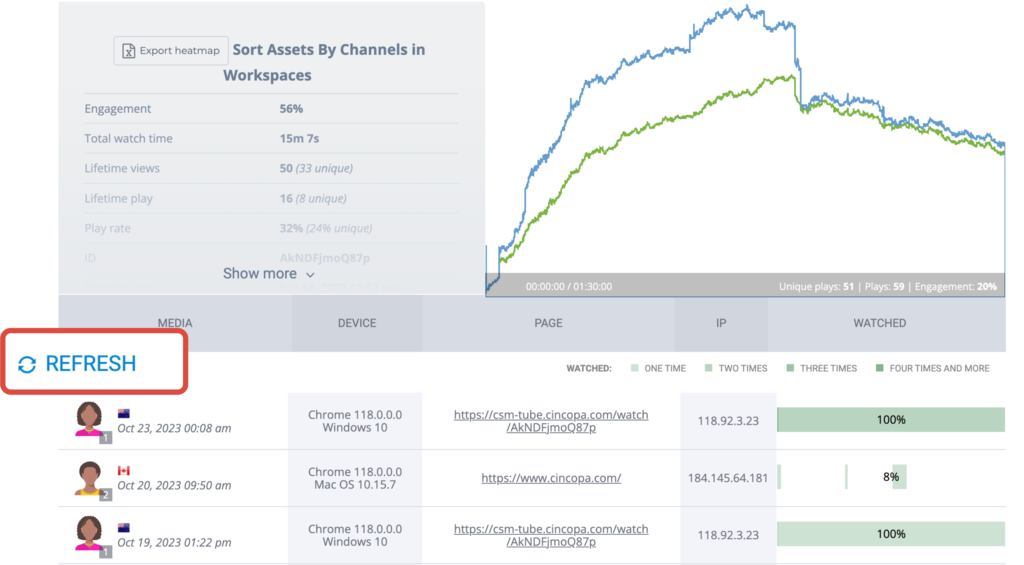
Once you start streaming, you can access the analytics dashboard to monitor the viewer activity in real time.
- Navigate to Analytics from your Cincopa Dashboard

- Scroll down on your Analytics Dashboard to find the live-streaming event and click See Heatmap.

- Click REFRESH from time to time to reload the page for real-time viewer activity
Related Help Articles
Live Streaming best practices
Now that you have configured your stream, it would be a good time to visit our live streaming blogs to discover valuable tips and tricks.
- How to Boost Engagement with Live Streaming?
-
Optimize for Mobile Live Streaming: Convert Your Streaming Protocol from RTMP to HLS