Videos have taken center stage in many modern marketers’ technology stack, and with good reason. About 72% of all customers would rather learn about your product via a video presentation than through any other means. And, as far as successfully converting leads, product demos trail only testimonial videos and tutorial videos.
The root of demonstration videos’ success is their ability to draw the gap between possibility and reality. The customer has probably heard about the kind of solutions you have to offer, but this will likely be the first time they see it for themselves.
And yet, creating an effective product demo goes much farther than intuitively putting together a quick solution to common problems. It requires a fair amount of research on respective topics. Don’t get too excited and create a bunch of videos that nobody is interested in.

A Step-by-step Guide to Creating an Effective Demo
The main purpose for the existence of product demos is in order to reach customers on how to accomplish a certain goal. Product demos take various forms in their lifetime throughout the sales funnel.
The product demo referred to in this article is the kind employed before prospects even interact with sales for a personalized video. It’s a general video that’s meant to show the main features of your product and answers only the most urgent questions.
Here’s how to go about producing one:

1. Create a script
This first step assumes you have all the tools you need at your disposal, and that you’ve got at least a general idea of what the demo video is supposed to be about. Once you have those down, it’s time to get your creative juices flowing.
When writing a script, you will probably want to divide it into several different sections. The simplest video should compose of at least three distinct areas: the introduction, body and the conclusion. The introduction should at least contain details about:
- What your product is
- What it does
- Who it can help and what problem it solves
- How it solves the problem
For this part of the process, you may need to create several different iterations before you finally settle. If you’re to cut down on the amount of time and effort that goes into it, you will need people that know the product well. More on that later.
A few more important factors such as the setting, tone, and theme of your script should be nailed down when brainstorming for ideas.

2. Decide on a structure the videos will follow
Different companies prefer to structure their videos in vastly different ways, and this often gives their videos identity. For example, your video might feature heavy branding early on during the video. Other videos include the CTA at the midway point while others have it at the end of the video.
All in all, the structure your demo video follows should be consistent throughout. Every video you release should have as close a structure to the initial template as possible.
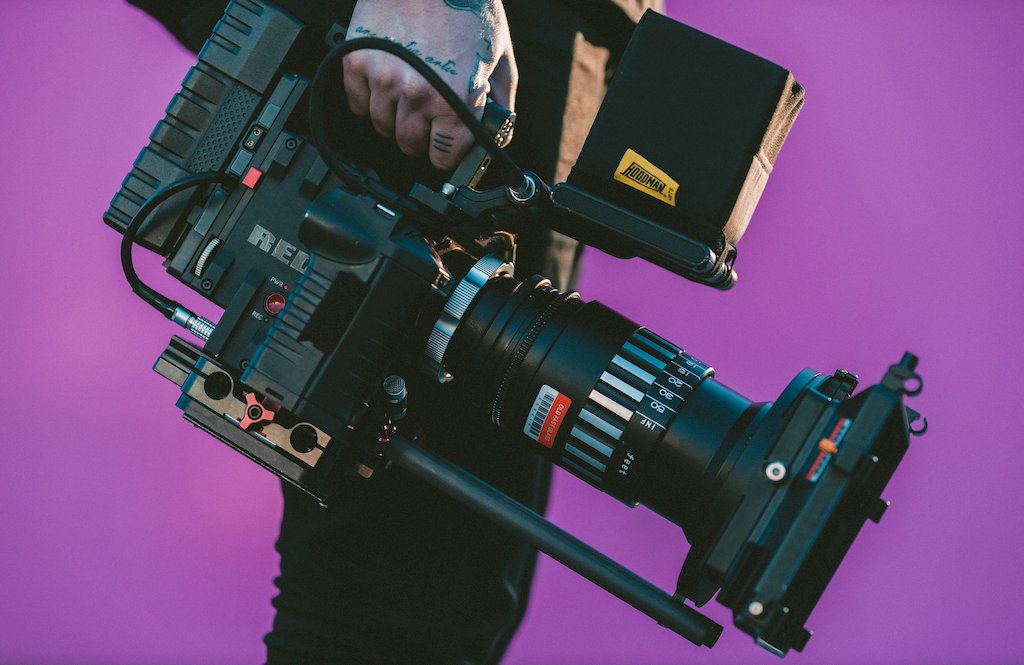
3. Record the video
Once you’ve sorted the initial issues related to the preliminary phases of your video recording process, it’s time to actually record the video itself. This step has a lot more complications than most people give it credit for.
Recording s good demo video isn’t just about turning on your favorite screen recording software, using your software and calling it a day. A few crucial principles have to be followed:
- Record every video in the same aspect ratio. This will make editing videos together a lot easier – there won’t be any need for stretching the video to fit.
- All clips should be recorded with the same settings, and preferably, the same software. This prevents you from running info gotchas like limited export file types.
- Use the app naturally. Try and concentrate on actions that are close by instead of cutting the shot. If different crucial features you need to showcase are similar, demo them together. Your representation of the app’s functions should be as logical and meaningful as possible.
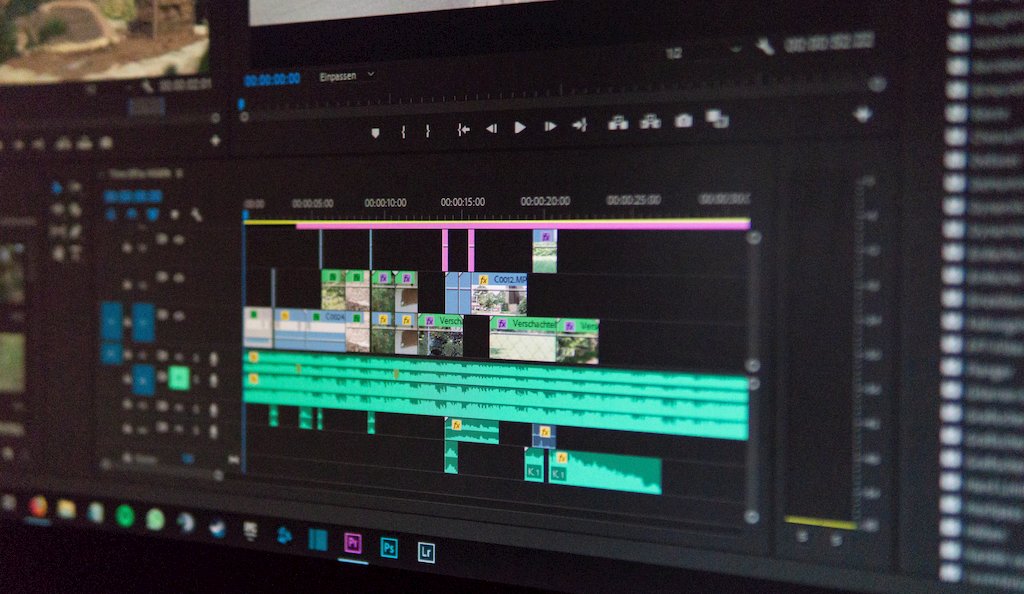
4. Edit for emphasis
Once the video recording process is done, it’s time to edit your video so that the most important bits are emphasized.
The key to being able to capture essential functions is to use the app as naturally as possible during recording. If the video ends up being too long, non-essential parts can be glossed over or fast-forwarded.
This includes being able to naturally transition from one activity to another. You will want to avoid cutting the video as much as you can. Parts that need to be emphasized should be slowed down.
Mouse movements and clicks should also be visible and easy to follow. Most video recording software should facilitate this. More subjective areas of video editing that need teams to make a call include when to zoom in to make actions more visible and when to fast-forward it. Additionally, adding closed captions is a great way to give that extra accessibility to your viewers and a great way to keep them engaged.

5. Add Overlay Text and Images
Videos rarely convey enough information on their own to mandate a simple record-and-publish workflow. This is due to a a number of reasons. Chief among them is that most major browsers block autoplaying videos by default. This will likely result in the first few seconds of your video being silent. It is important to remember this because you will normally have just a few seconds to make an impression.
Overlaid text can be of great use if you’re unable to decide whether or not to include a soundtrack or don’t have a place for voice-overs in hour budget. Even if you do, text overlay can be used to mark sections of the video.
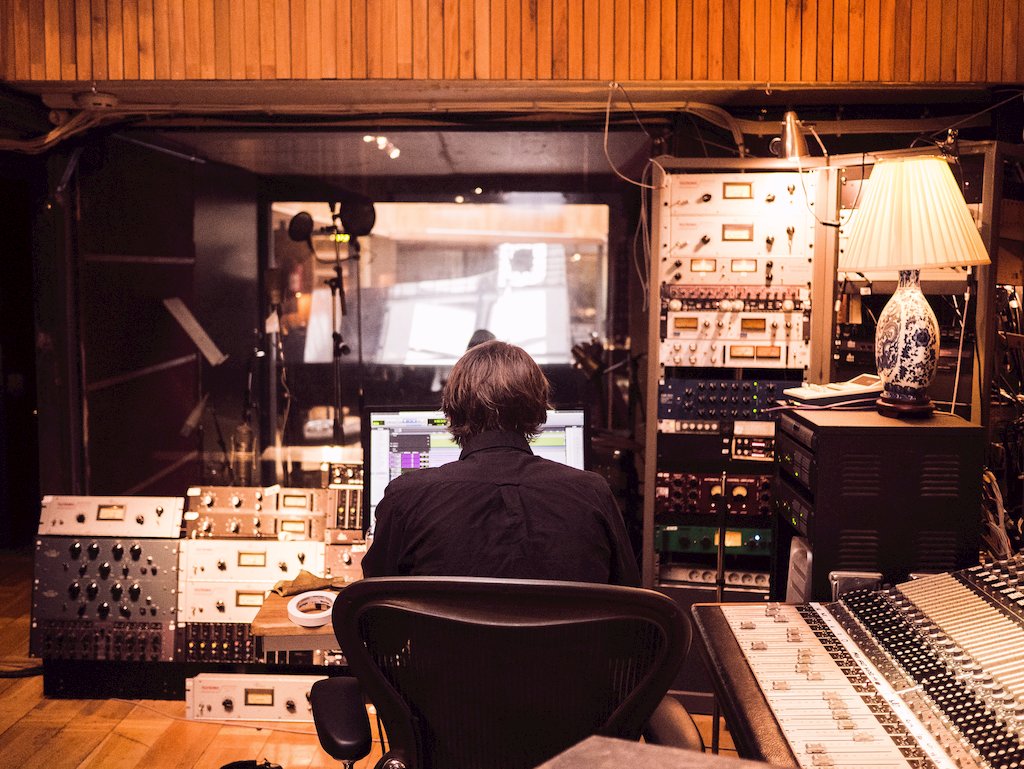
6. Add a soundtrack
The next step is to add a soundtrack that fits the content you have are presenting. At this point, you should consider whether you want music or a voiceover.
Voiceovers are arguably more difficult to pull off. They will require finding someone to write a script and a professional to edit the sound onto your video’s timeline.
If you decide to take this route, keep in mind that the more videos you have at your disposal, the better. This way, long pauses can easily be edited out and the rest of the text can be stitched together without feeling unnatural.
Choosing the right kind of music can also be a challenge, especially for inexperienced teams. The argument for not having a soundtrack altogether is also likely to come up at some point because not all demo videos need background music.

7. Brush Up With Finishing Touches
The final step of the creation process is revisiting your video and editing out pieces that don’t fit in well with the rest of your content. This phase includes final editing touches such as fixing the lighting, testing with different sound levels so background music doesn’t overwhelm your voiceover and transitions.
The transitions you use are especially important because they help to create the overall aesthetic and feel of your video. Once editing is done, you should be in a position where the video is instantly recognizable as originating from your company.