
Using Cincopa’s Lead Generation feature, you can capture a viewer’s contact information and track their viewing habits through Cincopa’s Analytics. You can also send them to your email marketing software and CRM as new subscribers or contacts for the delivery of additional marketing content via drip or marketing automation campaigns.
In this article we will show you:
- How to add a Form to your gallery
- How to connect the Form to Email providers(Mailchimp & Constant Contact)
- Custom Lead form – build CSV
- How to connect the Form with Hubspot
- Sending Leads to Slack
- The fastest way to test your form with integrations
Adding Forms to your video player
Use the following steps to add a form to your videos:
Log into your Cincopa Account or Sign up for a new Cincopa Account
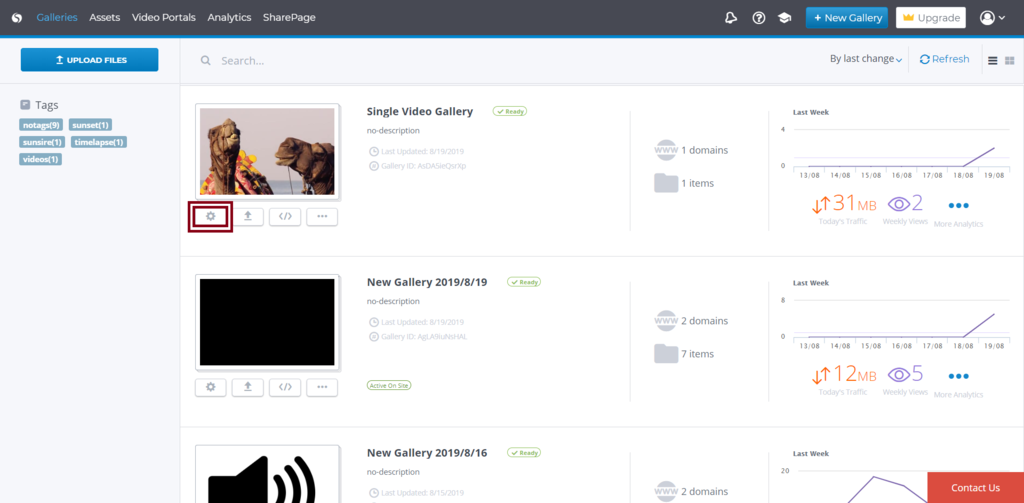
Open your galleries and select the Gallery you want to add a form to, then select the Customize Gallery icon as shown in the screenshot below.
Next, move the toggle slider to the right in order to enable Lead Generation as highlighted in the screenshot below.
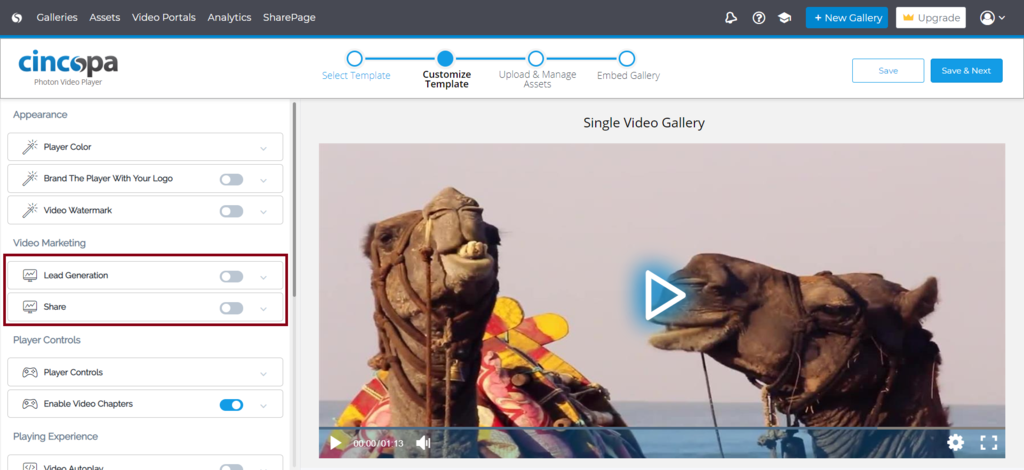
After you enable the Lead Generation, you can enable the following features that you would like to appear in your form.
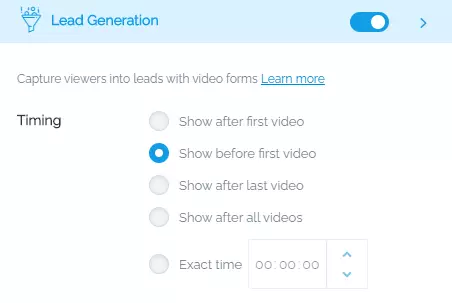
Timing: You need to select the time that you want the form to appear.
Following your selection, the form can appear before or after the first or last video, or at the exact time that you schedule.
Name: Checking this box will ask for the viewers First and Last Name on the form.
Skip: Checking this box will allow users to skip filling out the form and continue with the video.
How to connect the Form to Email providers, Mailchimp & Constant Contact
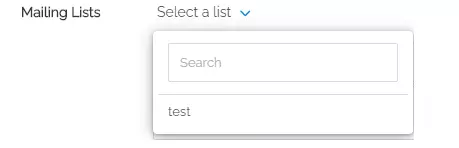
Mailing Lists: This option will show your email lists as they are defined by your Email Providers.
This option will be hidden if no Email provider is connected to your Cincopa account. To enable this option you need to add Email Provider Integration.
- To read more on how to add Mailchimp integration
- To read more on how to add Constant Contact integration
After you define the mailing list and create an integration with your Email Provider, you will be able to search or select the list that will be connected to the form
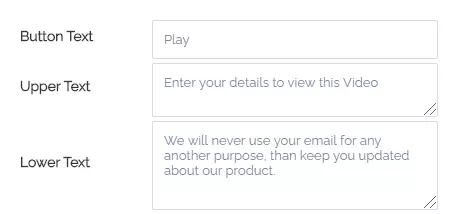
Button Text: You can enter the text for a button that will allow the form to be submitted and continue to play the video.
Upper Text: The text entered here will be displayed above the form.
Lower Text: The text entered here will be displayed below the form.
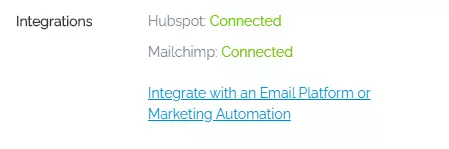
Integrations: This section will show the Email or Marketing Automation Providers you have connected your Cincopa account with.
You can easily set up an integration with an email provider like MailChimp or Constant Contact. If this is enabled in the settings it will allow every collected lead to be sent to a specific “email list” on your email platform.
If you see the following link, this means that you have not defined any Email or Marketing Automation Providers as of yet.

In order to connect Email or Marketing Automation Providers to your Cincopa account select one of the link provided above or go directly to the integrations tab:
- To discover more information on how to add Mailchimp integration.
- To discover more information on how to add Constant Contact integration.
- To discover more information on how to add Hubspot integration.
After you complete the integration with your Email or/and Marketing Automation providers, the following notifications will appear under your integrations tab.
FORM Type: Here you can choose the type of FORM you would like to add.
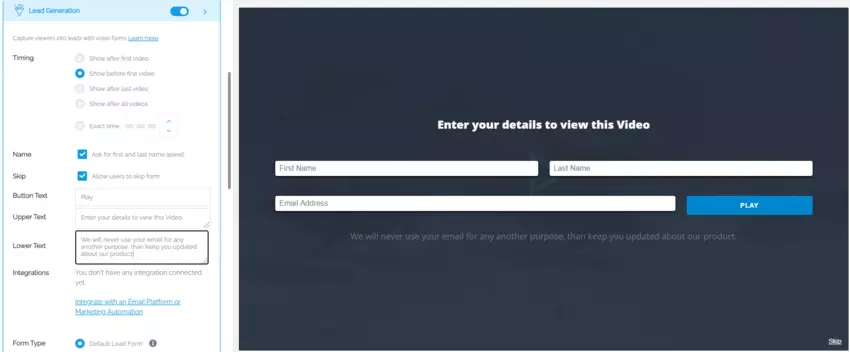
Default Lead form
Default Lead form will show parameters that you have selected during the previous steps as displayed in the screenshot below.
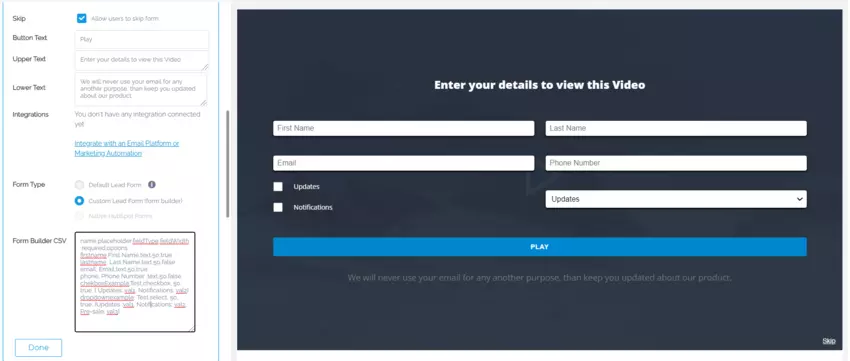
Custom Lead form
The custom lead form enables you to create your own form that will fit your needs perfectly. The presented parameters will be taken from the Form Builder CSV editor. Today we support the following types of forms:
- Text fields
- Text box example: firstName,First Name,text,50,true
- Checkboxes
- Checkbox example: chekboxExample,Test,checkbox, 50, true, { Updates: val1, Notifications: val2}
- Dropdown lists
- Dropdown list example: dropdownExample, Test,select, 50, true, {Updates :val1, Notifications: val2, Pre-sale: val3}
Native HubSpot Lead Form
Native Hubspot Form options will be available when the two following conditions are met:
- You have created Hubspot integration
- You have created a Form through HubSpot
Once you are finished creating the form select the DONE button to save them!
NOW you are set and ready to manage your new leads!
You can add your gallery with a lead form to any WebPage, create a Cincopa SharePage or broadcast Account Page via emails.
Sending Leads to Slack
Connecting Form to Slack is an easy task!
You need to create a form (as explained above), then create integration with Slack and make sure that the Lead event is chosen.
The fastest way to test your Form
By pressing on the Gallery with assigned form, you will be taken to the Account Site page.
View your video and populate the Form
Go to managing your Leads platform and see new lead appear there