Anyone that has been in real estate for a while can attest to how instrumental photos are to the process of flipping an asset.
If you list a property on, say, Zillow, you’d do well to upload images that complement it, as well. According to a study carried out by Chicago-based VHT Studios, homes that are presented through images sell 32% faster than those that don’t. These listings garner far more views and generate higher CTR by prospective buyers.
“According to the Wall Street Journal, “house listings that have better photos tend to gain as much as $116,000 more than the initial asking price.”
Here’s a breakdown of what you should do, and avoid doing, en route to a perfect property photo gallery.
Real Estate Photography Dos
- Concentrate on architectural details: Unique architectural details like archways can be difficult to photograph, but can really help your property stick out. Try to capture them.
- Take night-time photos: Night shots of house exteriors can be really eye-catching. Properly placed lighting lights create contrast that draws potential prospects. If shot correctly, they might be the missing piece in your photo gallery.
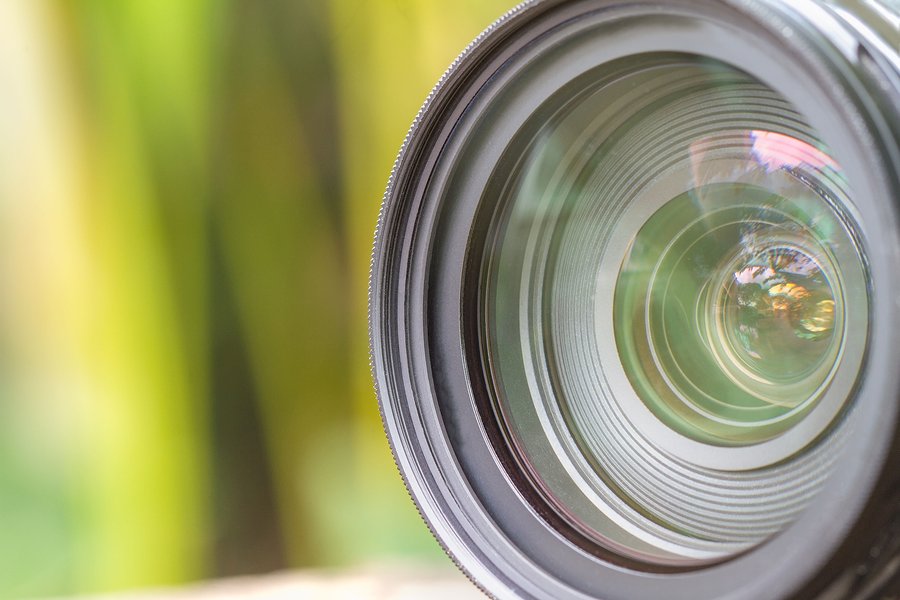
- Use a wide-angle lens: A wide-angle lens allows you to capture more space in a single photo, giving your photos a better sense of depth and detail.
- Use a tripod: Tripods enable you to get sharper photos without the need for professional equipment like a flash or years’ worth of practice.
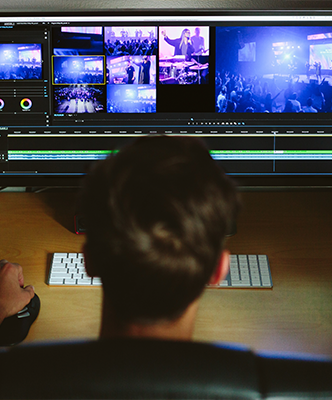
- Take a photography course: Taking good photos often requires a lot more than a good eye and a steady hand. Consider taking a photography course to learn the nitty-gritty of lighting, flashes and preparing a set.
- Prepare your rooms: Make your bed, clear out the dishes, clean the carpet and dust the curtains. Ruining a good shot is easier than you expect.
- Include hallways in your shots: Hallways spanning away from the room create a feeling of roominess and make the shot more inviting.
- Remove unnecessary items: Don’t include more details that need to be included. For example, remove dust bins from exterior shots.
- Turn the lights on: Having the lights on creates a feeling of better illumination, even if the room is already well-lit. Turn them on before your photoshoot.
- Buy a full-frame camera: The most important thing to consider when buying a camera is sensor size, not the number of megapixels. A larger sensor means better light sensitivity and a wider field of view.
- Use current technology: When taking photos, use the best tech that you can lay your hands on. Drones, DSLR and the like can be cheap if you know where to look.
- Invest in a Quality Camera: Quality cameras come in the form of DSLR cameras like Canon or Nikon or even the latest iPhone. Both are fairly inexpensive, but DSLR yields better photos with a steeper learning curve.
- Have a Hand at HDR: HDR entails taking three photos of a scene at different shutter speeds and merge them to bring out different details.
- Perform Some Simple Editing: Simple editing is a crucial part of the photography process. Fix the lighting and remove unnecessary objects using Lightroom and Photoshop.
- Hire a Specialist: If you’d rather not go through the trouble of doing all the work yourself, hire a professional real estate photographer He likely knows all the important details he shouldn’t miss.
Real Estate Photography Don’ts
- Don’t use a fish-eye lens: The zoom may make a room look bigger, but fish-eye lens distort photos too much to be of any use in real estate photography.
- Don’t capture yourself in the mirror: Mirrors are a nice touch to a room, since they make it look bigger, but be sure to edit yourself out of any shots that reflect you.
- Don’t capture messes: The biggest mistake you can make when taking real estate photos is to photograph a mess. Clear out the room and put away the laundry first.
- Don’t show pets in the shot: No matter how cute your pet is, he’s not a part of the house and has no reason to show up in a professional real estate shoot.
- Don’t shoot in bad weather: Inclement weather, such as rain, snow and fog can have terrible effects on your photos. If you really have to, work with a professional that knows how to work around it.
- Don’t take poorly lit interior shots: Open the windows for natural light or lamps to make it more crisp.
- Don’t include excessive furniture: In rooms with small spaces and furniture, it could be a bit difficult capturing in its entirety. The best way to go about it is by removing some furniture to create more space.
- Don’t use screenshots: Taking a screen cap of the house exterior on Google Maps may seem like a good idea, but it really isn’t. You’d be better suited taking a photo with your phone, instead.

- Don’t publish distorted images: Lenses may add some distortion in your photos, especially around architectural features like archways. Look out for bowed features and edit them upright in Photoshop.
- Don’t over-edit photos: Don’t be deceptive in the way you edit photos. Retouch them, but only to the extent that they still depict reality.
- Don’t ignore vacant lots: Vacant shots are difficult to pull off. They call for an emphasis on the natural aspects of the lot and its surroundings. If possible, aerial/drone footage can work wonders.
- Don’t take exterior photos of apartments: Apartments are the one instance in which exterior shots don’t really add any real value. This is especially true if nothing stands out about the exterior. Generic shots remove value rather than add it.
- Don’t shoot from just one angle: Don’t take every shot of a room from a single position. Even moving a few steps towards or away from a lighting spot can make all the difference.
- Don’t post every photo you take: Pick general shots that you feel capture the best angles of your house. Don’t blindly post every photo of the building that you take. Nobody wants to spend their day sifting through a hundred photos of the same room taken from different angles.
- Don’t hire a generalist: If you decide to hire a professional, hire someone that deals specifically with real estate photography. Someone used to photographing people is bound to miss important details on your building, even if they get everything else right.
To learn more about image galleries, and how Cincopa can enable you to get the most out of your property photos, click here.
Originally published on August 26th, 2019, updated on December 18th, 2023