The Webhooks section allows you to send real-time event data from your Cincopa account to an external system. This is useful for automating workflows, triggering actions, or syncing data with your backend whenever specific events occur (such as uploads, updates, or user interactions).
By configuring a webhook, your system can receive instant notifications without needing to manually check for updates.
How to Configure a Webhook
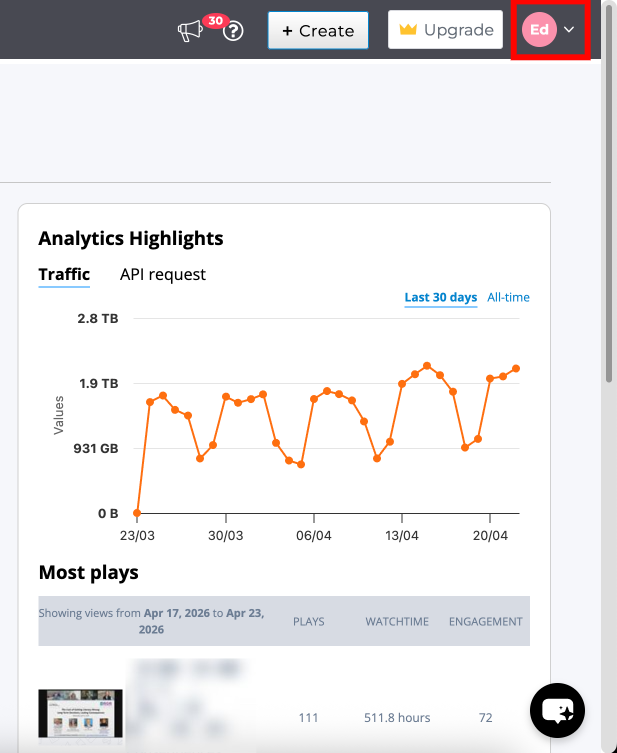
Step 1: From the dashboard, click your profile icon in the top-right corner
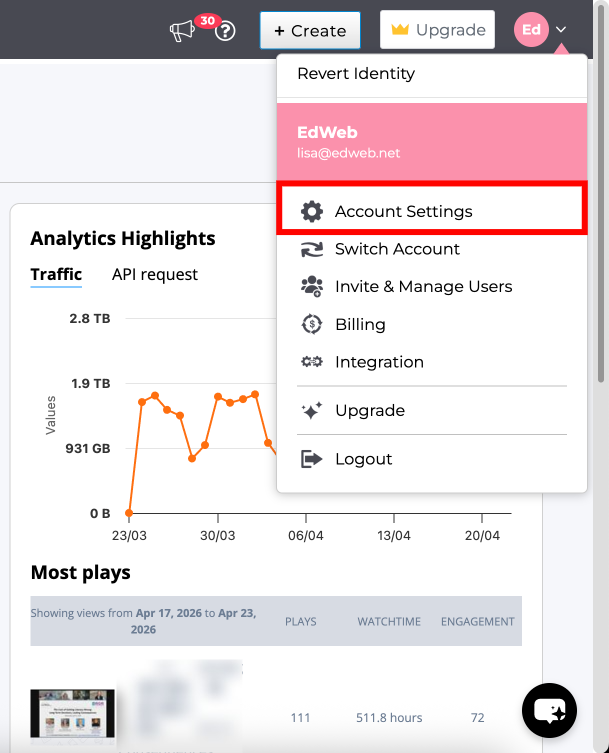
Step 2: Select Account Settings from the dropdown menu
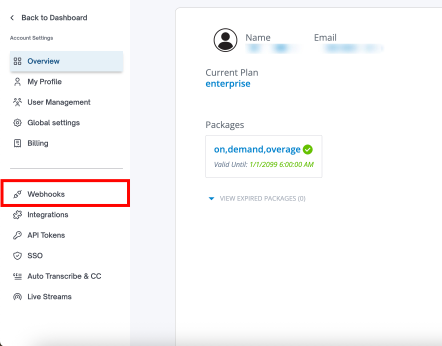
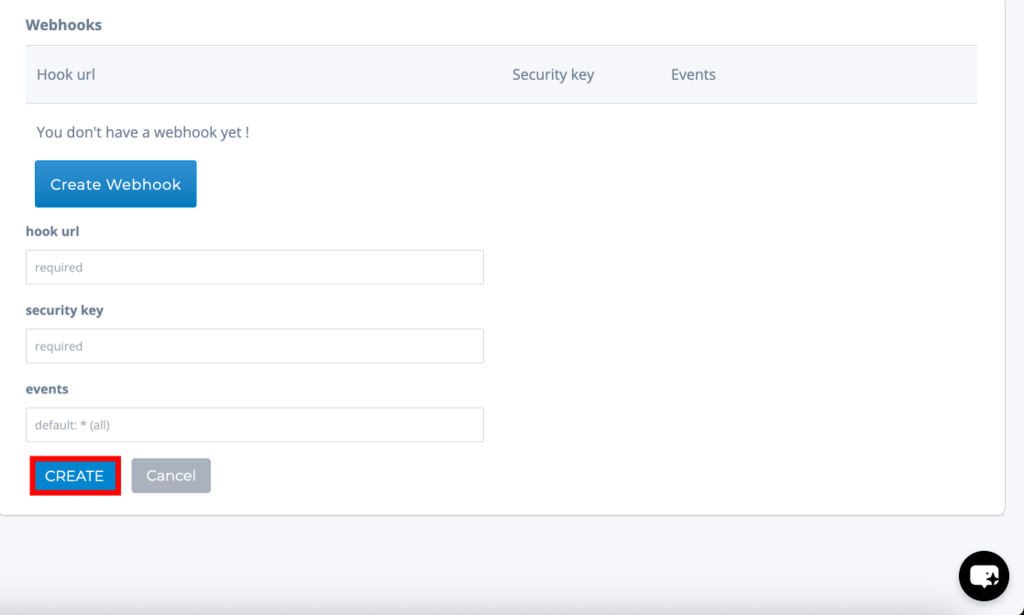
Step 3: From the left-hand sidebar, click Webhooks
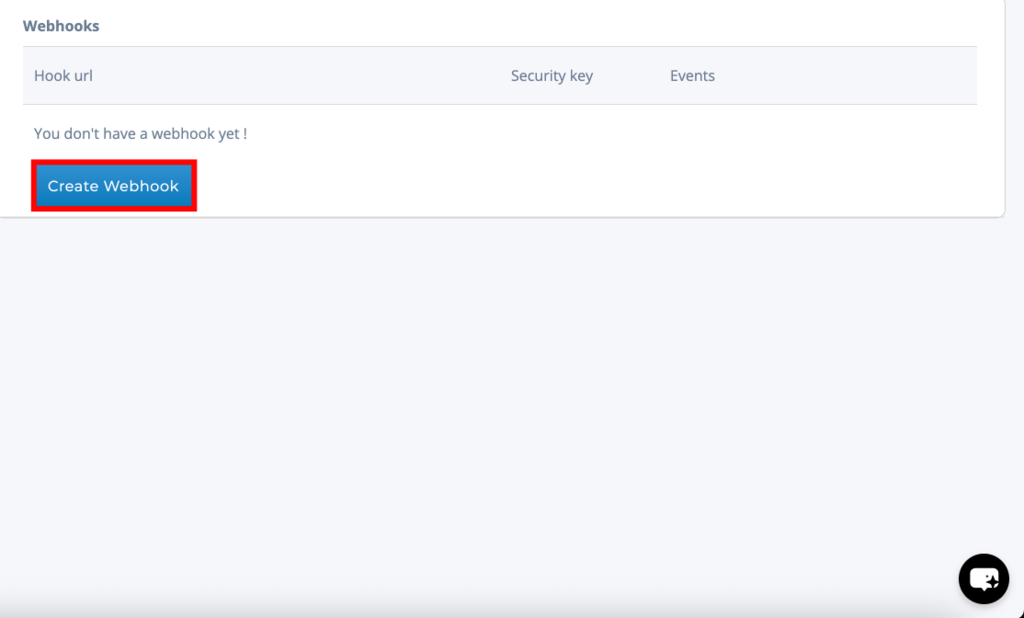
You’ll see a screen showing whether any webhooks already exist.

Step 4: Click the Create Webhook button to add a new webhook.
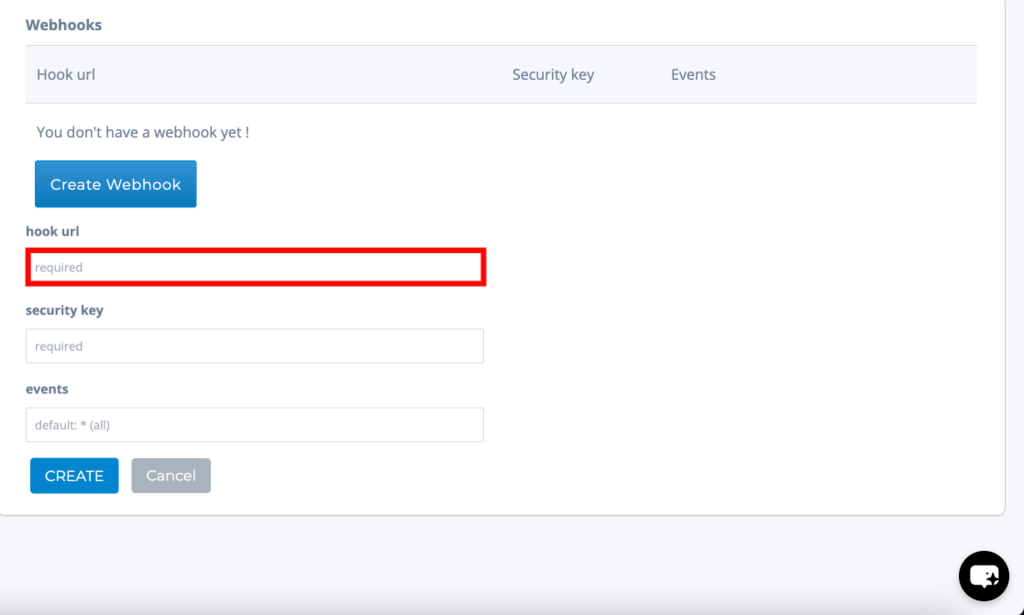
Step 5: In the Hook URL field, enter the endpoint URL where you want to receive webhook data (This should be a valid server endpoint capable of handling incoming POST requests)
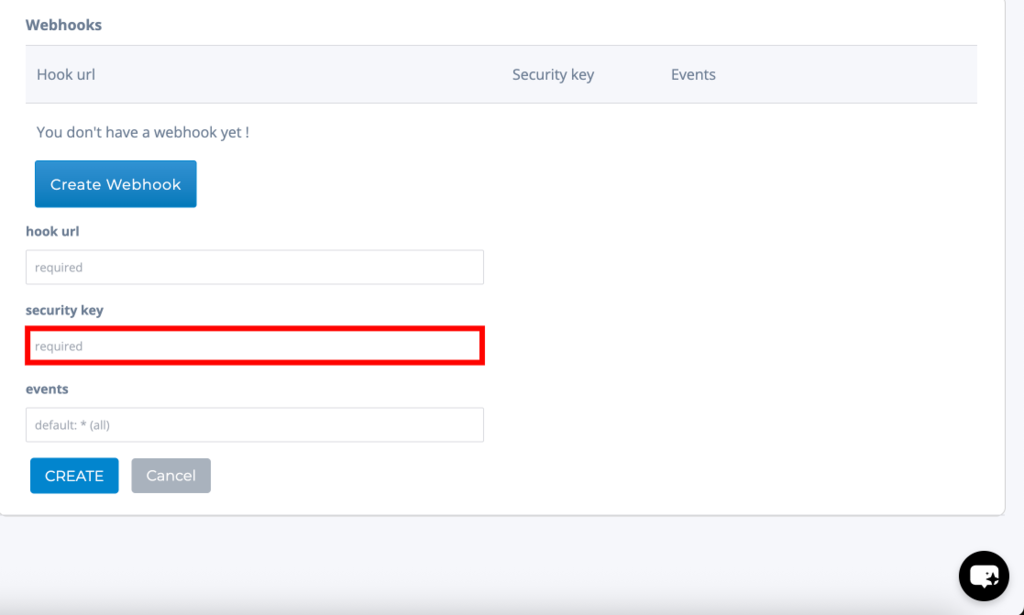
Step 6: In the Security Key field, enter a secret key (This key is used to validate incoming webhook requests and ensure they are coming from a trusted source)
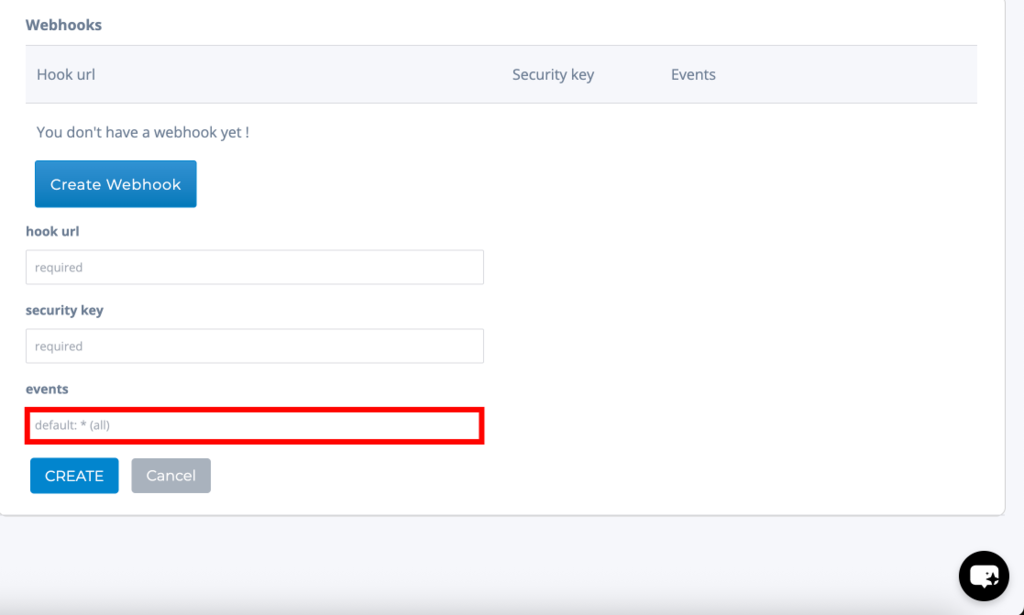
Step 7: In the Events field, specify the events you want to subscribe to (Leave it as default * (all) to receive all events, or define specific events as required)
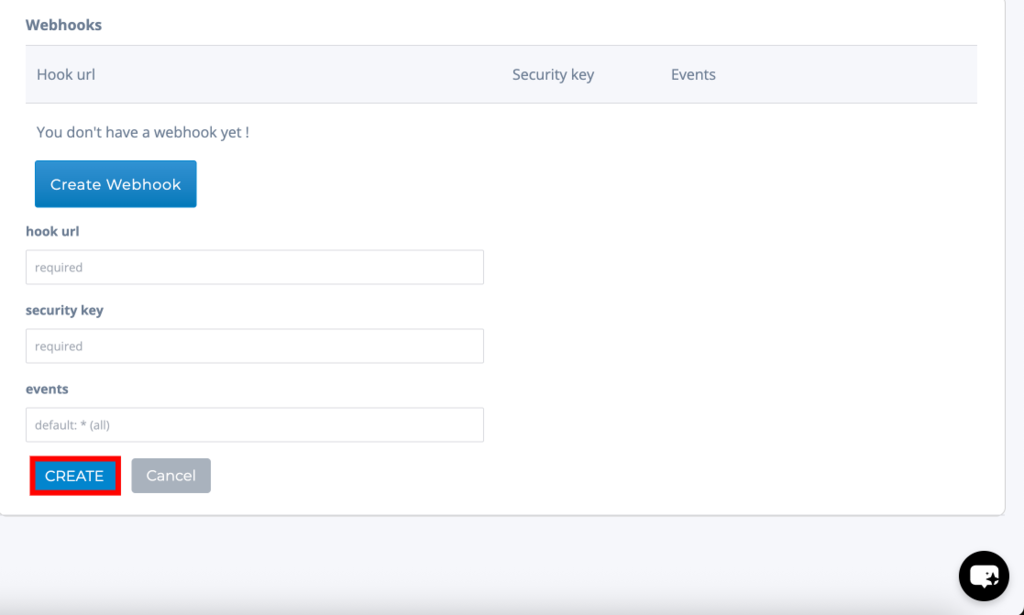
Step 8: Click Create to save and activate the webhook
Once configured, your webhook will start receiving event data in real time based on the selected triggers.