It doesn’t matter how tired and overused it has become; a picture really is worth a thousand words- even in 2019. Images are still an essential part of modern content marketing, with 80% of marketers relying on some form of visual content.
The fact that images still reign supreme is largely driven by their effectiveness: People are 55% more likely to remember information if it’s paired with an image.
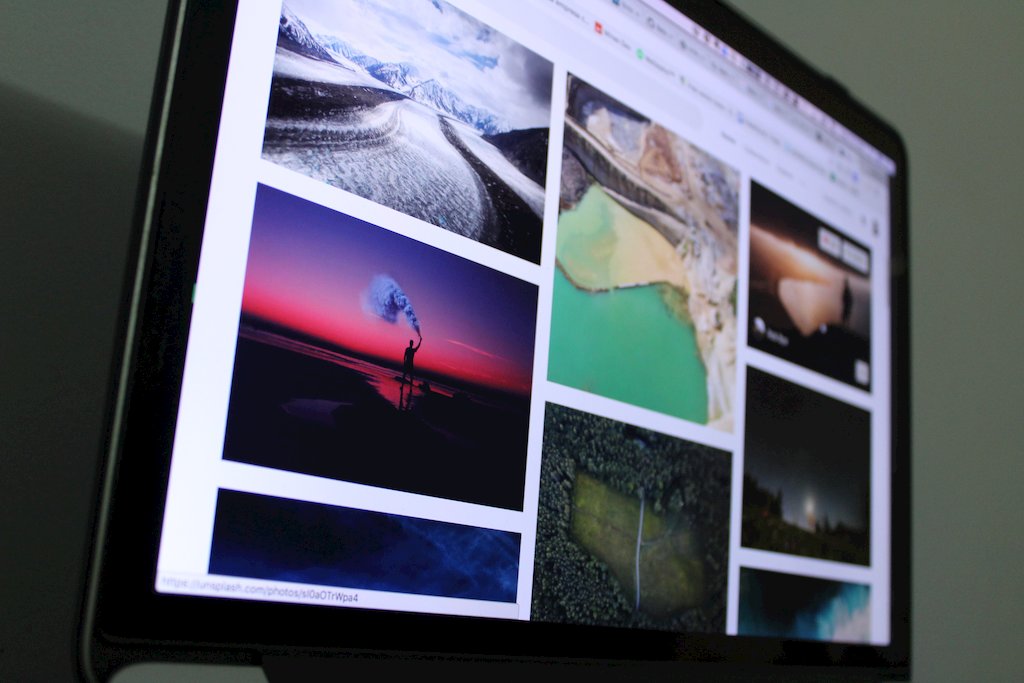
“Given that it is far and away the most commonly-used CMS, understanding how to set up an image gallery on WordPress can prove very useful.”
There are several different ways the creation of an image gallery can be achieved on WordPress. It’s a fairly straightforward process and shouldn’t take anything more than a few minutes to achieve.

A Step-by-step Guide on Creating a WordPress Gallery
Creating a gallery on WordPress can be achieved in one of two main ways:
With or without a plugin.
Using the in-built gallery
If you don’t have any complex layout requirements such as masonry layouts, the in-built plugin feature will work just fine.
First things first, create a new post or edit an existing page where the image gallery is going to go. On the edit screen, click on ‘Add New Block’ and in the new menu, select the ‘Gallery’ block.
Here’s what you should do:
- A new block should show up on the editor. You now have the option to upload a set of new images or select relevant ones from a list of what you already have by selecting ‘Media Library.’ Either option allows you to select multiple photos at once, although uploading multiple images at once requires you to hold down the ‘Shift’ or ‘Ctrl’ keys. By selecting individual photos, you can add an alt text, caption or title of the image.
- Click on ‘Create a new gallery’ after selecting the images you want to feature in your gallery, and it should be added to your page.
- You can direct yourself to the ‘Edit Gallery’ page to review your selection of images, edit captions or change details about individual images.
- Once you’re done, open up the settings panel of the block and pick the number of columns you want your gallery to have. You can also change how overflowing images behave by enabling or disabling the ‘Crop’ option. Another relevant setting is whether users should be restricted to where the image is hosted when they click on one, or if it’s ignored.
- Once you’re done tinkering with the settings, you’re pretty much done. Publish the page and you’re free to preview it on your site.
![]()
Elevating things with Jetpack
As far as modules go, WordPress’ in-built gallery is pretty limited with what it can and can’t do. Notable missing features include allowing for outside hosting, and support for more complex logic.
Being that pictures are some of the biggest culprits in slowing down websites, the lack of CDN support is disappointing. To address this, the makers of WordPress created a plugin called ‘Jetpack’ which comes loaded with a whole load of features. What’s more, this library is so popular that chances are high that you already have it installed.
Jetpack works like any other WordPress plugin – it adds a set of features to the relevant areas. For instance, after installing and activating Jetpack, you will have access to the following additional features:
- An image CDN: The CDN setting is off by default, so you’ll have to activate it first. Head over to the sidebar and head over to Jetpack > Settings. Under the first tab (Writing) scroll down till you reach the ‘Media’ module and toggle the ‘Speed up images and photos’ option. A CDN is an important feature to have for sites that feature a lot of images per month. It saves on infrastructure costs because of lower bandwidth use and won’t fill up storage on your server. CDNs are also amazing tools for speeding up website load times because your server is no longer caving under the stress of serving images.
- Complex layouts: Often referred to as ‘staggered grids’ or ‘masonry layouts’, complex layouts are an adaptive way of laying out your images. It is essentially a layout mechanism that allows for large images to overflow and for smaller ones to adjust themselves so that each image fits within a constrained space. In Jetpack, they are referred to as ‘Tiled Layouts.’Less complex layouts can also be selected in the options tab after you click on ‘Edit Gallery.’ These include simple circular, square and rectangular layouts. Note that to use this feature, the Image CDN feature has to be enabled first.
- Sliders and carousels: A slider allows your visitors to ‘slide’ through images using either a keyboard, mouse or touch screen. A carousel does the same thing but may come with a lightbox effect (the background is made lighter or darker) and the images loop back around.
Both of these features are added by installing Jetpack. They can be very useful for cases where images need to be viewed individually such as in e-commerce stores.
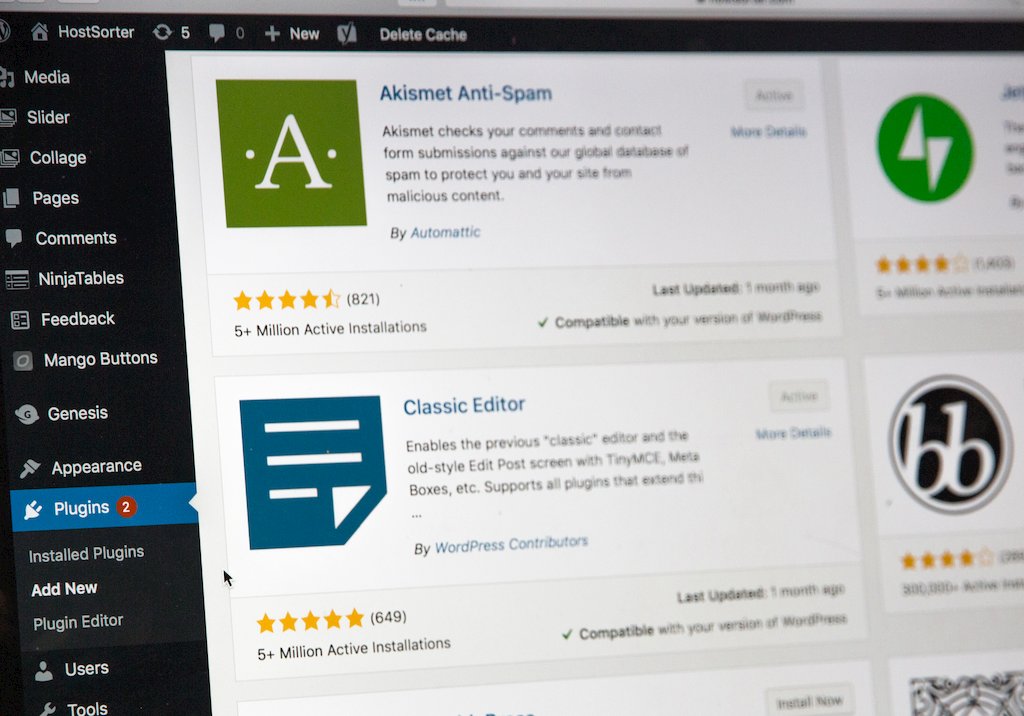
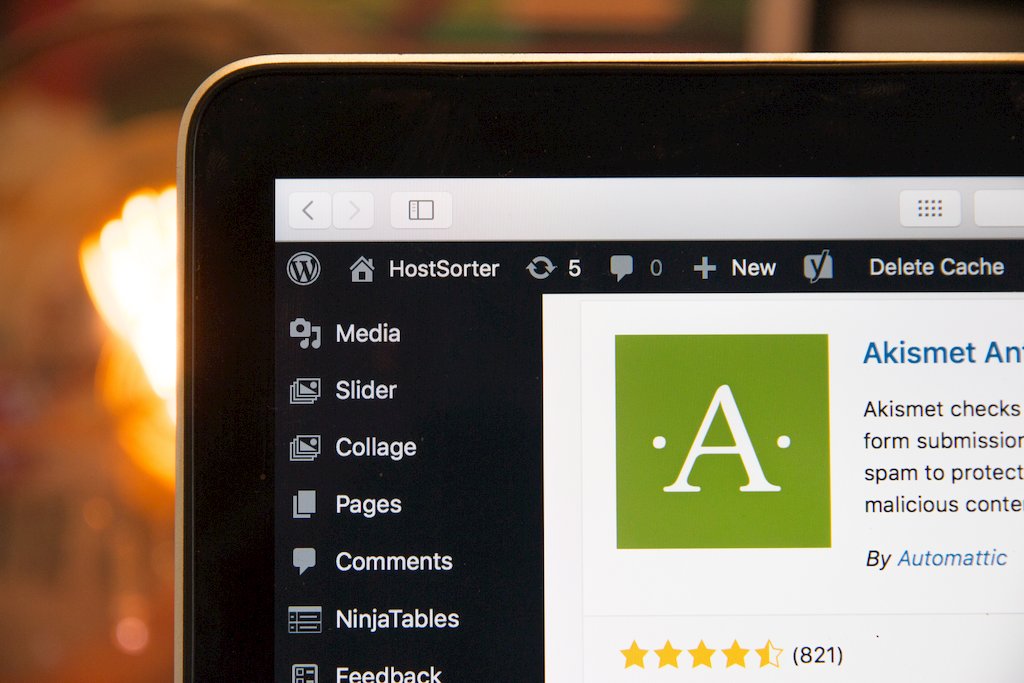
Using other plugins
There are tons of different plugins on the market (even free ones) that offer a wide range of functionality. Each of these is different in some pretty subtle ways.
Rather than exploring how to install, activate and use each one of them, we’ll explore what makes them unique and why you’d want to pick them over Jetpack or each other.
- Envira Gallery: Envira is easily one of the most popular WordPress gallery plugins in the world. This is because it was built from the ground up to be lightweight. Some of the most essential features it harbors include:
- A large set of pre-built templates
- Over a dozen installable add-ons
- A drag-and-drop builder
2. Modula: Modula shines when it comes to customizing your gallery to make some images stand out more than the rest. This comes with an instant preview so you can see your changes. It’s definitely not cheap, but can be a big help for people that need fine-tuned customization.3. FooGallery: FooGallery is another incredibly popular WordPress gallery plugin, but it tends to attract the more technically-oriented. It has an API you can hook into to customize every aspect you may want to change.
This plugin’s stand out features are:
- A drag-and-drop builder
- Dozens of pre-built templates for the lazy/busy
- The ability to import settings from other gallery plugins, notably, NextGen
- In-built filters to customize images4. NextGEN Gallery: This gallery option is also quite popular, with an active install base of over a million websites. It comes with an incredibly heavy feature set, but that translates into a relatively high learning curve. The average user might also find it quite bloated, with features such as:
- Different album and gallery layouts
- Advanced lightbox manipulation
- Social sharing
- Metadata
- Batch uploads
- E-commerce plugins
Conclusion
Image galleries play an essential role in many websites’ presentation and is pivotal in regard to SEO. For sites relying on WordPress, using in-built galleries or plugins offers an easy solution. If you want to take things to the next level, we recommend opting for an image hosting platform. Cincopa, for example, will render the process of managing image galleries virtually effortless. Aside from the obvious advantage of hosting videos, they also offer features like carousels, sliders and native gallery hosting. All it takes is copy-pasting to embed it on your site.